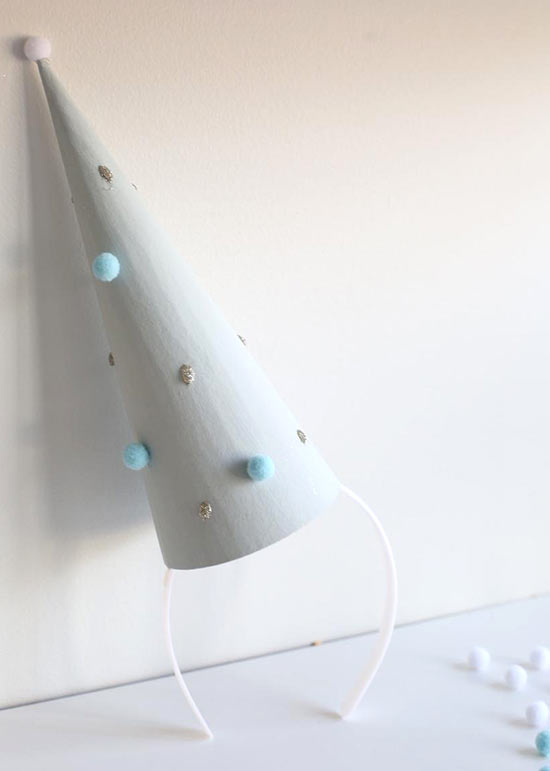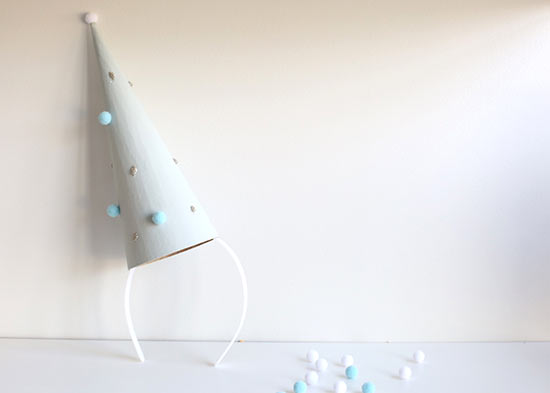
Looking for an activity that will keep the little ones busy at the next birthday party you host? These DIY party hats are the perfect project! Bring out the paint, glue, and glitter and get ready for some fun!
Difficulty level: Beginner
Time to complete: 15 minutes
Age range: 6 and up *Younger children will need help with the hot glue gun
Things you’ll need:
Plastic headband
Cardboard cone
Pompoms
Paint
Foam brush
Hot glue gun
Glue sticks
Glitter
Things to do:
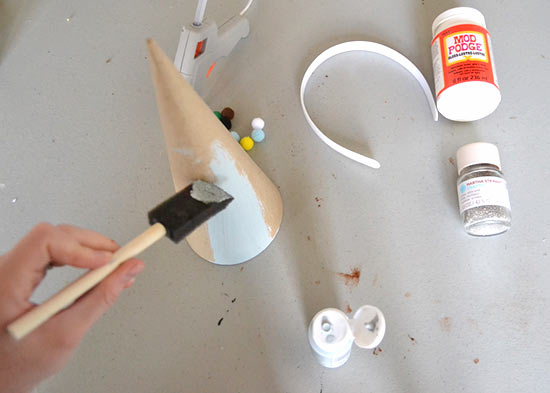
1. The first step is painting your cardboard cone. Use a foam brush to apply a thick layer of acrylic paint and let it dry completely.
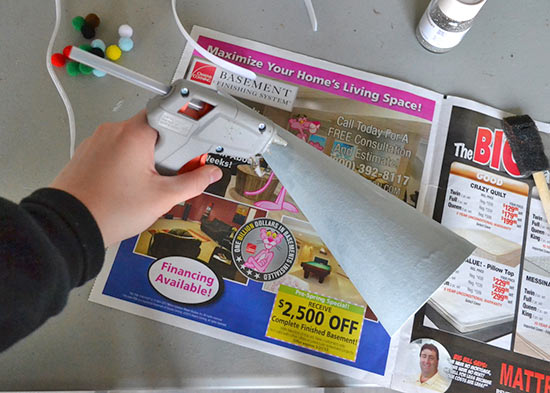
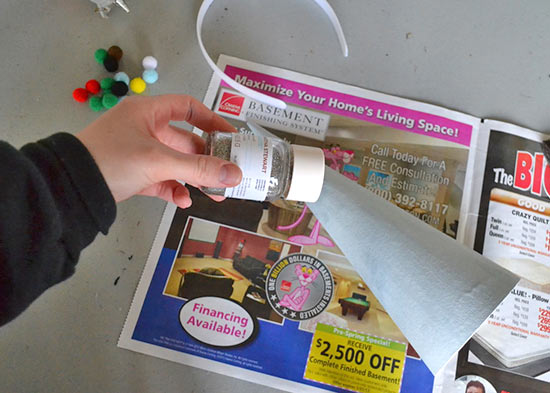
2. Next comes the glitter! Use your hot glue to draw a pattern and sprinkle a thin layer of glitter over it. If you want to reuse the excess glitter, sprinkle over a sheet of paper so you can pour it back in your container after.
3. To add some color, use glue to attach pompoms around your cone. Don’t forget to put a pompom on top for a more polished, finished look!
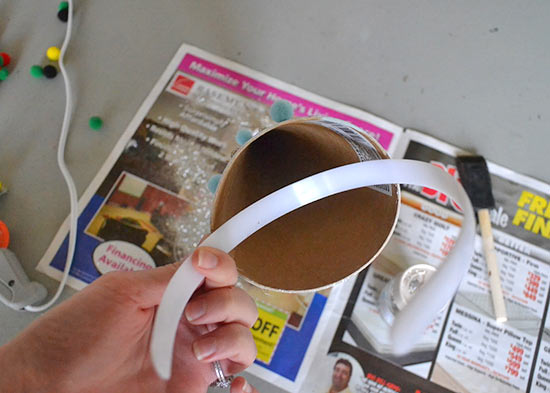
4. The final step is attaching your cone to a headband. Apply a thick line of hot glue on either side of the cone and slide the headband up in place. Hold it securely until it dries.