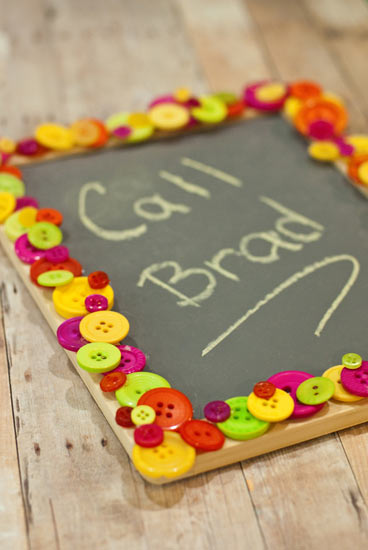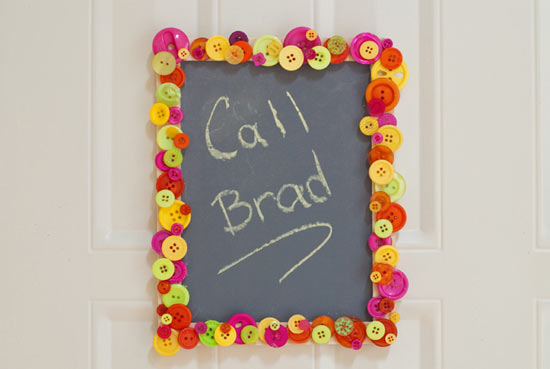
Chalkboards are so practical to have in the kitchen, on a door, and in a school locker. But they’re rarely fun and whimsical! With your hot glue gun and some fabulous buttons, however, you can decorate a simple chalkboard with layers of buttons and turn it into a statement piece. These make great party favors, and a package of multi-sized buttons and a roll of the magnet strip will make two mini button-covered magnetic chalkboards, making this a quick and economical gift for anyone.
Difficulty level: Beginner
Time required: 30-60 minutes
Age range: 10+
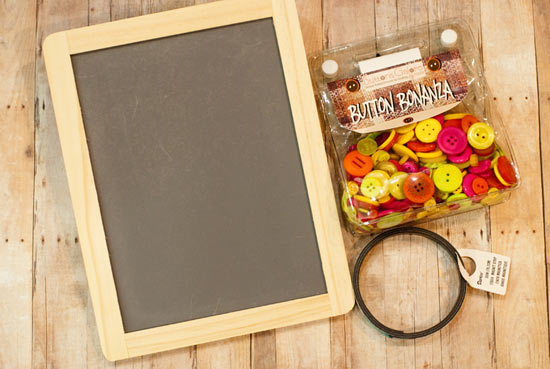
Things you’ll need:
Hot glue gun and glue sticks
Scissors
Mini chalkboard
Buttons
Magnetic strips
Things to do:
1. Warm up your hot glue gun and pour out your buttons so you can grab them quickly and easily.
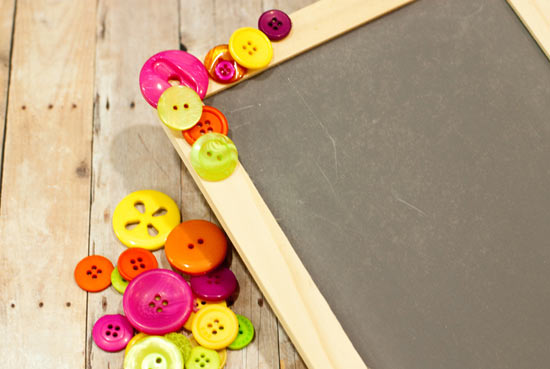
2. Squeeze some glue onto a button and place it on the chalkboard, starting in one corner. Glue others around it, overlapping buttons to make the border very 3-dimensional.
3. Glue small buttons on top of the large buttons for even more dimension. Play with the placement of each button to mix up colors for a random look, or organize them into blocks of color. Anything goes!
4. Once you’ve glued buttons in layers around the border of the mini chalkboard, turn the chalkboard over. Don’t pull off the plastic yet, but carefully trim the magnetic strip to the width of the top.
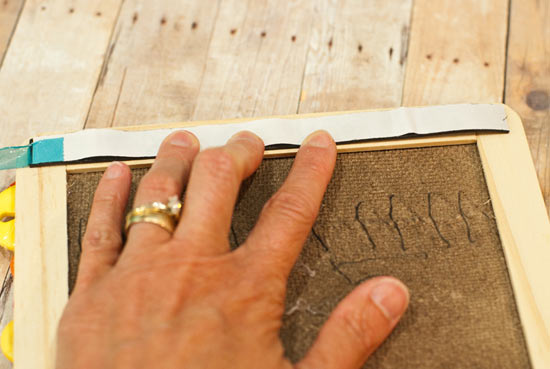
5. Peel off the plastic on the magnetic strip and place it sticky-side down onto the wood, along the top edge. Repeat for the bottom edge.
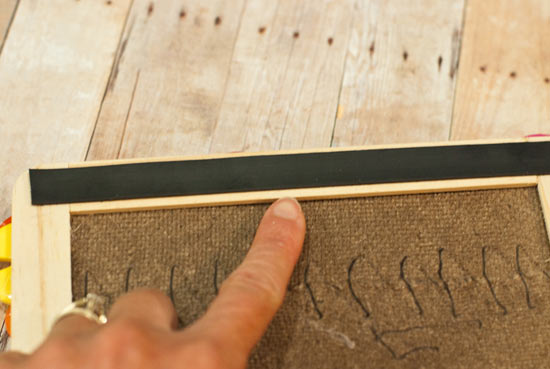
6. Turn the chalkboard over, and admire your handwork!
