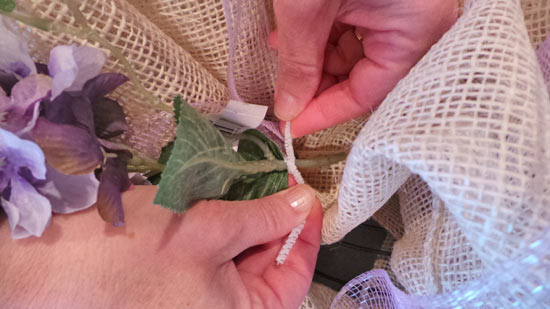
This tutorial will teach you how to make a gorgeous and trendy burlap wreath in just a few easy steps! You’ll love the finished product, which will look beautiful displayed on your front door or in your home.
Time to complete: 30 Minutes
Difficulty level: Intermediate
Age range: 13 and Up
Things you’ll need:
Wire Frame
Pipe Cleaners
2″ Lavender Poly Mesh Ribbon
Fake Flowers
Wire
Wire Cutters
Scissors
Burlap fabric
Things to do:
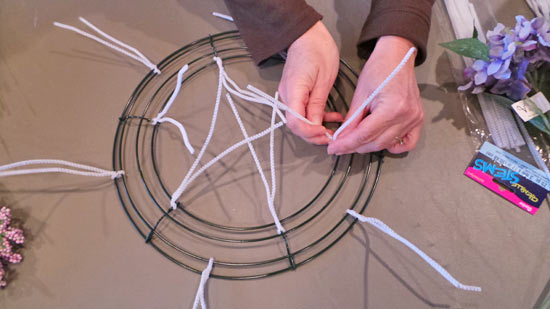
1. Attach pipe cleaners to the metal frame. At every wire connection, wrap a pipe cleaner. Be sure that they’re wrapped tightly and are evenly spaced.
2. The next step is adding the burlap. For my 12 inch wire frame, I used 14 inch burlap. Start on the outside of the frame and use the pipe cleaners to attach the fabric. Twist the burlap on tightly, so it won’t slip around. Repeat this step until the entire frame is covered in burlap, including both the inside and outside pipe cleaners.
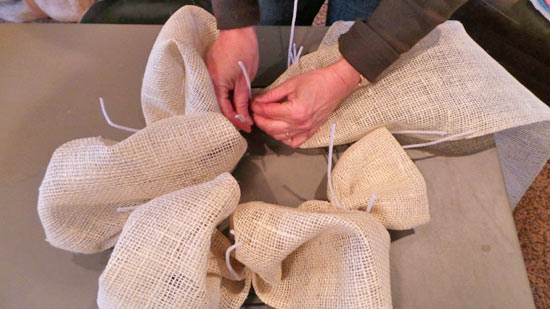
3. Cut the burlap, leaving a few inches extra to tuck into the wreath. Hide the end and secure it with a pipe cleaner.
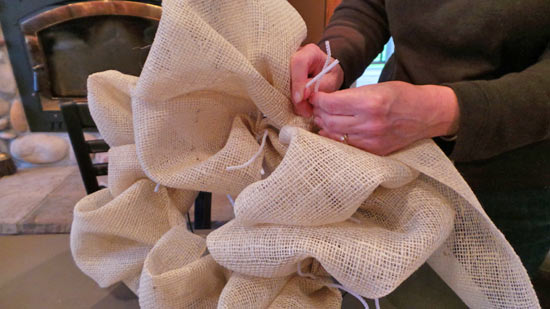
4. Now, we’re going to decorate the wreath using poly mesh. Attach the end of poly mesh with a pipe cleaner, and continue to work the ribbon around the wreath, attaching it with pipe cleaners as you go. When you’ve covered the wreath, cut the poly mesh and hide the end in the fabric.
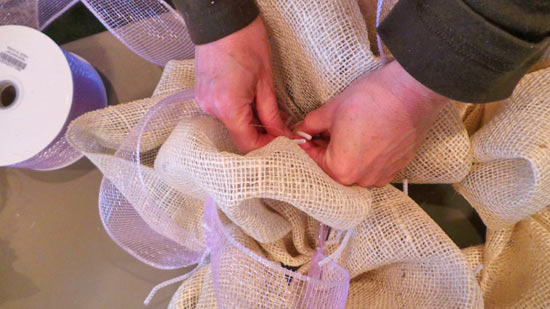
5. Create a poly mesh bow and attach it to the top of the wreath. If you don’t know how to make a bow out of ribbon, see our bow tutorial for a few ideas!
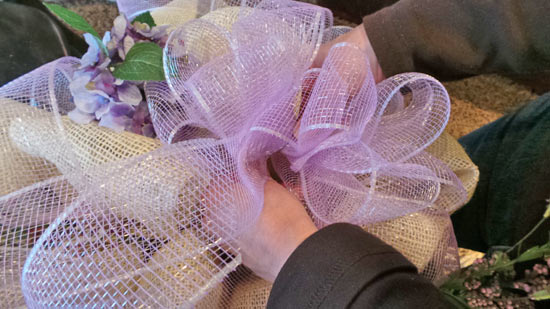
6. Add flowers to the wreath, using wire to attach them.
