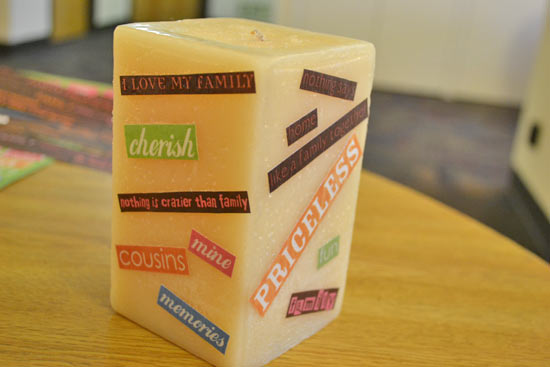
Everyone loves to give and receive candles. They are a great gift option, because they are luxurious and very usable. It is enjoyable to have a candle burning, filling a room with your favorite scent and creating ambiance. Instead of giving a plain candle to your friend, try to decoupage it, creating a personal and heartfelt present that they are sure to enjoy for a long time! Have fun experimenting with different colors, patterns or photos to create a unique look with a special meaning.
Difficulty level: Beginner
Time to complete: 15 minutes
Age range: All ages *Younger children may need assistance
Things you’ll need:
A candle of your choice. Square shaped candles work best, because they allow the paper to stick better.
Craft glue
Decoupage
Paper, photos, or magazine clippings
Paintbrush
Scissors
Things to do:
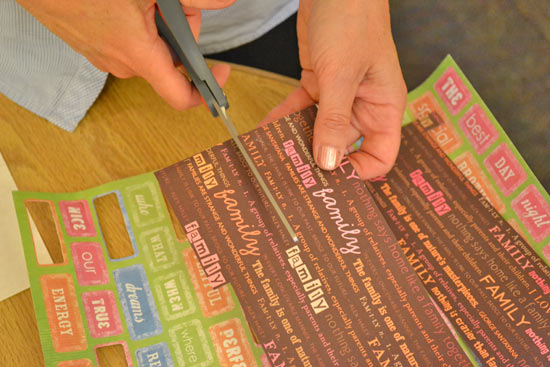
1. Cut out shapes, quotes or photos to cover your candle. Choose clippings with a special meaning to you or a friend if you are giving this candle as a gift. I like to use cardstock with quotes on it and photos to create a scrapbook look.
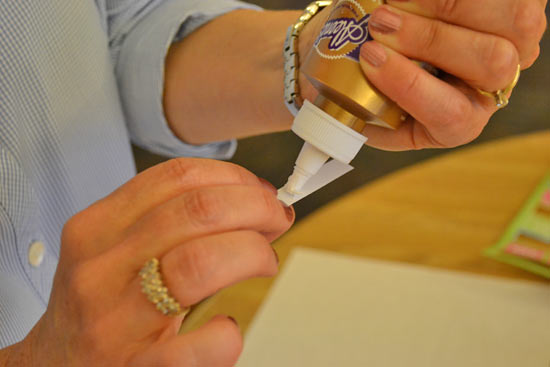
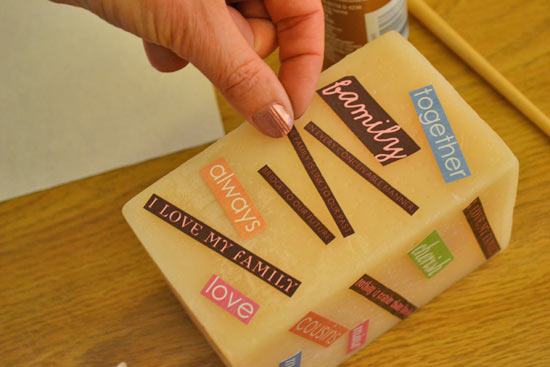
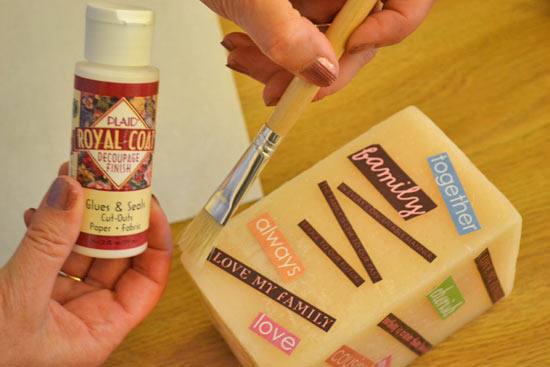
2. Organize your clippings onto the candle in an aesthetically pleasing fashion. Once you are happy with the look, secure them to the surface with a thin layer of glue. Repeat until all sides of the candle are covered. Let the glue dry completely before proceeding to step three.
3. Once the glue has dried, apply a thin layer of decoupage to keep your decorations in place. Cover the entire surface of the candle. Let the first coat dry completely before applying a second coat.
4. Once the candle has dried, you can add additional decorations, such as a ribbon, to finish the look.