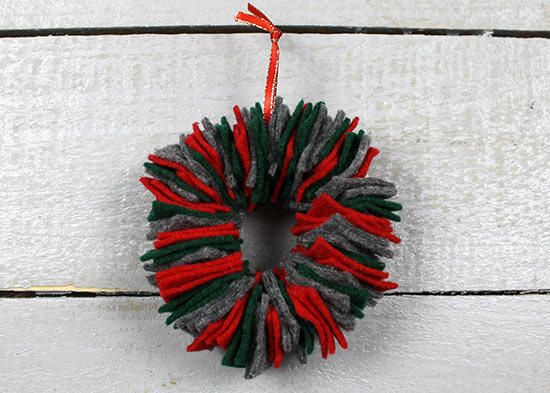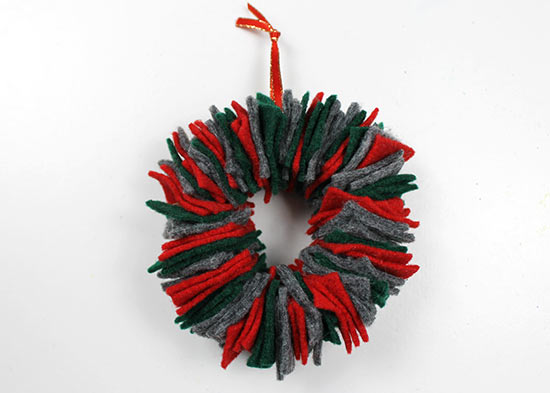
This tiny wreath works well as a tree ornament or displayed on a wall. If you’re displaying yours on a wall, create a trio of wreaths and hang them together for a festive decoration!
Difficulty level: Beginner
Time required: 30 minutes
Age range: 12 and up
Things you’ll need:
Mason jar lid ring
Natural jute twine
Scissors
Hot glue gun and glue sticks
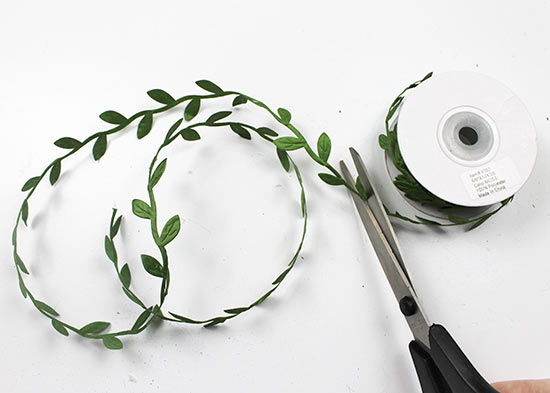
Satin leaf ribbon
Red ribbon with gold edge
Things to do:
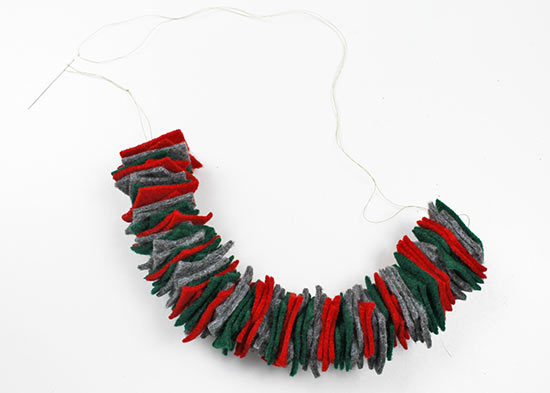
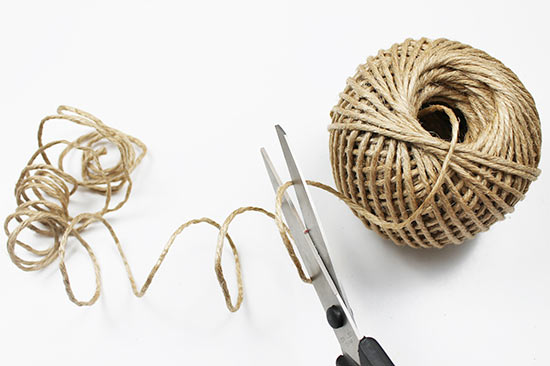
1. Cut a length of twine that’s about 140″ long.
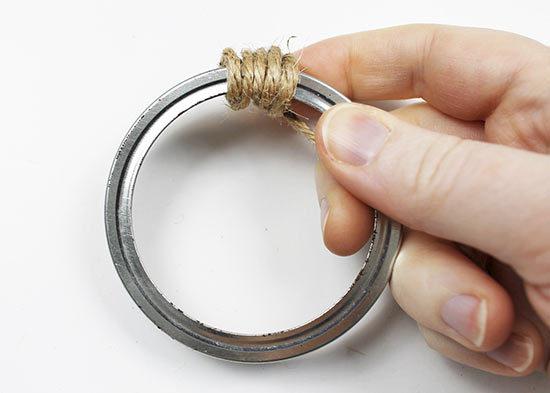
2. Begin wrapping the twine around the jar ring, wrapping over the tail to secure it as you continue to wrap. As you wrap, be sure the twine is close together and doesn’t leave a gap.
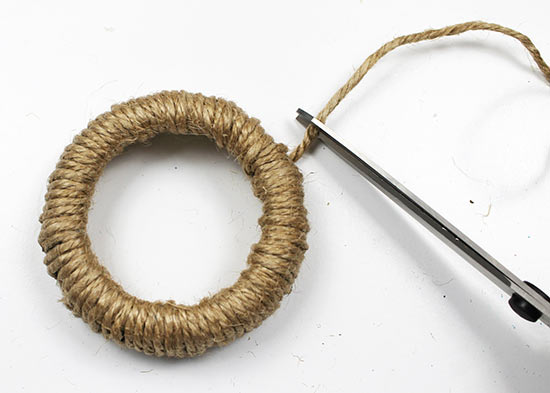
3. When you’ve wrapped twine around the entire ring, trim the twine.
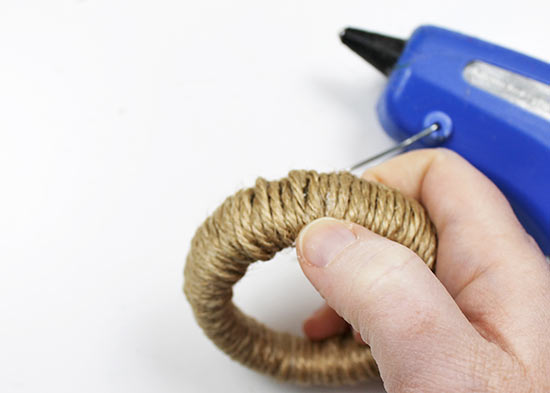
4. Add a dot of hot glue, then lay the twine over the glue to secure it.
5. Cut a length of satin leaf ribbon that’s about 16″ long.
6. Hot glue one end of the ribbon to the twine at the same point where you secured the twine in step 4.
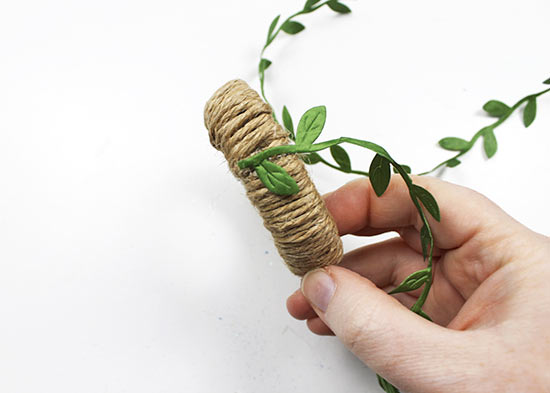
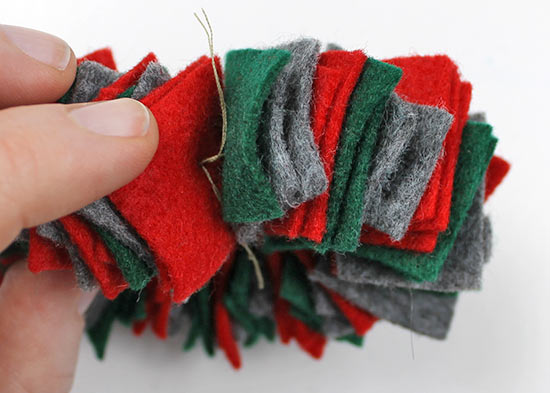
7. Wrap the leaf ribbon around the entire jar, wrapping as evenly as possible. When you’ve wrapped around the entire ring, trim the ribbon.
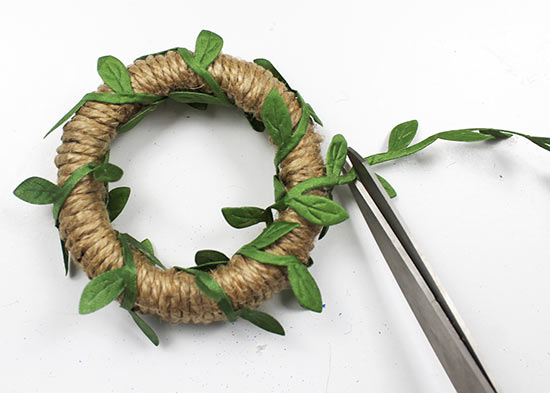
8. Add another dot of hot glue, then lay the leaf ribbon over it to secure the end.

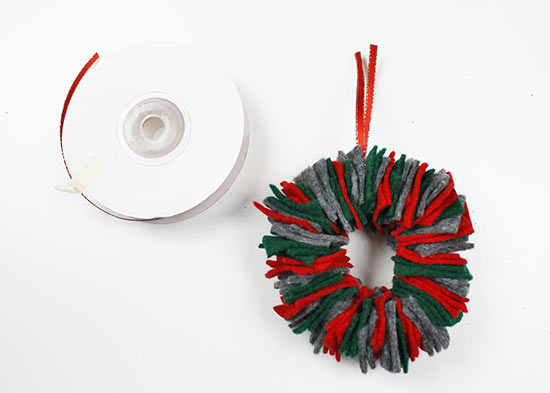
9. Cut a length of red ribbon that’s about 8″ long, or the length you’d like for your hanger.
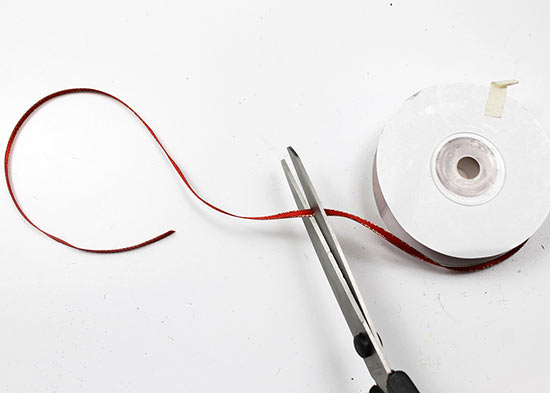
10. Wrap the red ribbon around the wreath, then knot the top to secure it.
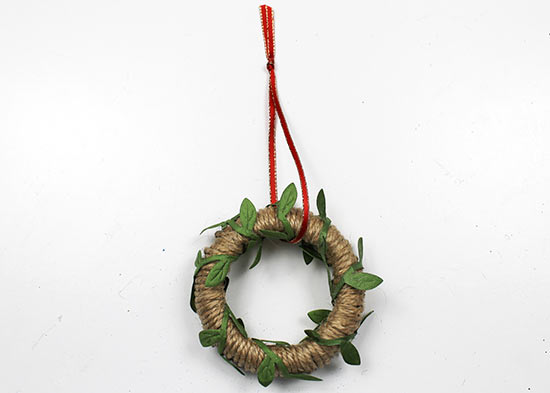
11. If you’d like, cut a second length of red ribbon and tie it in a bow. Hot glue the bow to the center top of the wreath. You can hang your wreath on the wall, or use it as a tree ornament.