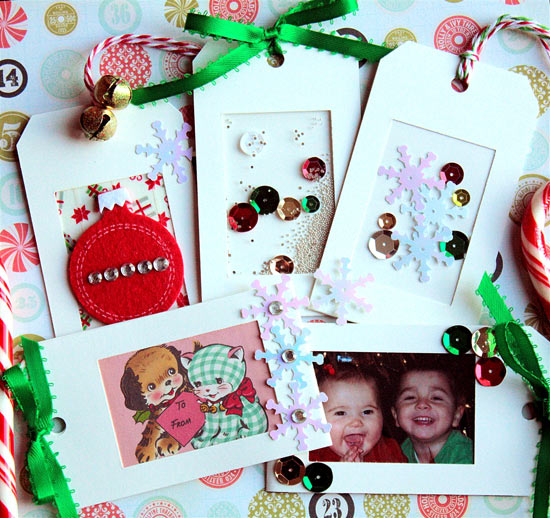
The hustle and bustle of the Holidays is on it’s way. For many the Holidays are a chance to share how much you care about another person, and it’s the little touches that go a long way. Today’s project focuses on one little touch that you can make yourself in a quick and timely manner that can really bring a smile to those receiving it. There are so many ways to personalize a gift for someone, and the gift tag can be the first place you start.
Things you’ll need:
Window Tags
Adhesive/Foam Adhesive
Ribbon or Bakers Twine
Optional Decorations: (sequins, snowflakes, jingle bells, rhinestones, photos)
Things to do (Shaker Tags):
1. If you are using beads and sequins and want it to be a true shaker card you will want to use a foam adhesive. Make sure to apply the adhesive closely to the window and so that there are no gaps between the adhesive for the beads to fall through.
2. Fill the window with beads and sequins ( you can use just sequins if you want ). Remove paper on adhesive and close the tag.
3. Tie on twine or ribbon.
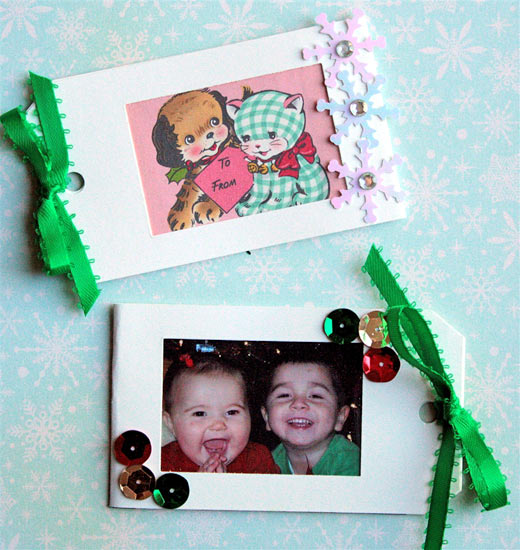
Things to do (Picture Tags):
1. Trim photo or paper to fit in window, adhere to inside of tag.
2. Adhere around the window and close tag.
3. Add stickers, rhinestones, snowflakes, and or sequins around the frame.
4. Tie on twine or ribbon.
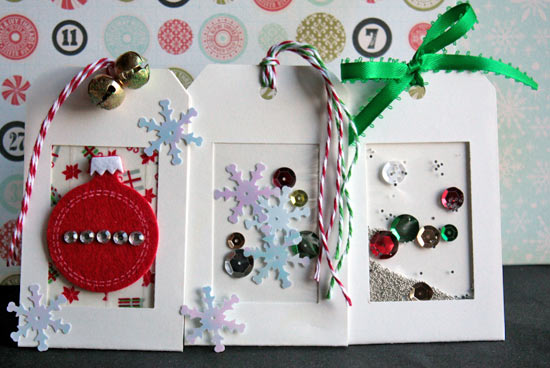
Things to do (Washi and Sticker Tag):
1. Adhere washi tape to the inside of the tag, adhere around the window and close tag.
2. Add stickers to the front of the tag and decorate with jingle bells, sequins, or anything you like.
3. Tie on twine or ribbon.
These are all simple to make and easy to make personal for each intended recipient! So have fun this year when it comes to gift giving, and remember those little touches that can mean so much to someone! If you have projects you’ve made with some of our tags we would love to see them, just leave us a link in our comments or face book page!
Happy crafting!
Lisa from Lisa’s Creative Niche
