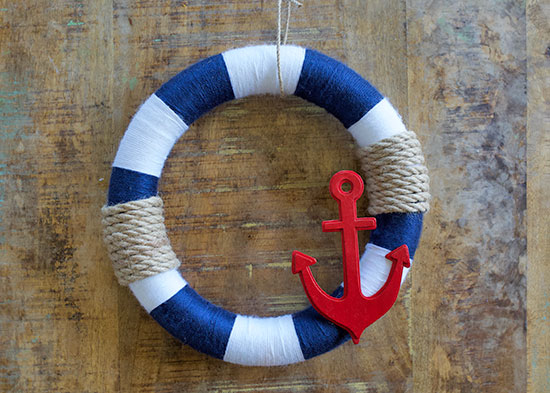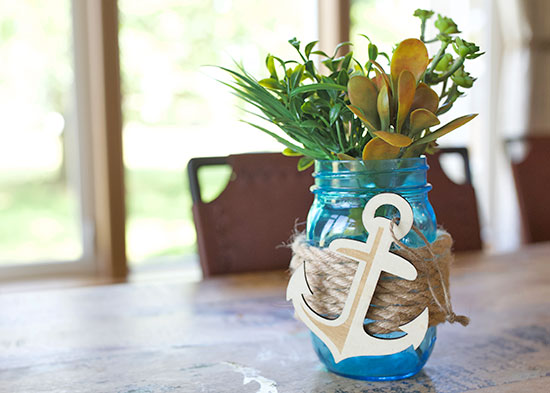
This nautical vase is a great addition to a summer table setting. Pair with our nautical napkin rings and set sail with this festive decor!
Difficulty level: Beginner
Time to complete: 10 minutes
Age range: 12 and up
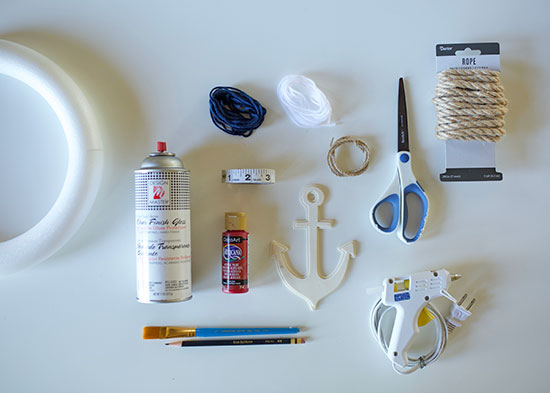
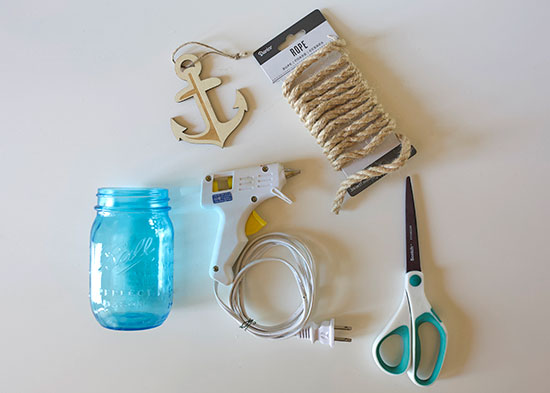
Things you’ll need:
Thick jute or rope
Blue mason jar
4″ wood anchor cutout
Hot glue gun and glue sticks
Scissors
Things to do:
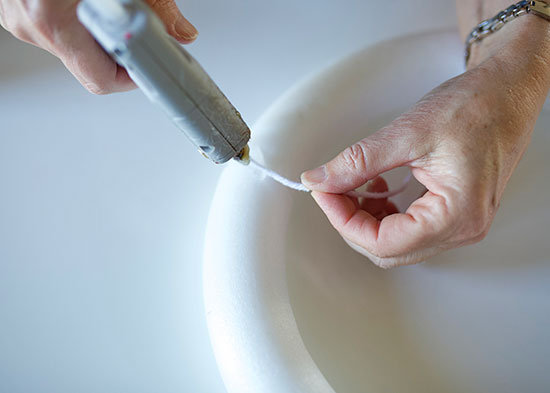
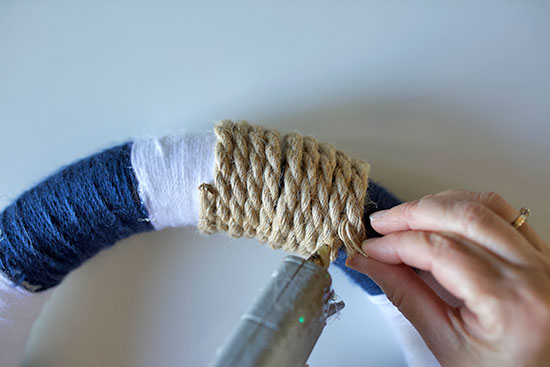
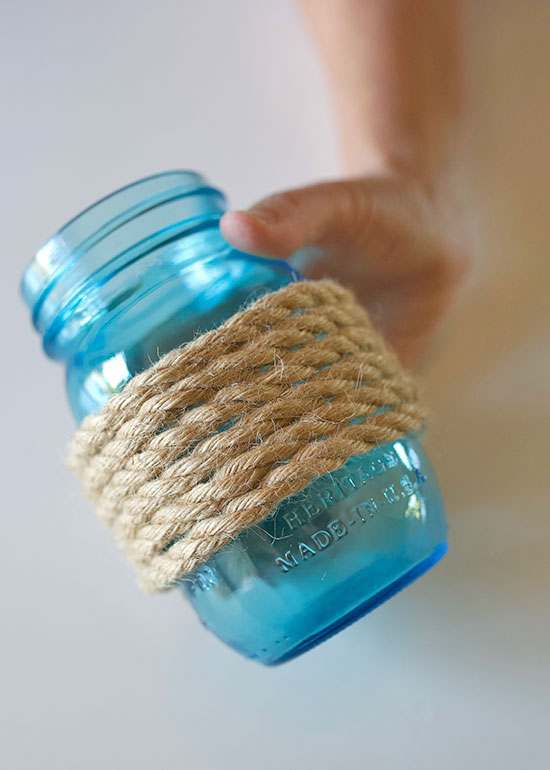
- Wrap jute or rope around your mason jar to desired width.
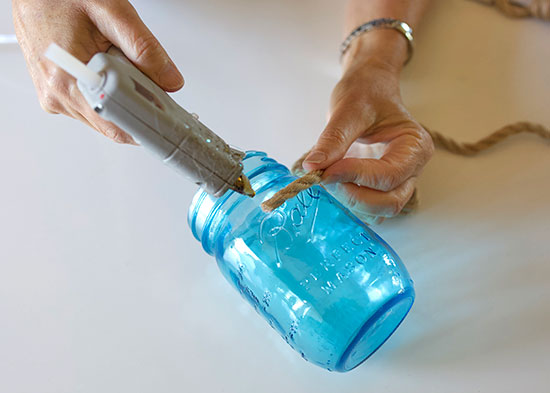
- Secure both ends of jute with hot glue on the back side.
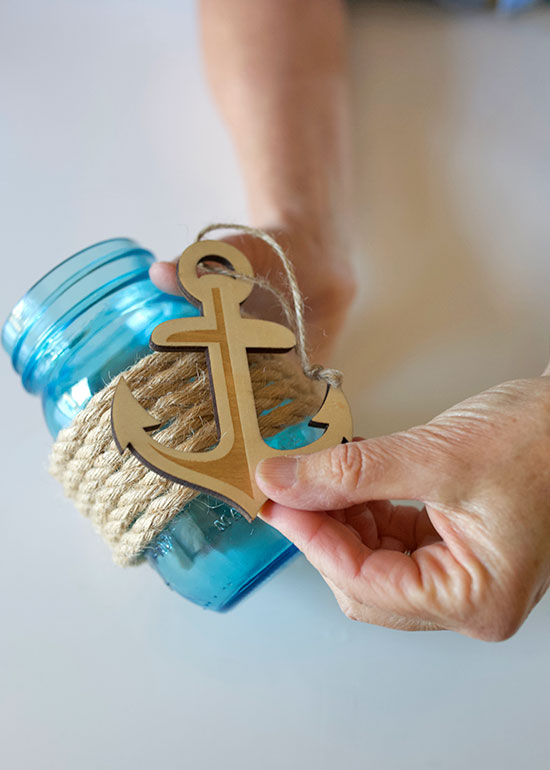
- Hot glue anchor in place on the top of the jute on the front of the jar.
- Add flowers or tealight to the vase and display as a centerpiece.