Difficulty level: Intermediate
Time required: 1 hour
Age range: 12 and up
Things you’ll need:
Three 1/2 ” dowels, 12″ long
Gray braided macrame cord
Red braided macrame cord
Scissors
Pencil or pen
Newspaper or other large scrap paper
Painter’s tape (optional)
Things to do:
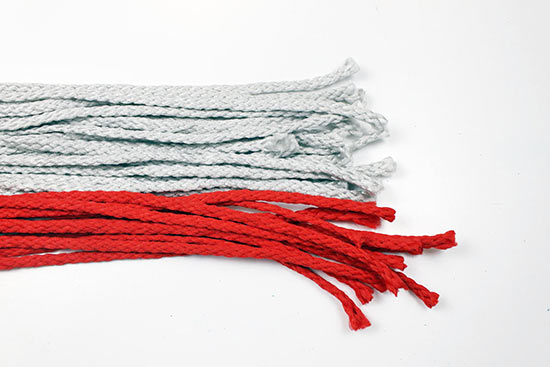
1. Cut macrame cord into the following lengths:
22 lengths of 54″-long gray
22 lengths of 54″ long red
22 lengths of 23″-long gray
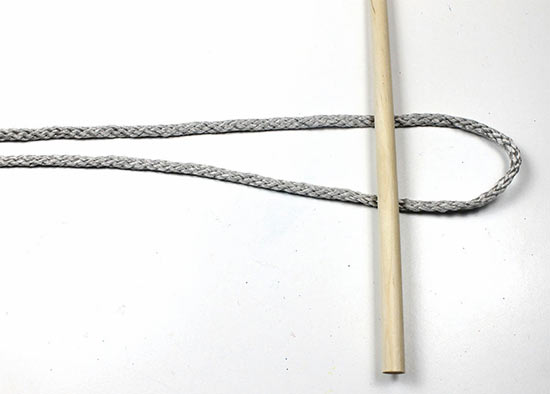
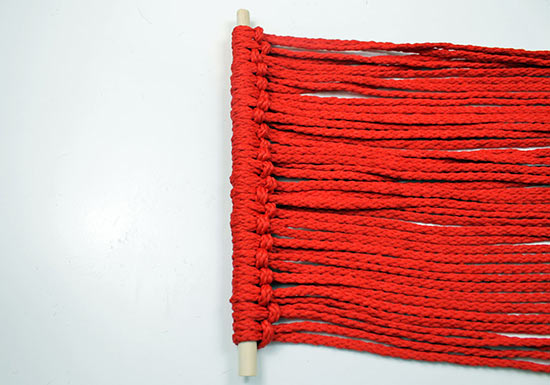
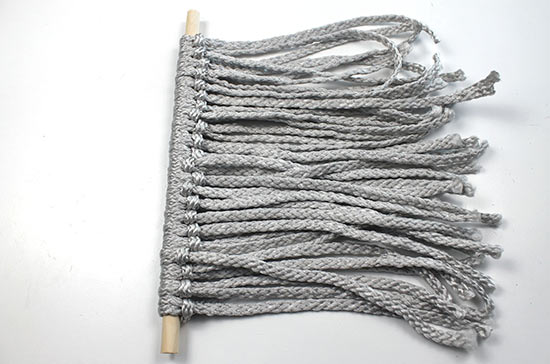
2. Using the 54″-long gray cords and one dowel, fold the cord in half. Place the cord under the dowel, forming a loop at the top about 1/2 ” from the edge of the dowel.
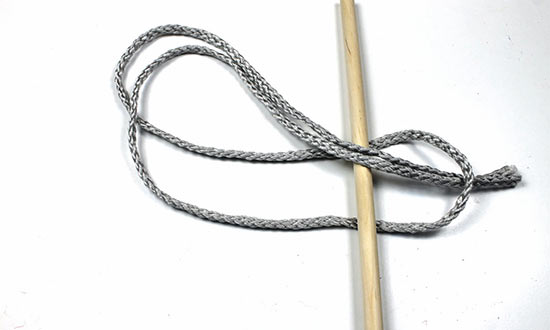
3. Insert the yarn tails through the loop.
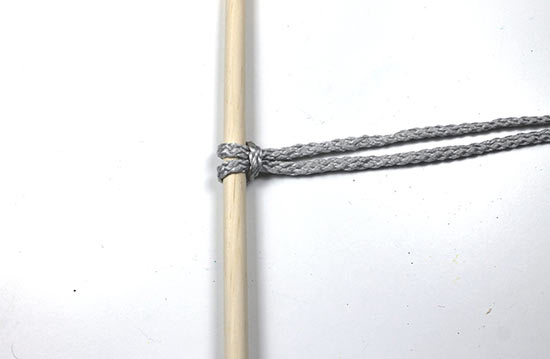
4. Tug the yarn tails to tighten the rope around the dowel.
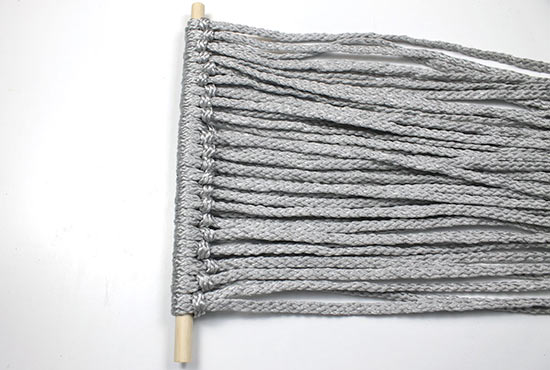
5. Repeat steps 2-4 with the remaining lengths of 54″-long gray cord. Set that dowel aside.
6. Using the 54″-long red cords, repeat steps 2-5 to complete a second dowel.
7. Using the 23″-long gray cords, repeat steps 2-5 to complete a third and final dowel.
8 Stack the three sets of dowels with the long gray strands on the bottom, the red strands in the middle, and the short gray strands on top. Tie a 23″-long strand of gray cord around all three dowels.
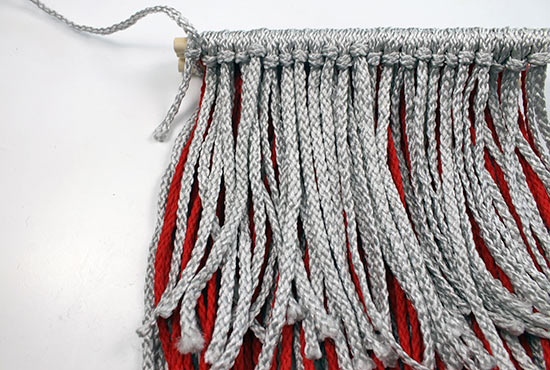
9. Tie the other end of the gray cord around the opposite end, again tying all three dowels together.

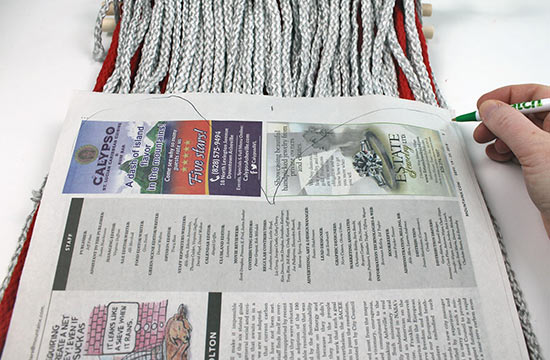
10. Create a heart template as follows: Use a ruler and marking tool to mark the center point of a piece of newspaper or other large scrap paper.
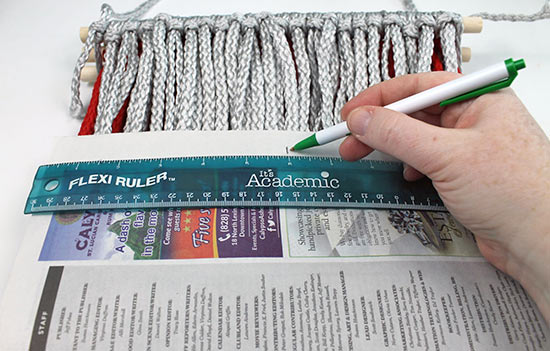
11. Draw a heart shape on the paper, keeping the center point in mind as you draw the top and bottom points of the heart. Try to draw a heart that’s as wide as your wall hanging.
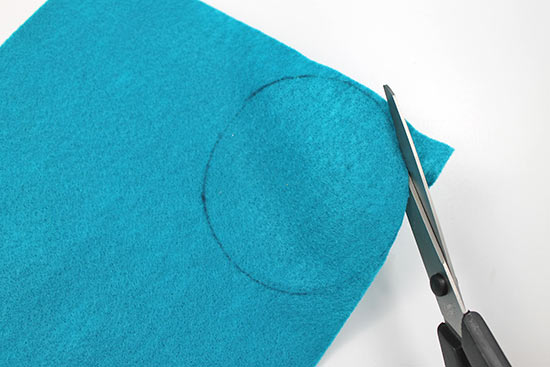
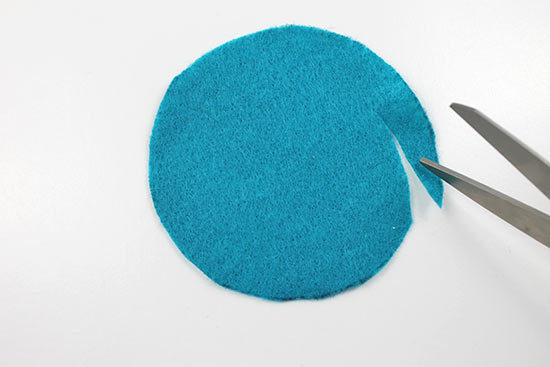
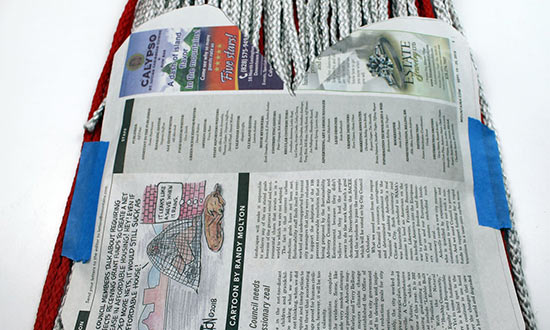
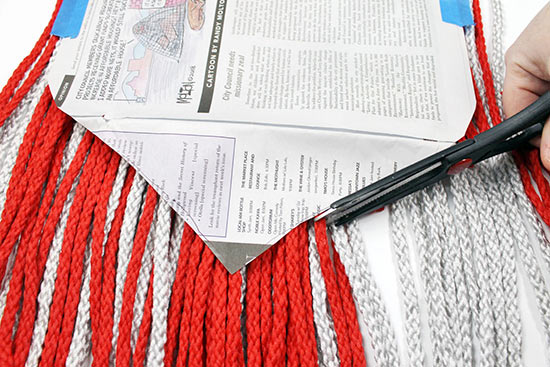
12. Cut out the heart template. Place it over the cords, leaving a few inches of gray cord at the top and a few inches of red cord at the bottom. Be sure the template isn’t longer than the long red and gray cords. If it is, adjust it.
Tip: If you’d like you can use painter’s tape to attach the template securely to the cords. This might make it easier to cut the cords in the next step.
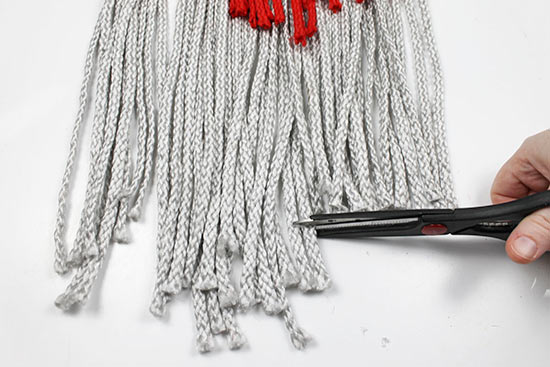
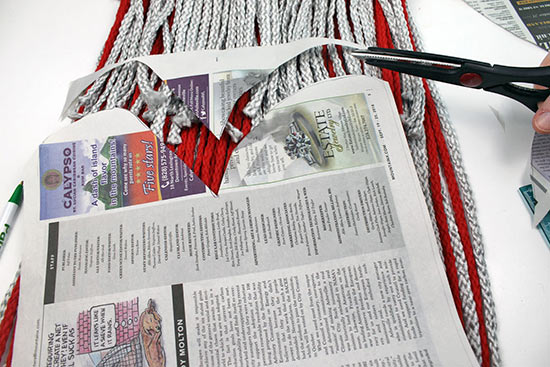
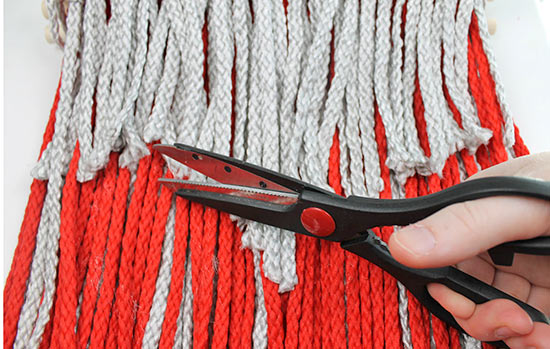
13. With the template on top of the cords, begin cutting the short gray cords in the shape of the top of the heart. Be sure you do not cut any of the long red or gray cords; you only want to cut the short gray cords.
14. Remove the heart template and trim the cords to make them neat and even. You may find it easier to hang the piece, then trim it so that the cords aren’t moving around as much.
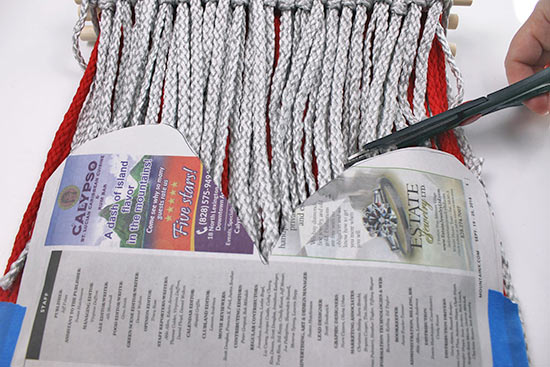
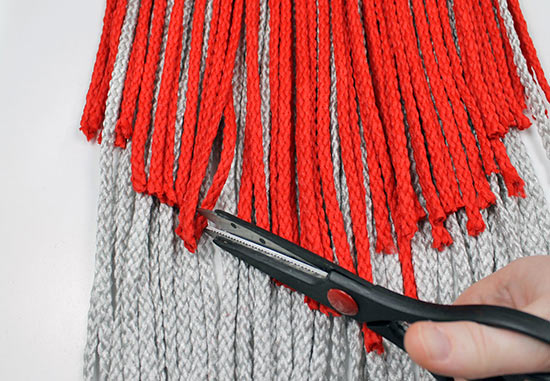
15. Place the template on top of the cords again, matching the top with the cut gray cords. Using the template as a guide, cut the red cords to match the bottom of the heart.
16. Remove the template and trim the red cords so that they are at a straight angle on both sides.
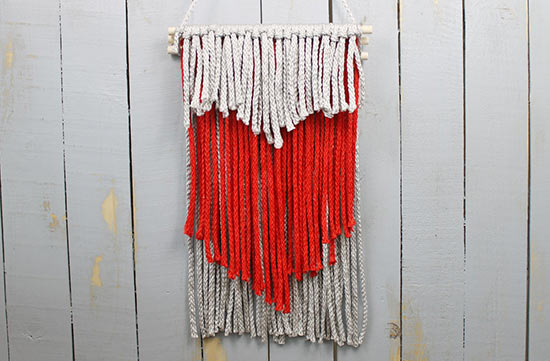
17. Trim the bottom pieces of the long gray cords so that they are even. Hang your piece!