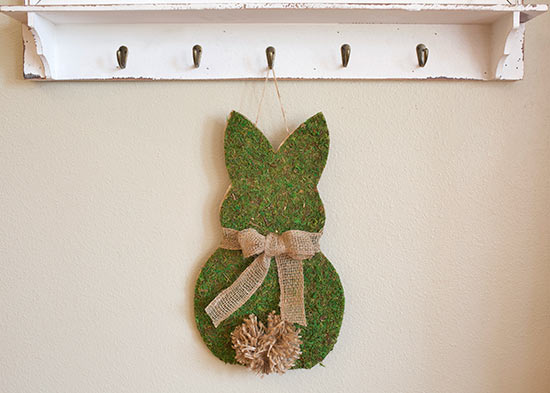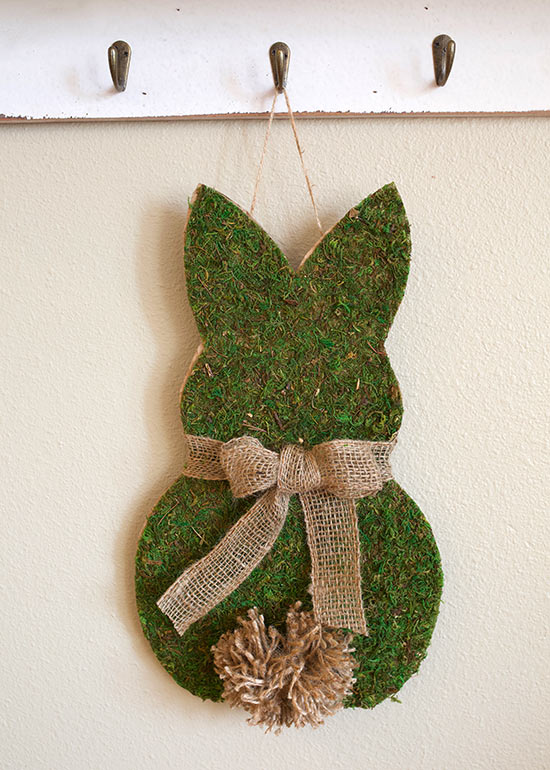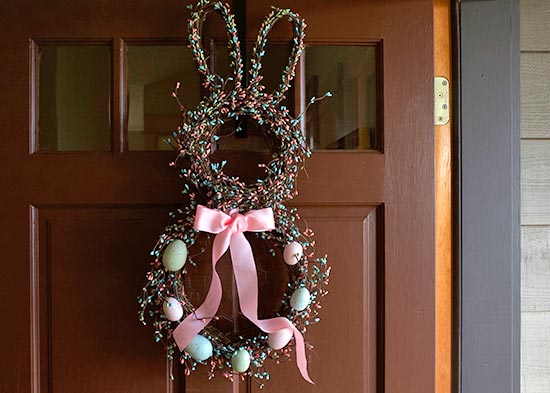
Dress up your doorstep for Easter with this bright and cheery bunny wreath! Choose berry and ribbon colors to complement your home decor and celebrate spring in style.
Difficulty level: Beginner
Time to complete: 45 minutes
Age range: 12 and up
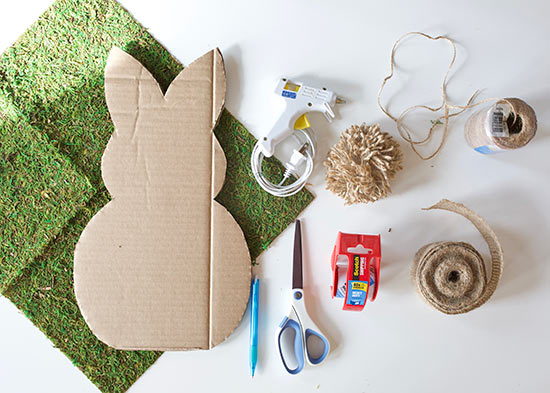
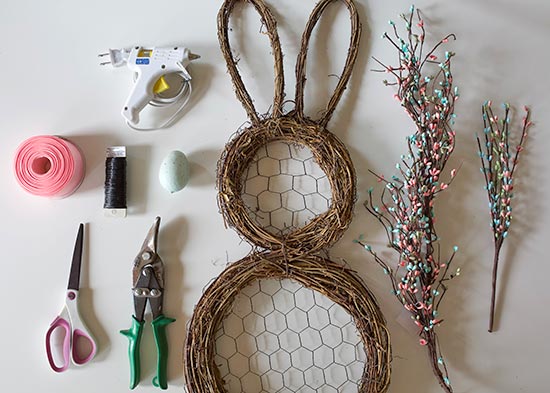
Things you’ll need:
Pip berry garland
Pip berry picks
Bunny wreath form
Wire cutters
Hot glue gun and glue sticks
Eggs
Ribbon
Scissors
Wire
Things to do:
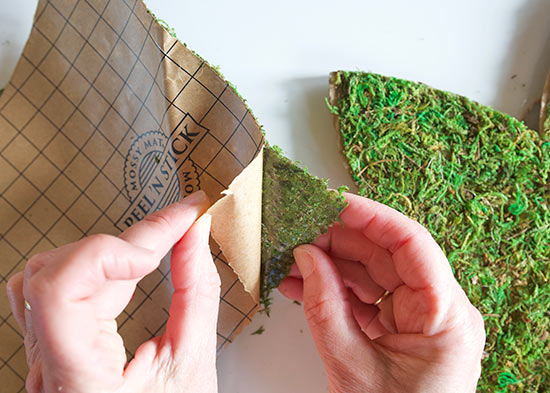
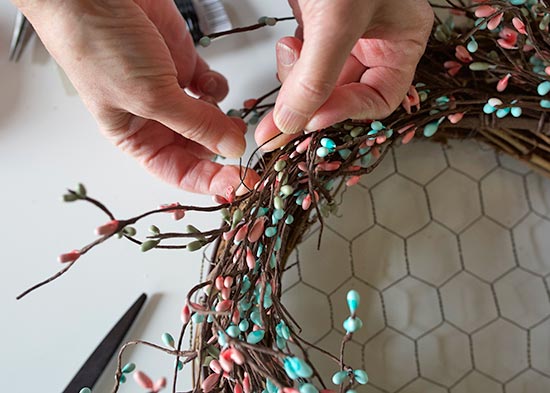
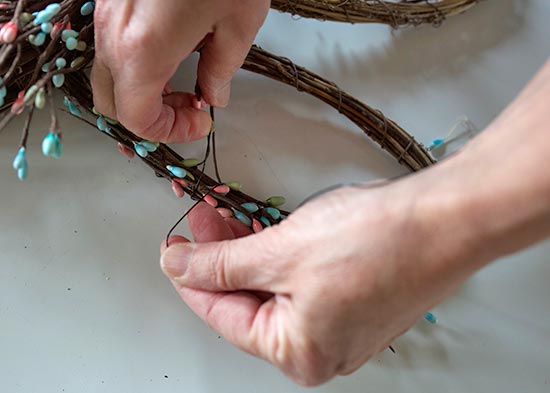
1. Use wire to attach pieces of berry garland to the wreath form. The berries should follow the natural shape of the wreath with a bit of bending.
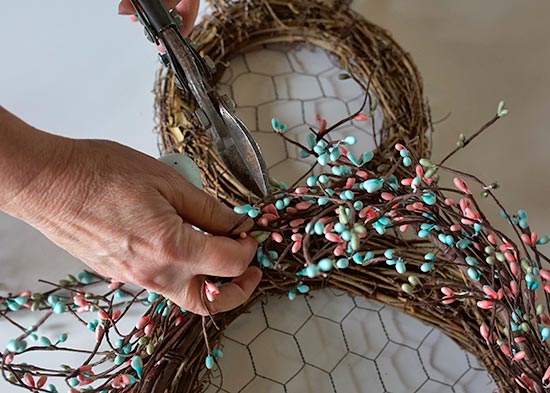 2. Separate your berry picks into groups of 4-5 sticks. Use wire to attach them to the ears of your bunny.
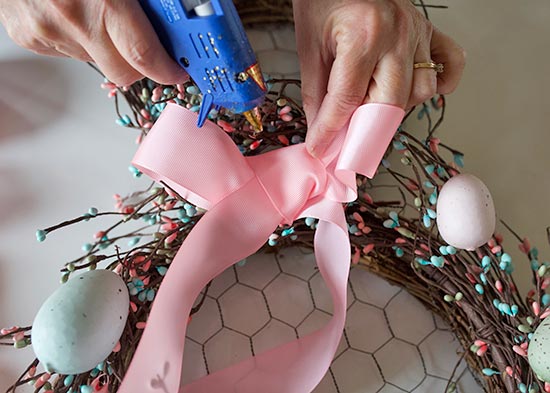
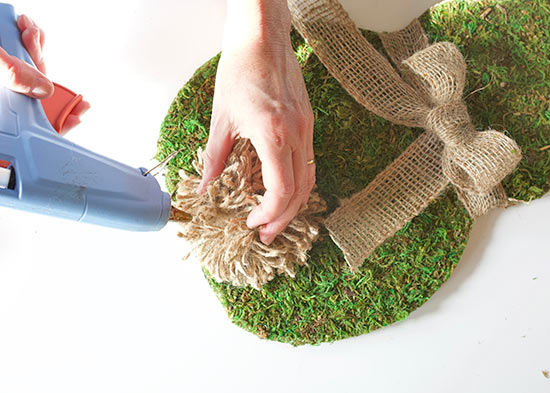
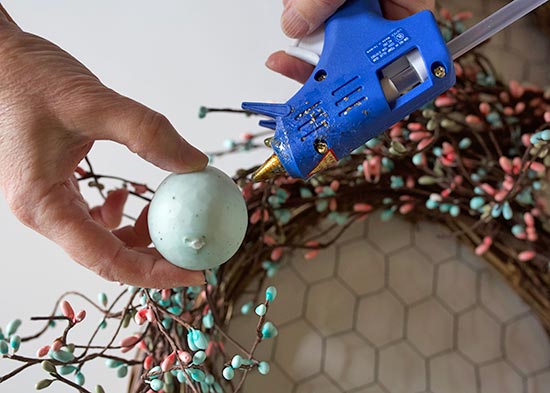
 3. Use hot glue to attach Easter eggs around the base of your bunny.
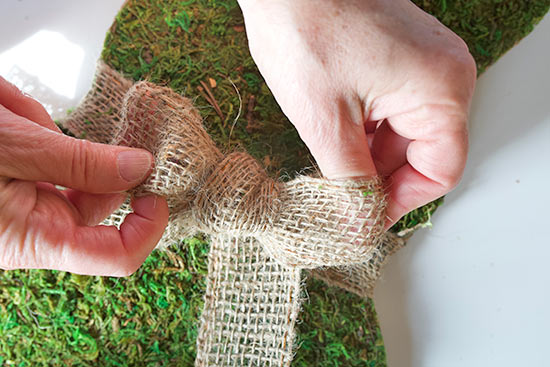
 4. Tie a bow around the neck of the bunny.