Skip to search Skip to navigation menu Skip to main content Selecting option will reload page

Category: Spring Crafts

DIY Felt Easter Carrot Treat Holder

DIY_Felt_Easter_Carrot_Treat_Holder_main
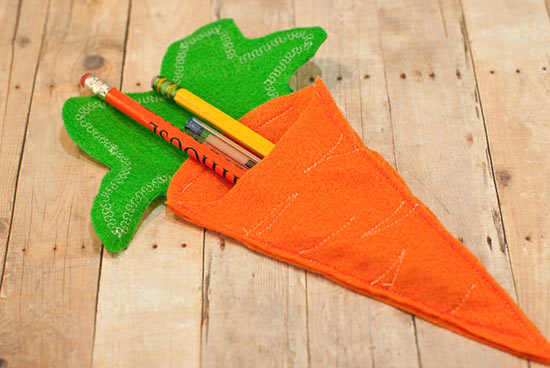
Have fun sewing this carrot treat holder for yourself or a child. It’s perfect for small sweets or colored pencils for Easter bunch place holder. It’s just the right touch for spring! If you desire, you can add magnets to the back and hang on a magnetic board or the refrigerator.

Difficulty level: Intermediate
Time to complete: 1 hour
Age range: 12+

Things you’ll need:
Orange felt sheet
Green felt sheet
Scissors
Sewing machine and general sewing supplies
Carrot template

DIY_Felt_Easter_Carrot_Treat_Holder1

Things to do:
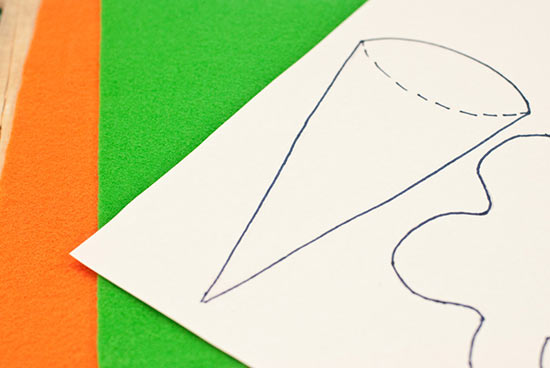
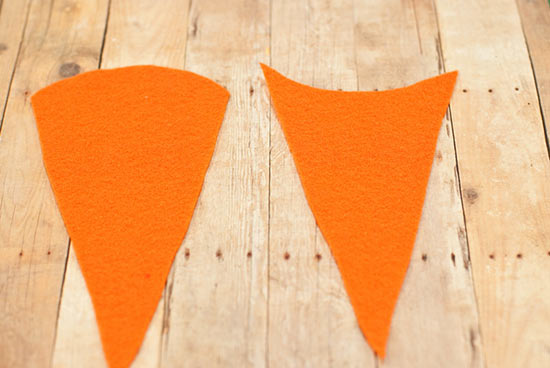
1. Trace the carrot shapes onto the orange felt. There are two parts – one with a convex top and one with a concave top.
DIY_Felt_Easter_Carrot_Treat_Holder3
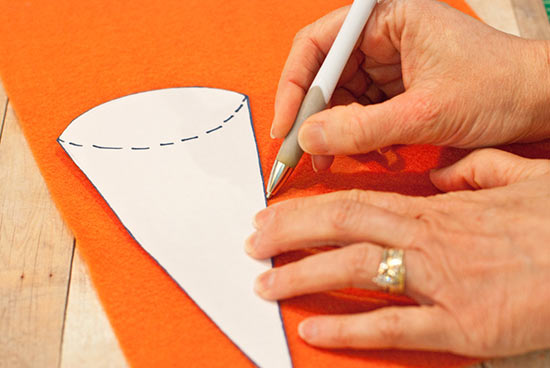
2. Cut your shapes out.
DIY_Felt_Easter_Carrot_Treat_Holder4
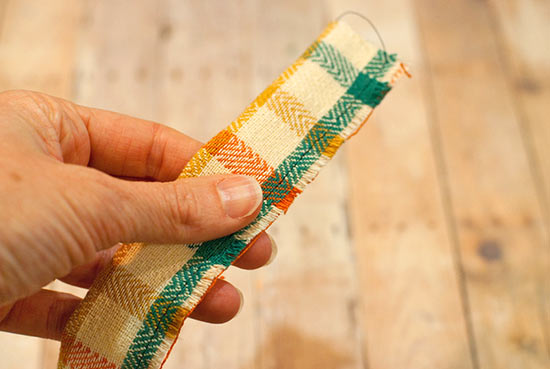
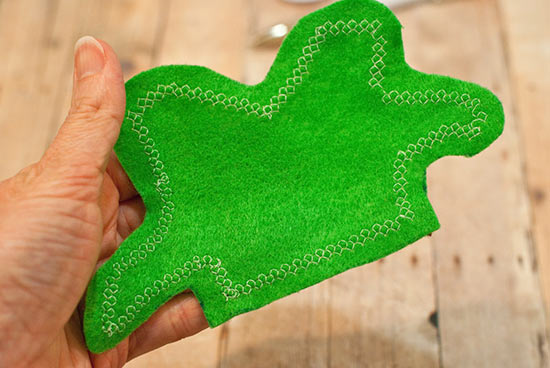
3. Trace and cut one carrot top shape from the green felt. Using a decorative stitch on your sewing machine, decorate the felt with a design of your choice. Have fun!
DIY_Felt_Easter_Carrot_Treat_Holder5
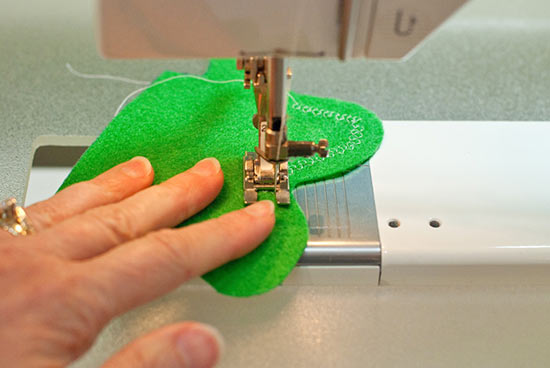
4. This is one way you can machine-stitch your carrot top!
DIY_Felt_Easter_Carrot_Treat_Holder6
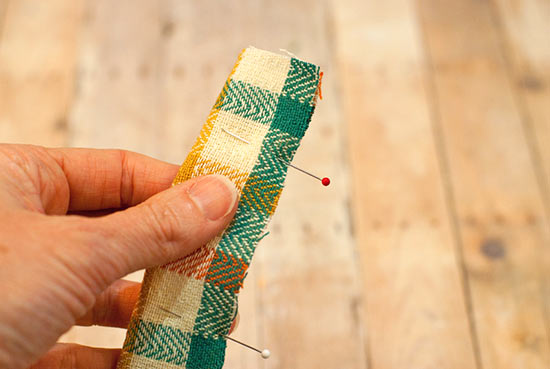
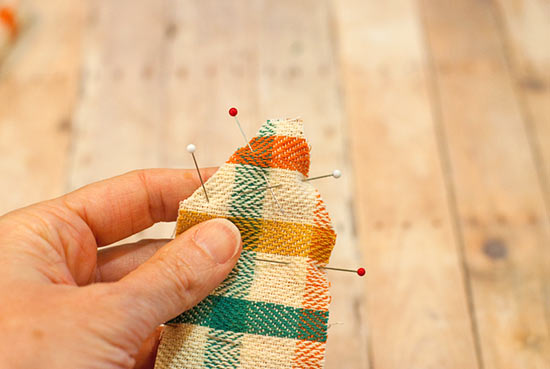
5. Pin the carrot top to the back of the convex carrot shape, as shown.
DIY_Felt_Easter_Carrot_Treat_Holder7
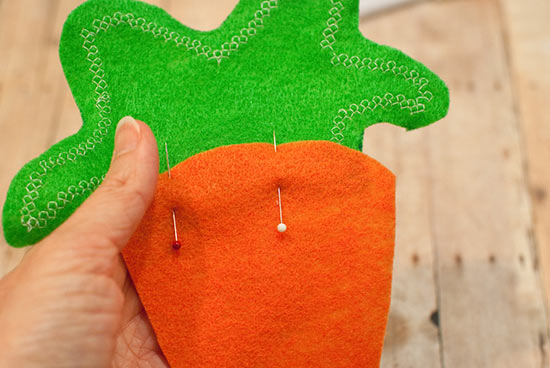
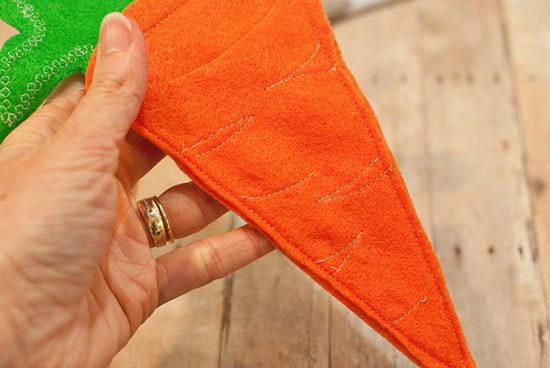
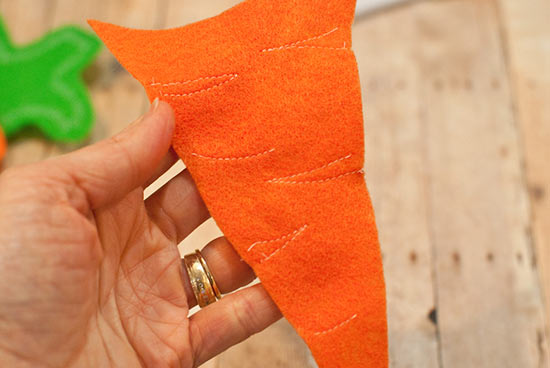
6. Stitch this together. Next, stitch some decorative marks on the carrot, as shown.
DIY_Felt_Easter_Carrot_Treat_Holder8
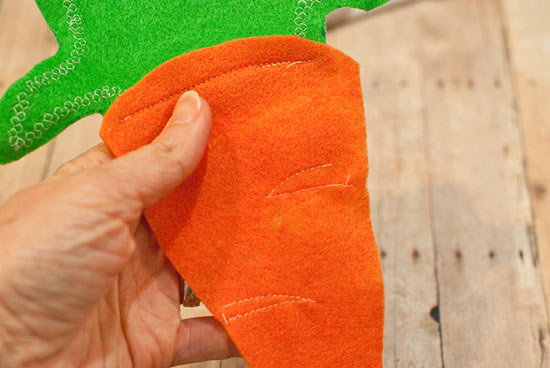
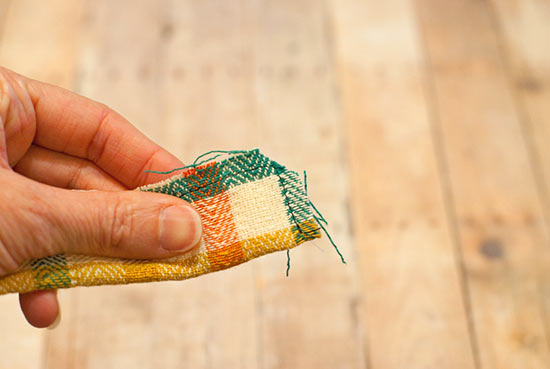
7. Stitch decorative marks on the concave carrot piece as well.
DIY_Felt_Easter_Carrot_Treat_Holder9
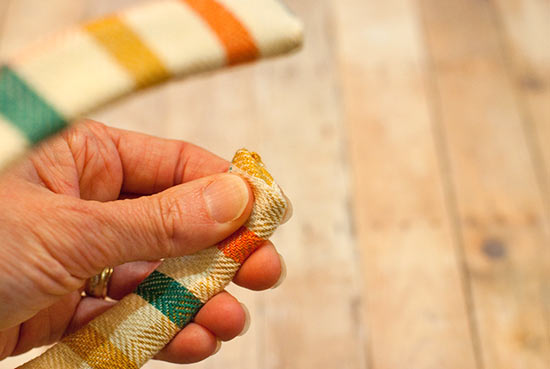
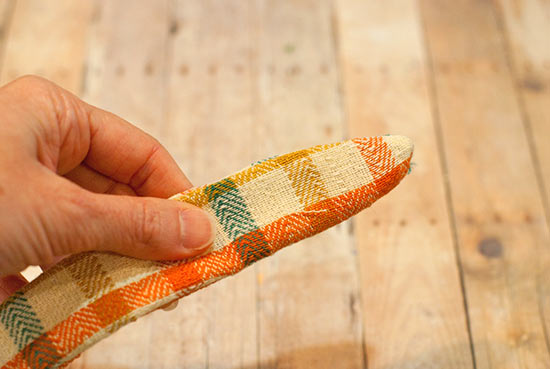
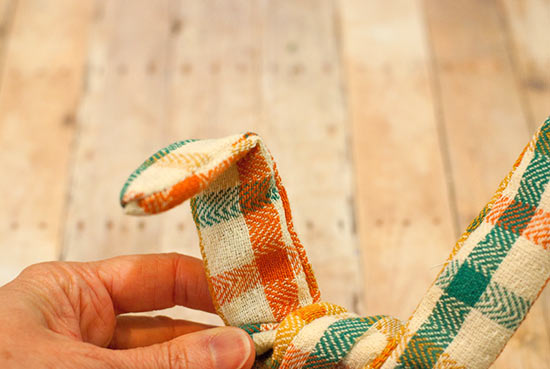
8. Pin the concave part over the top of the convex part, wrong sides together.
DIY_Felt_Easter_Carrot_Treat_Holder10
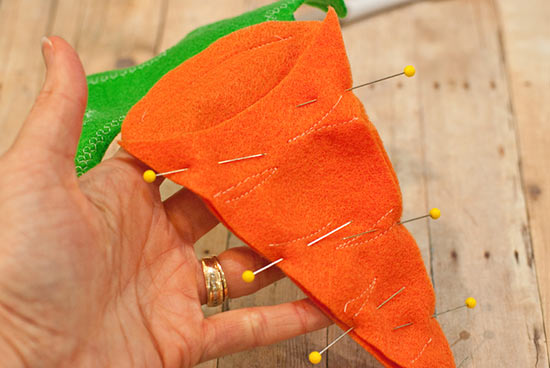
9. Stitch in place along the two diagonal sides.
DIY_Felt_Easter_Carrot_Treat_Holder11

Continue Reading

DIY Easter Bunny Ears Headband

Easter_Bunny_Ears_Headband_main
Hippity, hoppity, Easter’s on its way! She’ll be so hoppy to try this adorable bunny ears headband, and using spring-like colored towel is the perfect fabric for this sewing project. You’ll need beginner-level skills on a sewing machine to sew this.

Difficulty level: Intermediate
Time to complete: 1 hour
Age range: 10+

Things you’ll need:
Dish towel
Plastic headband
Two pipe cleaners
Hot glue gun
Glue sticks
Scissors
Sewing machine and general sewing supplies

DIY_Easter_Bunny_Ears_Headband1

Things to do:
1. Cut three strips of the towel at 2″ x 16″ each.
DIY_Easter_Bunny_Ears_Headband2
2. Fold one of the strips in half and pin along the long side and one short side.
DIY_Easter_Bunny_Ears_Headband3
3. Stitch along the long side and one short side leaving one side open. Warm up your hot glue gun.
DIY_Easter_Bunny_Ears_Headband4
4. Clip the corners on the sewn side and turn right side out.
DIY_Easter_Bunny_Ears_Headband5
5. Slip this onto the headband. Trim the open end as needed, fold the ends inside, and glue closed. If desired, you may sew the ends closed by hand, rather than glueing.
DIY_Easter_Bunny_Ears_Headband6
6. Place the other two pieces right-sides together. Pin both long ends, but make sure to mark a 2-inch area that you’ll leave open and unsewn.
DIY_Easter_Bunny_Ears_Headband7
7. Trim both short ends as shown, and pin together. Sew around all edges, making sure to leave the 2-inch section unsewn.
DIY_Easter_Bunny_Ears_Headband8
8. Twist your pipe cleaners together and curl the ends as shown, making sure this “structure” is a little shorter than the length of the segment you sewed in Step 7.
DIY_Easter_Bunny_Ears_Headband9
9. Turn the stitched segment right side out, and slip the pipe cleaner structure inside. Turn the open ends toward the inside and glue or stitch closed by hand.
DIY_Easter_Bunny_Ears_Headband10
10. Twist this section onto the top of the headband, as shown.
DIY_Easter_Bunny_Ears_Headband11
11. Bend one of the ears down to make it look floppy.
DIY_Easter_Bunny_Ears_Headband12

Continue Reading
Change Your Country
Please select your country, this will change the site to your country's currency:

Cancel