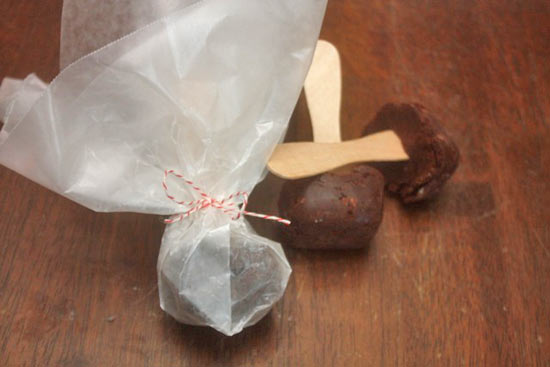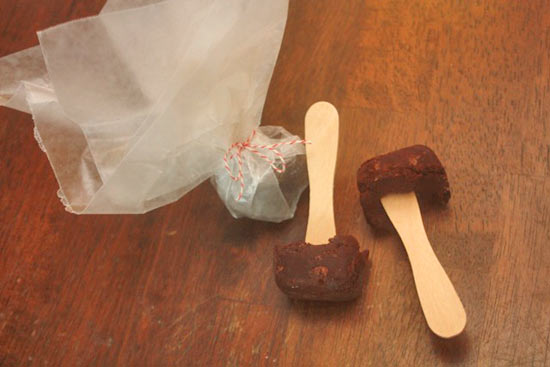
When cold weather strikes, and this has been a cold cold winter already, there’s nothing quite like a cup of hot chocolate to warm cold fingers and tummies and we’ve always got the makings of that magical mixture around the house. One option for it also makes a fabulous gift, hot chocolate on a stick. Use chocolate molds or an ice cube tray to create 1 oz cubes of chocolate that will dissolve into hot milk to make a rich, frothy drink so much better than mixes or powders.
Time required: 15 minutes
Difficulty level: Easy
Thing you’ll need:
8 oz chocolate chips
3 Tablespoons cocoa powder
6 tablespoons powdered sugar
ice cube tray or molds
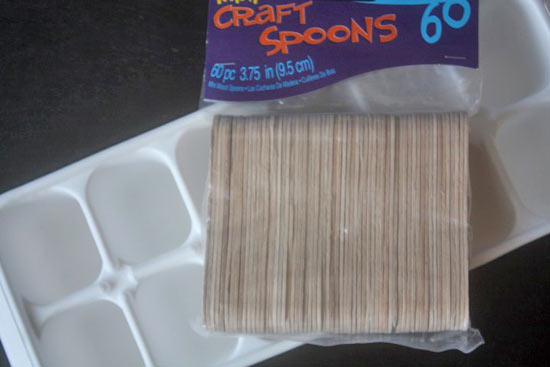
Craft spoons
Double boiler
Wax or parchment paper
Bakers twine
Things to do:
1. Melt the chocolate in the double boiler until it’s smooth and glossy. Remove from heat and quickly stir in the sugar and cocoa.
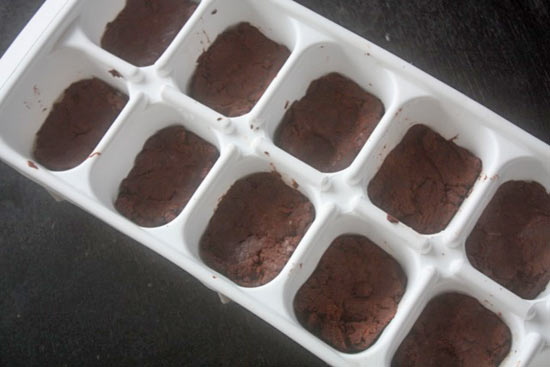
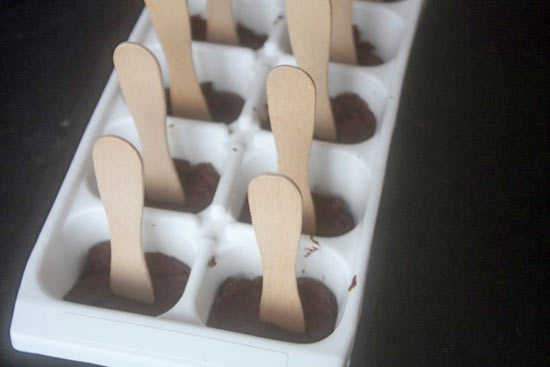
2. Spoon the mixture into the ice cube tray holes. You should get 10 cubes out of the recipe.
3. Stick the wooden spoons into the center of each chocolate cube and slip the tray into the freezer to harden.
4. Once the cubes of chocolate have hardened, pop them out and wrap in squares of wax paper or parchment paper and tie off with a piece of bakers twine. For an added touch, you could add a tag with a cute saying, such as…
“To warm yourself on a cold winter night,
A cup of hot cocoa is such a delight.
Simply stir to make a cup,
Then sit back, relax and take a big gulp.”
Or
“Ho Ho Cocoa in a mug.
Wrapped up neatly with a hug.
Pour on hot milk, stir with the stick,
Sip it slowly, get warm quick.”
