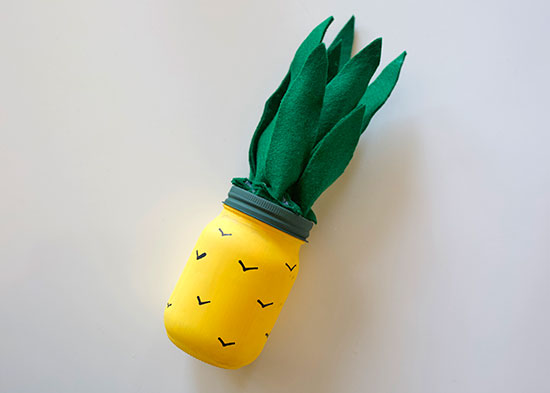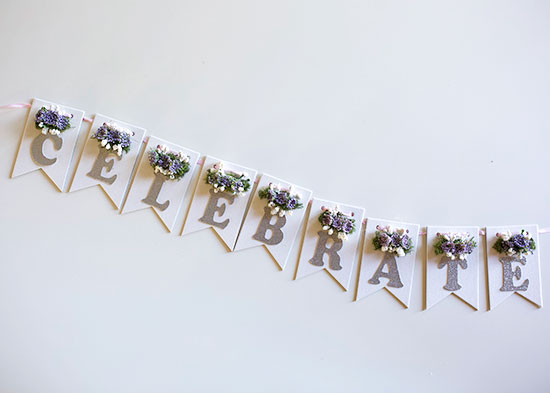
Let’s celebrate! This lovely banner is a quick way to decorate for a birthday party, baby shower or wedding. You can customize it with different colors of flowers or write a special message of your own.
Difficulty level: Beginner
Time to complete: 30 minutes
Age range: 12 and up
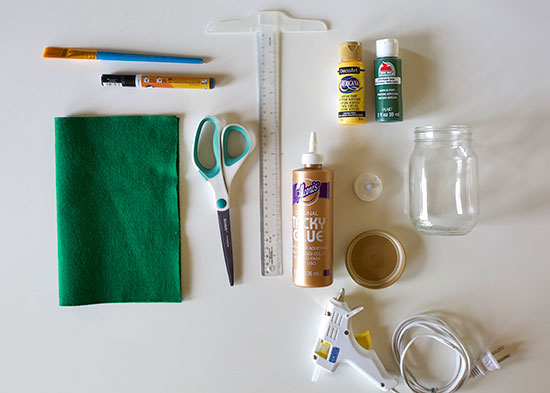
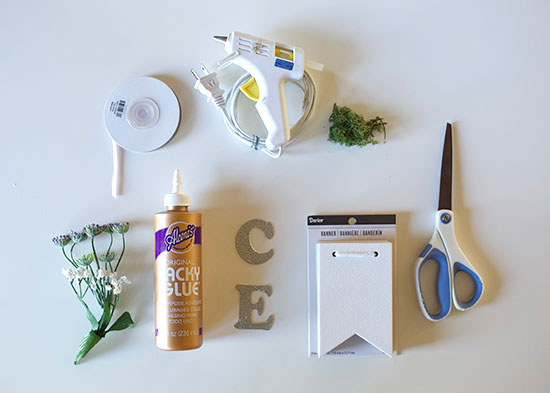
Things you’ll need:
Banner
Letters
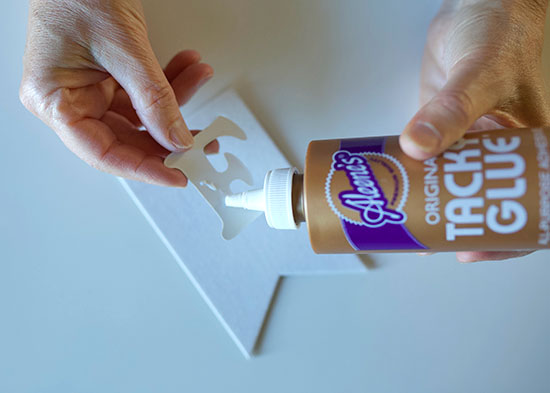
Tacky glue
Ribbon
Artificial flowers (small)
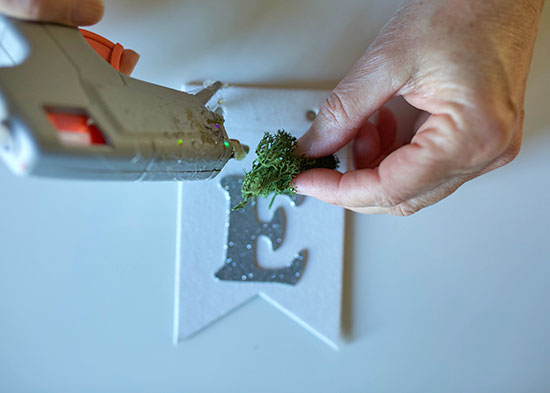
Moss
Hot glue gun and glue sticks
Scissors
Things to do:
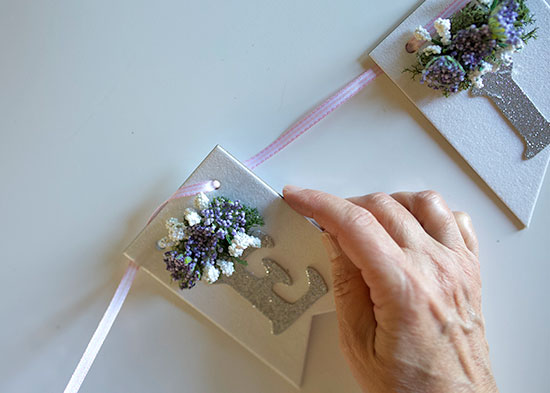
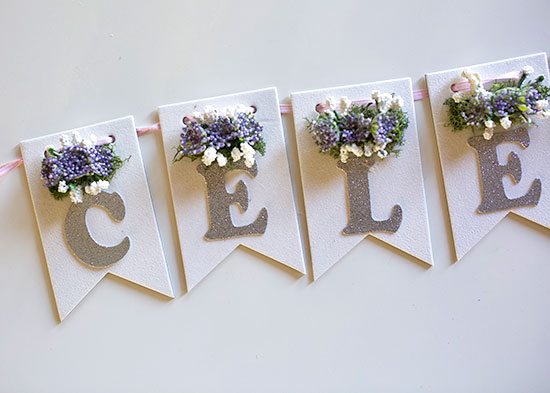
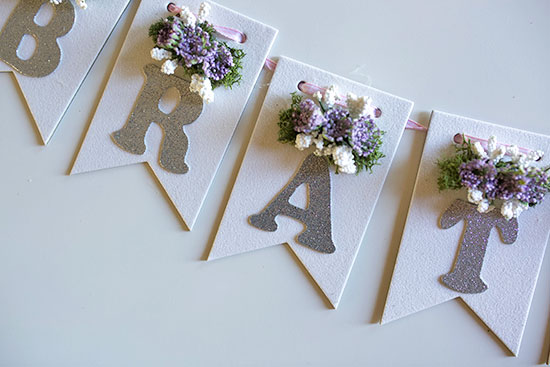
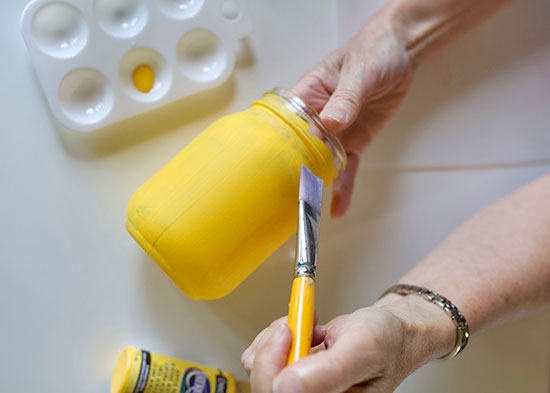
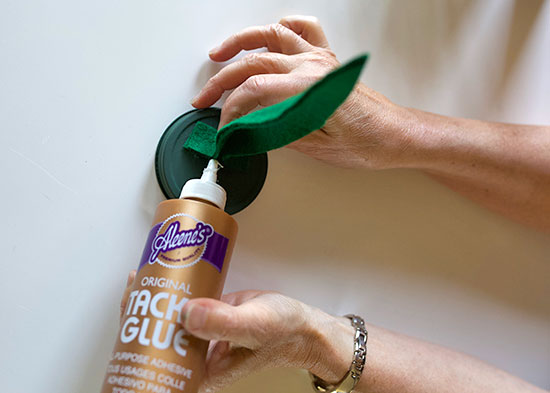
- Use tacky glue to secure your “celebrate” letters to the banner.
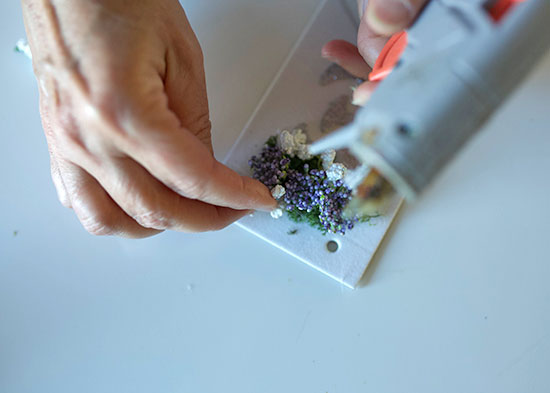
- Trim the blooms from your artificial flower bunches.
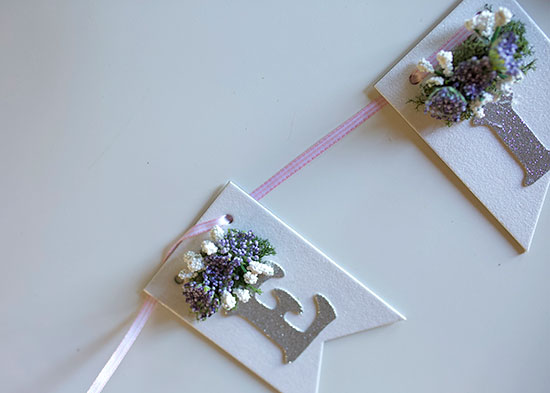
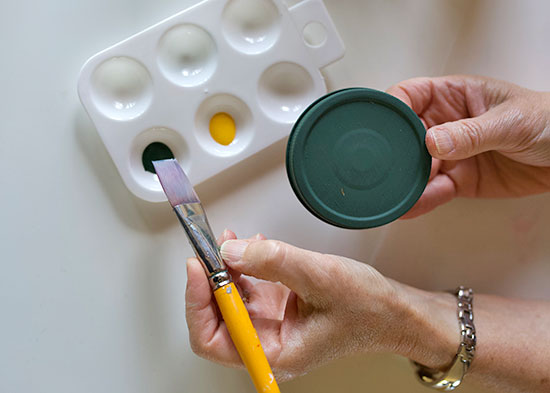
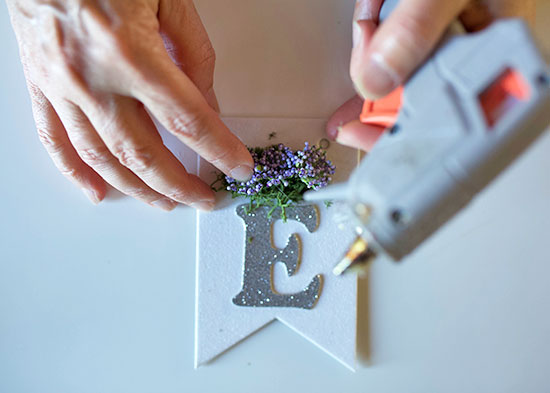
- Decorate the banner, layering moss and flowers with hot glue.
- String your pendants on a piece of ribbon of your choice.