Skip to search Skip to navigation menu Skip to main content Selecting option will reload page

Category: Kid's Arts and Crafts

DIY Magnetic Fishing Game


This magnetic fishing game is a craft project and a game! Create multiple fish and fishing poles to go fishing with friends.

Things you’ll need:
Felt squares
Scissors
Hot glue gun
Googly eyes
Permanent marker
Bakers Twine
Stick or dowel rod
2 – Magnets
Fish template

Things to do:
1. Fold your felt in half and trace your fish stencil on one side.
2. Using your scissors, cut through both sides of the felt, along the traced fish shape. This will result in two identical fish shapes.
3. Place one magnet between the two fish halves.
4. Use your hot glue gun to glue the two felt fish halves together with the magnet inside of the fish.
5. Glue googly eyes to the outside of your fish and decorate however you like!
6. To make the fishing pole, tie one end of your string to the stick (securing the string with hot glue if you so choose).
7. Tie the other end of your string to the other magnet.
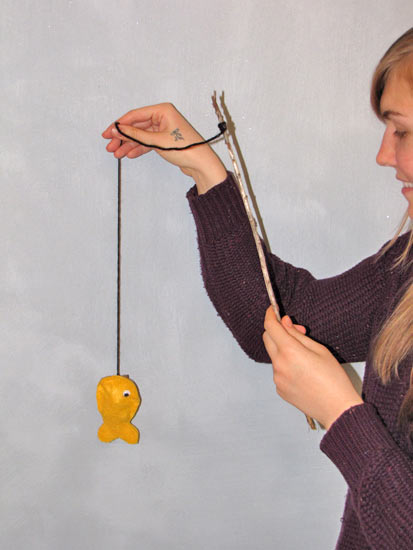
8. To play the fishing game, hold your fishing pole and hover the magnetic end on your string over your felt fish. When the magnets connect, you will have caught your fish!
Continue Reading

DIY Faux Stained Glass Vases


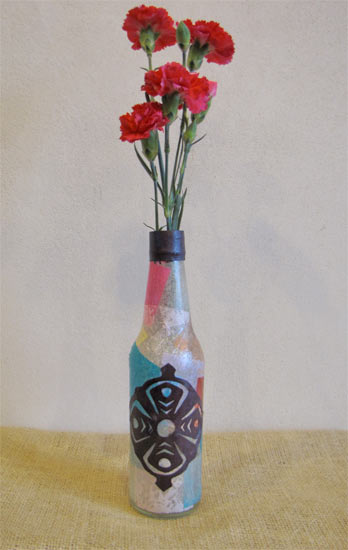
Stained glass vases are a great craft for kids and adults. The results can be as simple or elaborate as you want them to be. Use the tissue paper and construction paper to create a pattern, use different colors, and really make it your own!

Things you need:
Clear glass bottle
Different colored tissue paper (cut into 2” x 2″ squares)
Black construction paper (cut into 4” x 4” squares)
Scissors
Mod Podge
Foam brush

Things to do:
Prep work: Cut tissue paper and black paper into squares
1. Make sure your bottle is clean, and use your sponge brush to paint the top of your bottle with Mod Podge.
2. Apply squares of tissue paper onto the bottle where Mod Podge was applied.
3. Continue applying Mod Podge down the bottle and putting tissue paper on top. Use the sponge brush to gently smooth the tissue paper as you go.
4. Let your bottle dry completely.
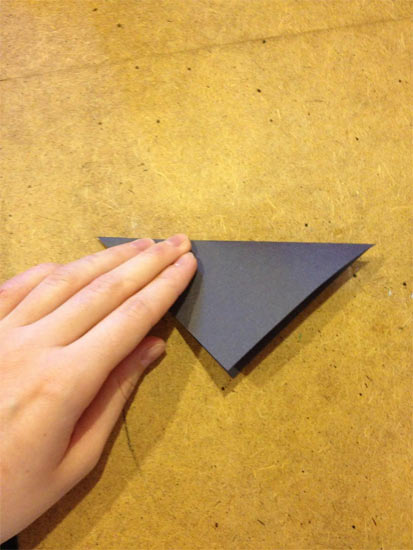
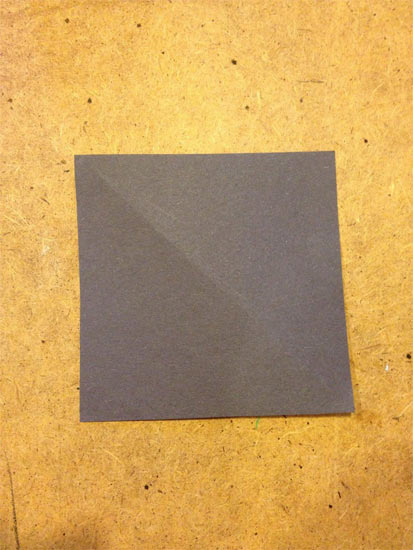
5. Create your stained glass window design just as you would a paper snowflake. Take your square piece of black construction paper and fold it into a triangle by bringing one corner of the square to the opposite corner.

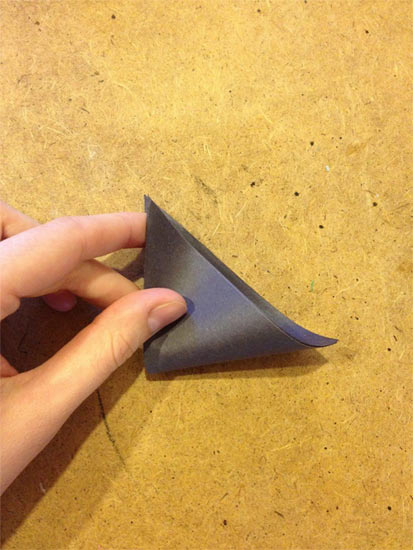
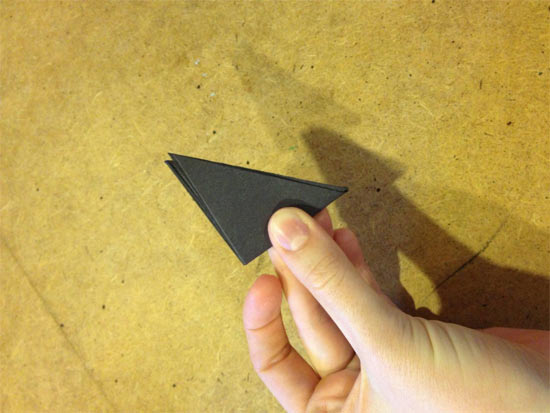
6. Make this triangle into a smaller triangle by folding one bottom corner of the triangle to the other bottom corner. Do this again to make an even smaller triangle.

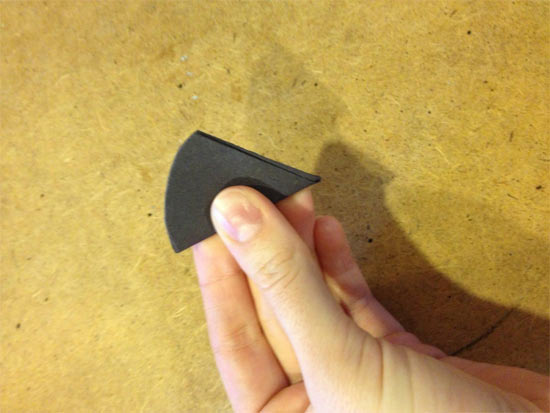
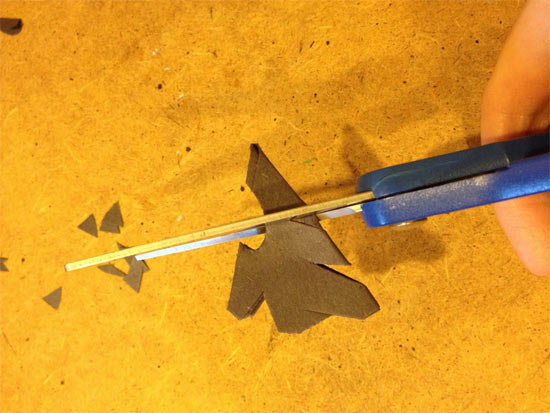
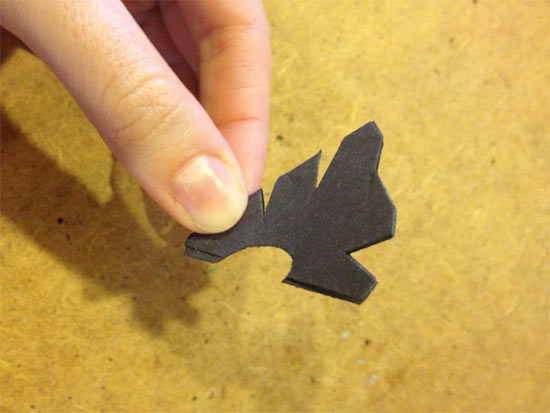
7. After folding your paper into this tiny triangle, hold your paper where all the points meet. Cut the opposite side of the triangle so that the edge is curved.

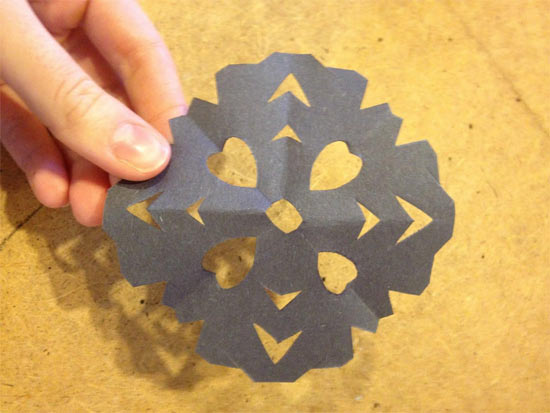
8. Keep the paper folded and begin cutting into it with the scissors to create your design. Remember not to cut all the way down either side because the creases hold your paper together.

9. Open your paper to reveal your design.

10. Glue your paper stained glass design to the outside of your decorated glass bottle. Apply Mod Podge on top of your design to secure it and let dry.
11. Place flowers in your vase or set in front of a window to fully enjoy its sunny qualities!

Continue Reading
Change Your Country
Please select your country, this will change the site to your country's currency:

Cancel