Skip to search Skip to navigation menu Skip to main content Selecting option will reload page

Category: "How to" Videos

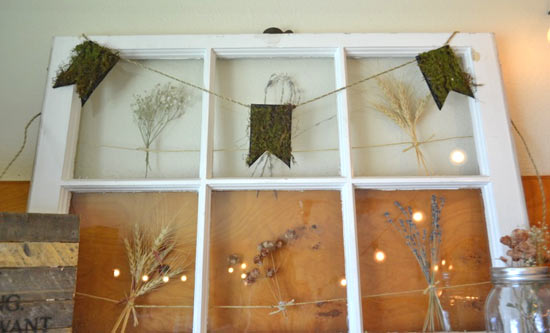
DIY Moss Pennant Banner


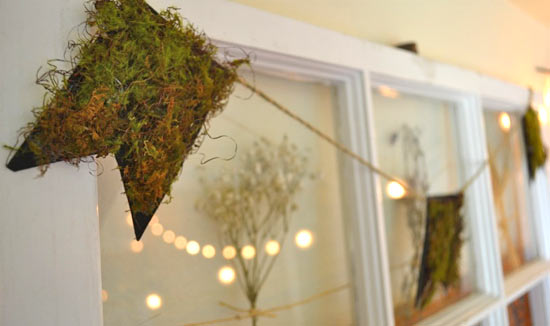
This nature-inspired banner is the perfect project for all lovers of rustic decor. If you’re looking for an nontraditional banner to adorn your space, you’ll love this craft! If you want to add a message to this mossy banner, try using glitter letters to create contrast.

Difficulty level: Beginner
Time to complete: 1 Hour
Age range: 12 and Up

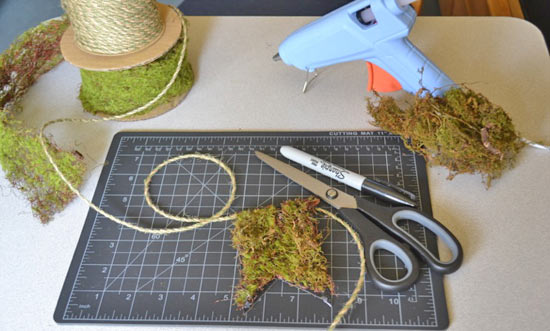
Things you’ll need:
Black Stiffened Felt
Scissors
Hot glue gun and glue sticks
Moss ribbon
Jute
Sharpie
Cutting mat
Loose moss

Things to do:
1. Cut a 2 1/2 x 5-inch piece of stiffened felt. This will serve as the backdrop for your moss.
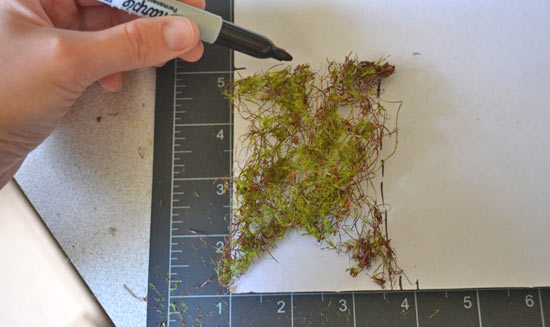
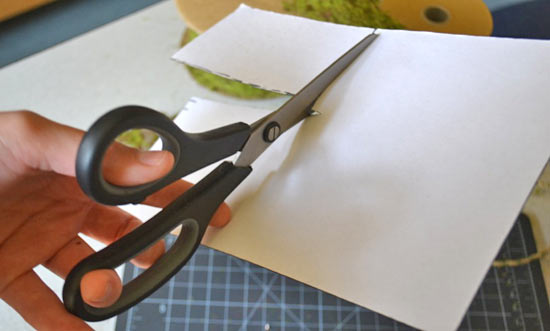
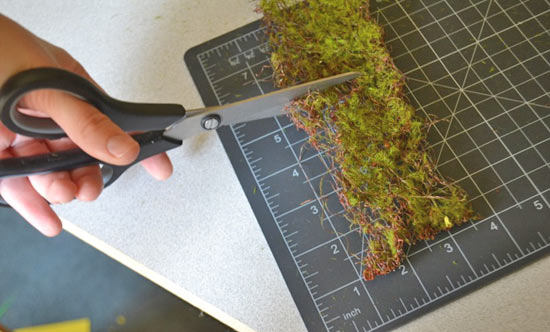
2. Cut a 5-inch piece of moss ribbon.
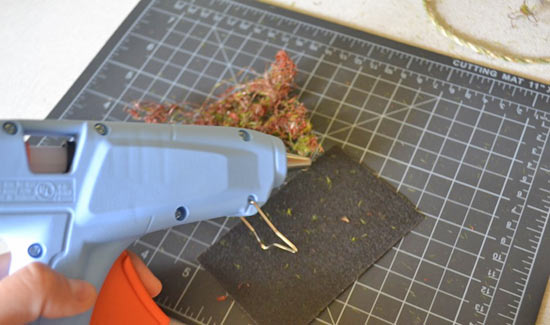
3. Use hot glue to attach the ribbon to the felt backdrop. Draw a line of glue around the edges and center of the piece of felt. Hold the felt on the hot glue until it has dried completely.

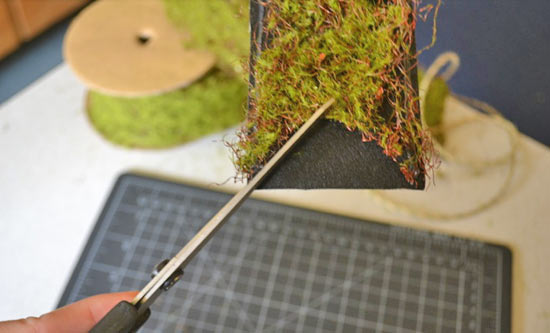
4. Cut a triangle out of the bottom of the pendant.
5. If the moss is thin in any area, use hot glue to add a layer of loose moss.
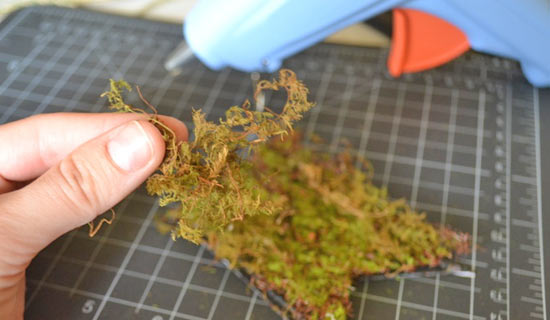
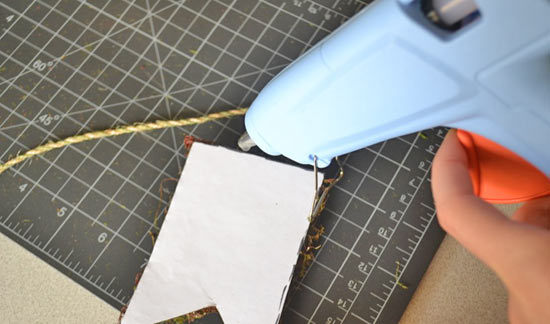
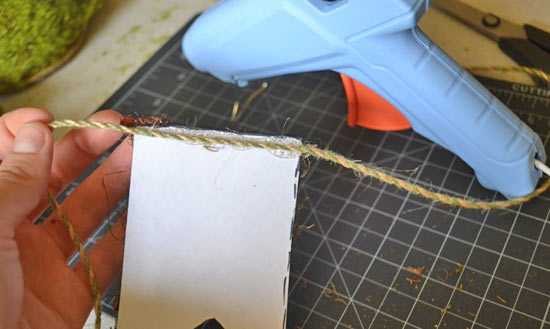
6. Once the moss has dried completely, draw a line of hot glue across the top of the pendant and attach it to a piece of jute. Continue to create moss pendants and add them to your jute until you’ve filled the string.
Continue Reading

How to Make Pallet Board Coasters


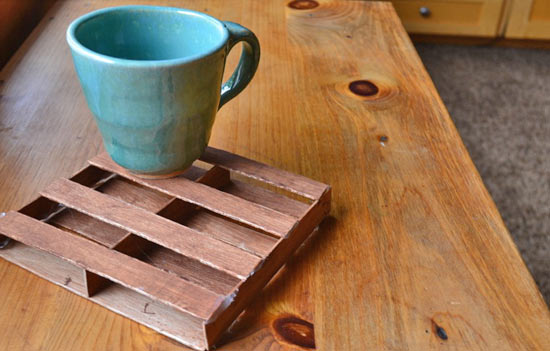
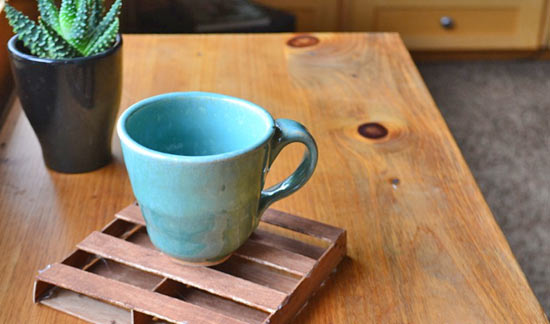
Reminiscent of arts and crafts time in grade school, these Popsicle stick coasters are as fun to make as they are cute! Have fun painting and assembling the wood sticks to create the perfect, practical home accessory.

Difficulty level: Beginner
Time to complete: 1 Hour
Age range: 10 and Up

Things you’ll need:
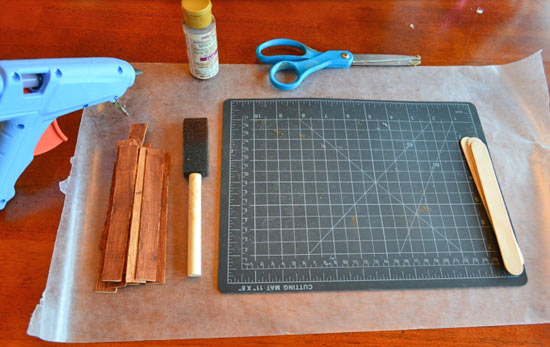
11 Popsicle sticks
Scissors
Wood stain
Foam brush
Hot glue gun and glue sticks
Wax paper
Cutting mat with ruler

Things to do:
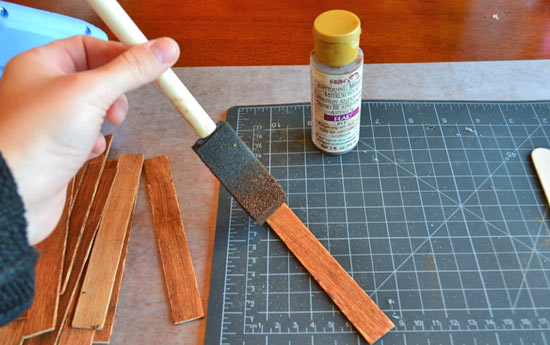
1. The first step is staining your Popsicle sticks. Use a foam brush to apply a thin coat of stain directly to the Popsicle sticks. Stain both sides and allow time for them to dry completely. I stained mine and let them sit out overnight to ensure they dried.

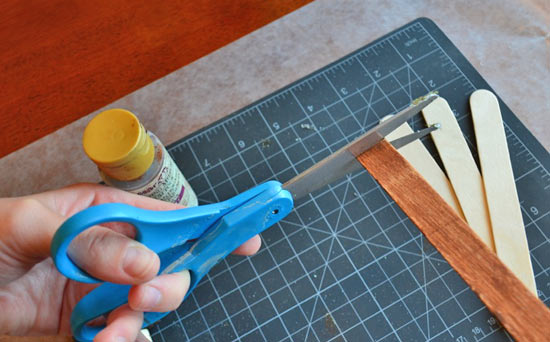
2. After you’ve stained 11 Popsicle sticks, use scissors to cut off the rounded ends.

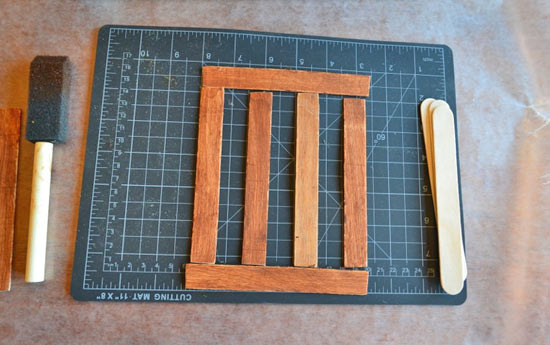
3. Now it’s time to arrange your Popsicle sticks. Lay four parallel, using your ruler cutting board to keep them straight.


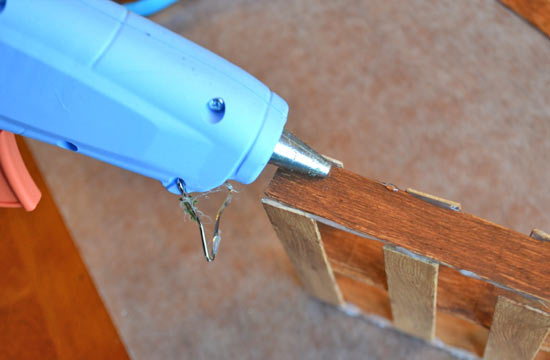
4. Use hot glue to attach a Popsicle stick to both ends of the four parallel sticks.

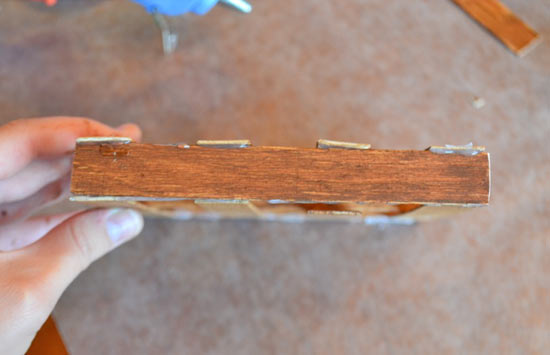
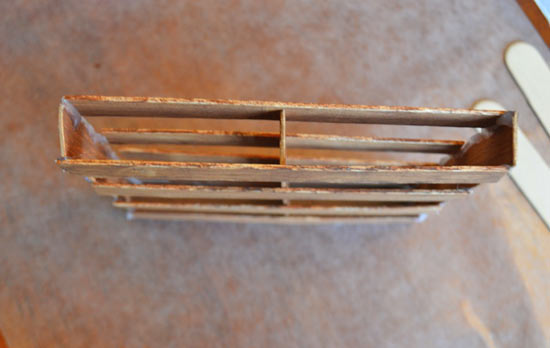
5. Once you’ve created a base and a frame, use hot glue to add four more Popsicle sticks directly above the four on the base.

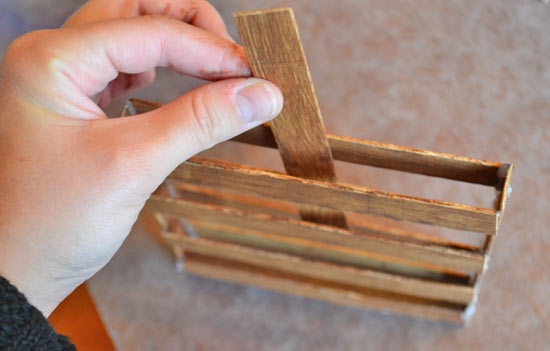
6. After the hot glue has dried, slide the last Popsicle stick down the center of your mini pallet board and twist it, so it’s standing up. This will add a little more support and complete the pallet board look.


Continue Reading
Change Your Country
Please select your country, this will change the site to your country's currency:

Cancel