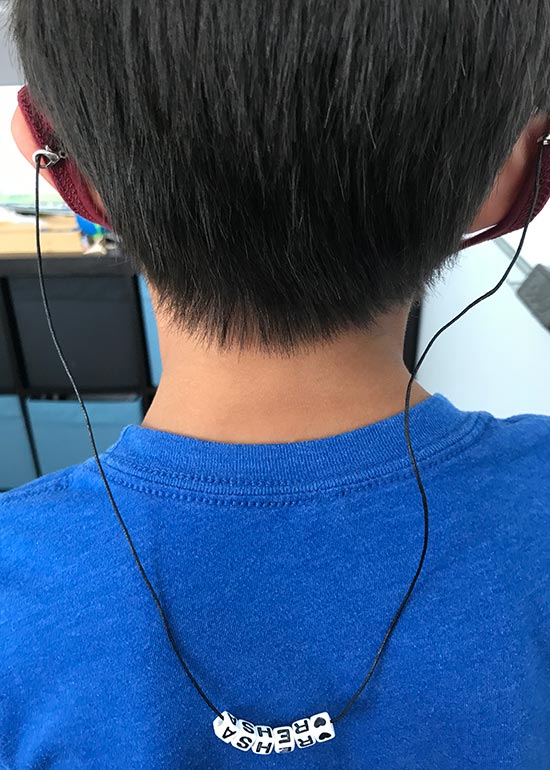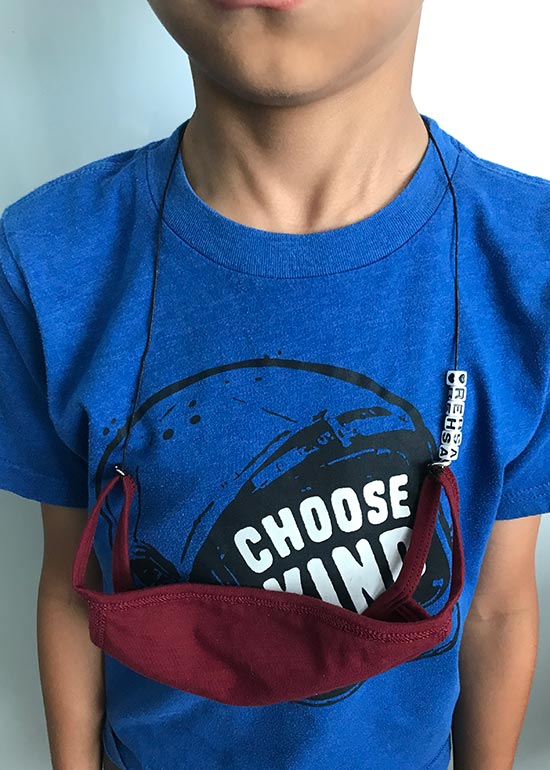
As families start thinking more about going back to school and other activities, what is the easiest way to deal with when it comes time to take mask off during those activities? While working with our boys on wearing their mask, we tried the hold it on one ear while you eat method and that is hard for anyone, not alone a kid, so I decided to make some super simple mask holders. They love them and say it’s so much easier and now they do not have to worry about what to do when they can pull their mask down.
I opted to personalize theirs with their names in case they leave them laying around anywhere, but it really is up to you. Let the kids help and decide how they wish to make it their own. These are also great for adults as well!
Things you’ll need:
Jewelry cord
Beads
Lobster claw clasps
Scissors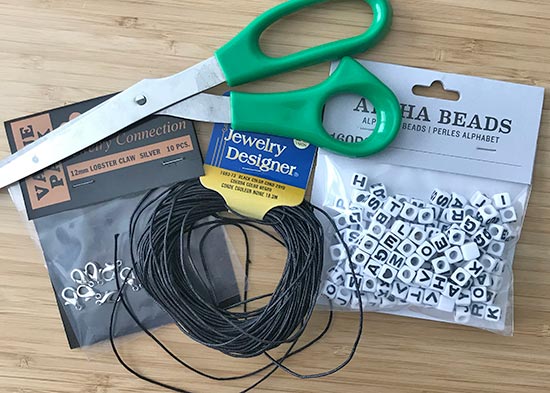
Things to do:
1. Use your child or whomever you are making it for to get a measurement of how long the cord should be. You simply want to lay mid chest.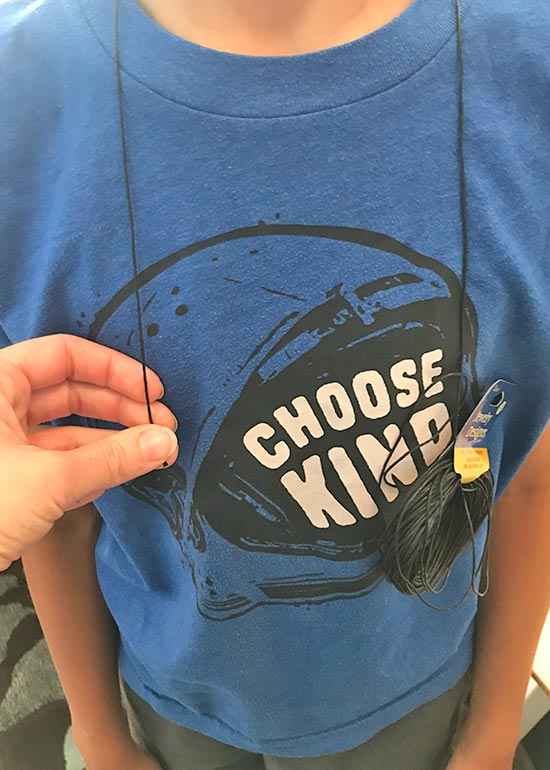
2. Cut to desired length.
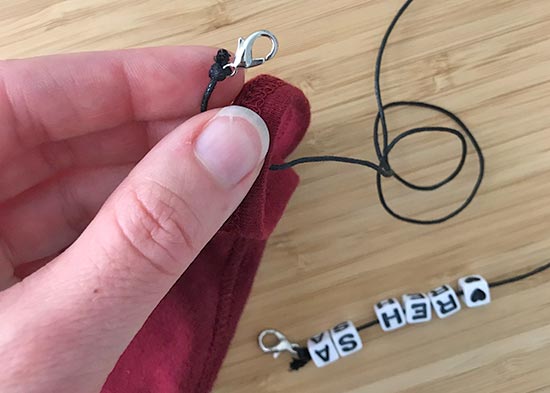
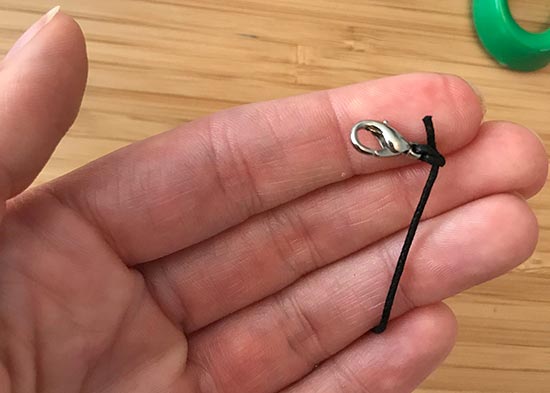
3. Tie one of the lobster claws to an end.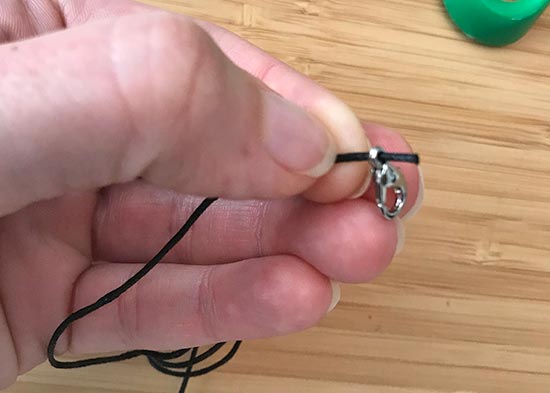
4. Once you sort your beads and get them how you want, simply bead them onto the cord.
5. Tie lobster claw to other end of cord.
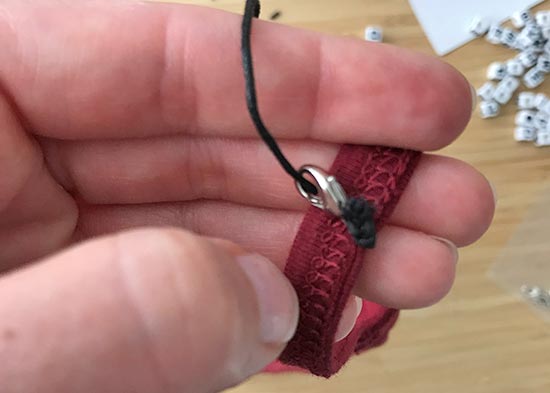
6. Depending on the mask the clips may fit around the cord by simply clipping the cord, or you can loop around the ear piece. A simple, easy solution!