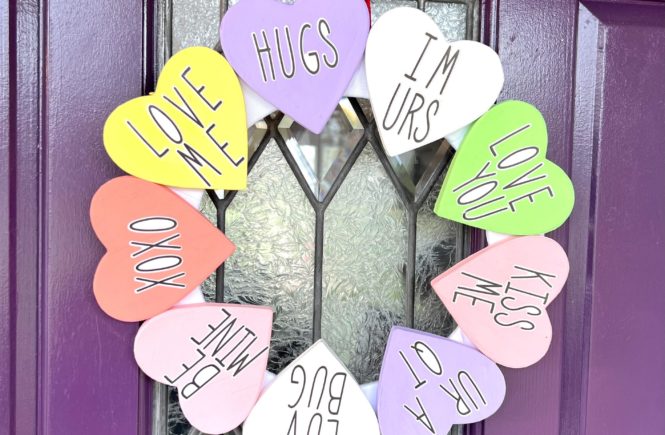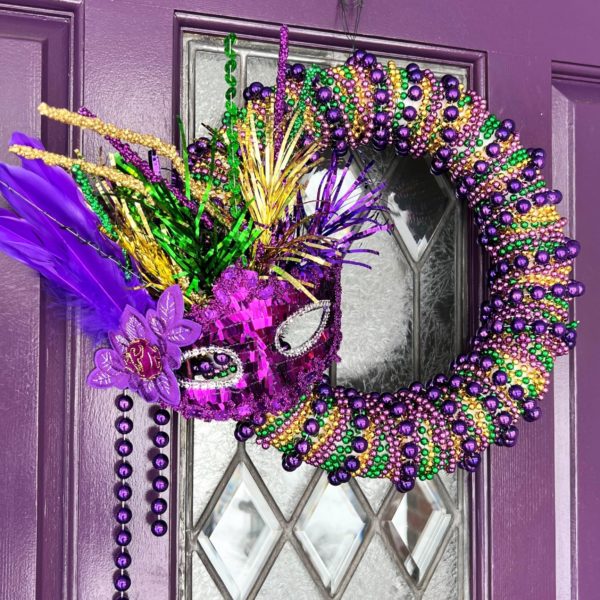
Beads and bling: It’s a Mardi Gras thing. Lets add some sparkle to those doors this Mardi Gras with this simple, colorful beaded wreath.
Difficulty level:Beginner
Time to complete:20-30 minutes
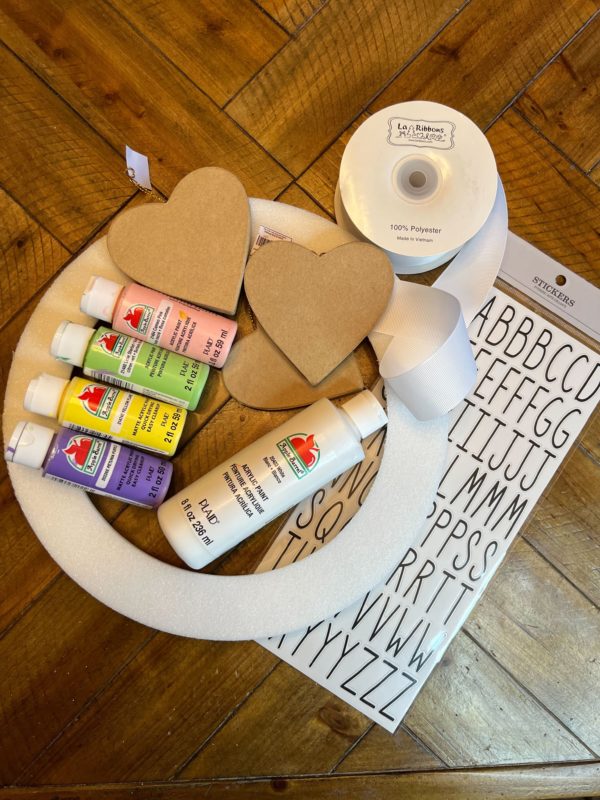
Supplies Needed:
- Styrofoam Wreath ( 12 inch used)
- 6mm fused pearl beads (purple, green & gold)
- 11mm fused purple beads
- Mask
- Hot glue gun
- Scissors
- Wire cutters
- floral wire
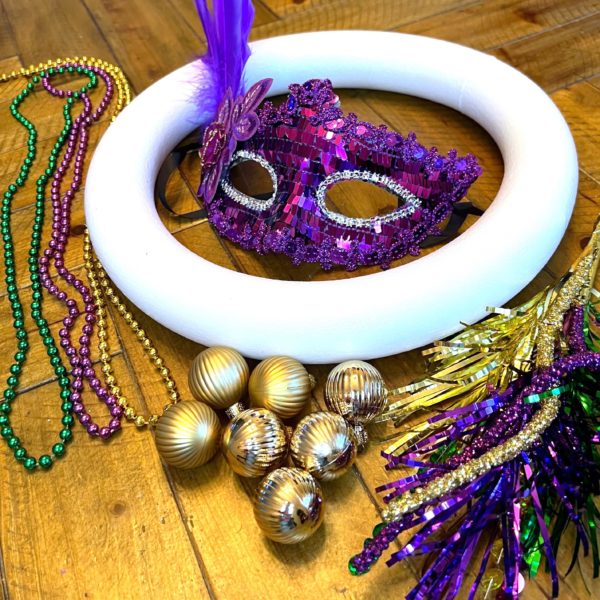
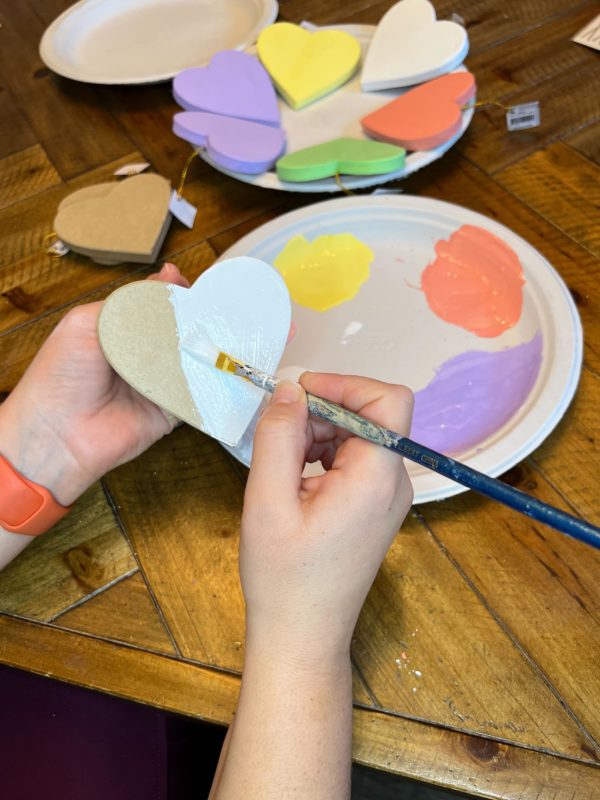
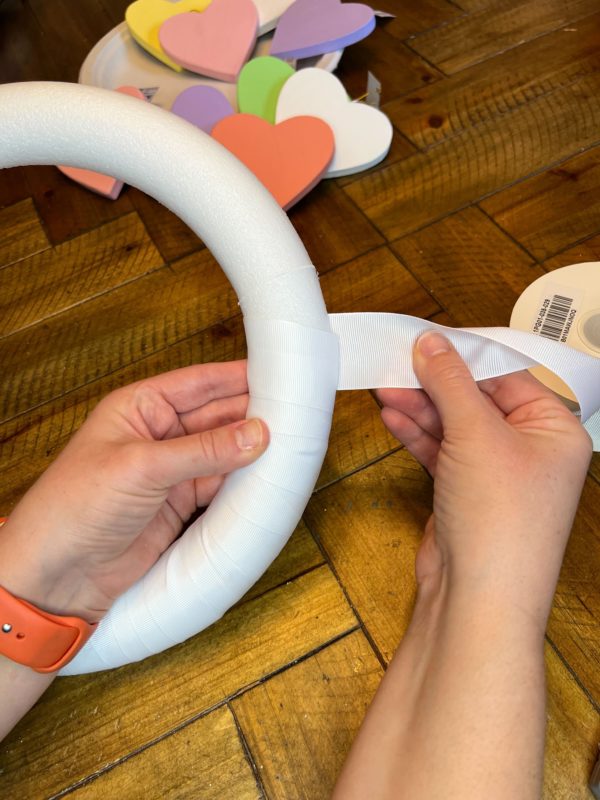
Once you have all your material gathered, lets start wrapping the wreath
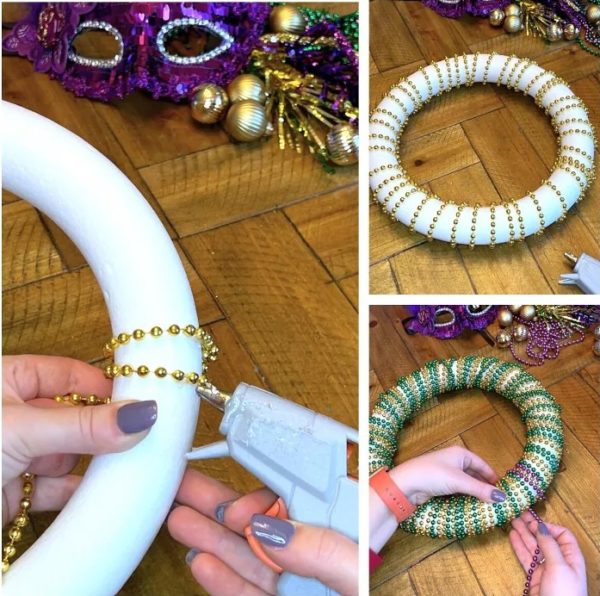
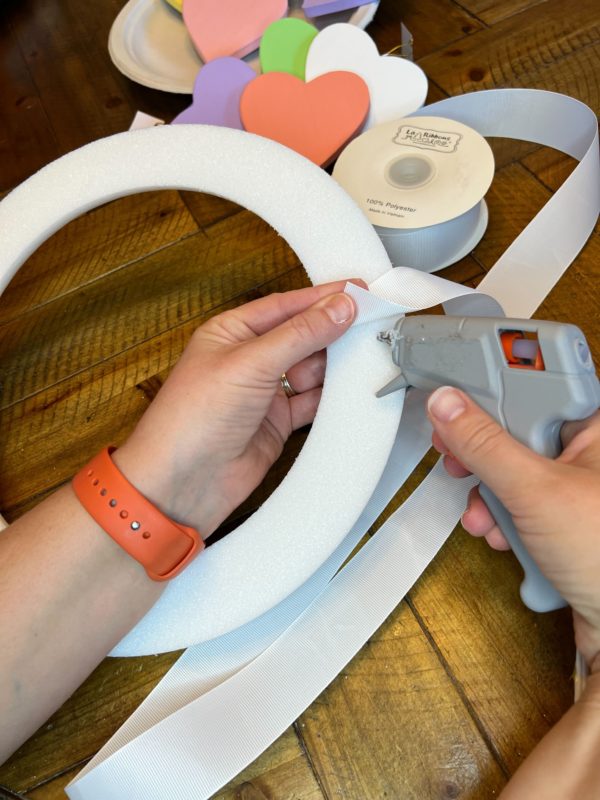
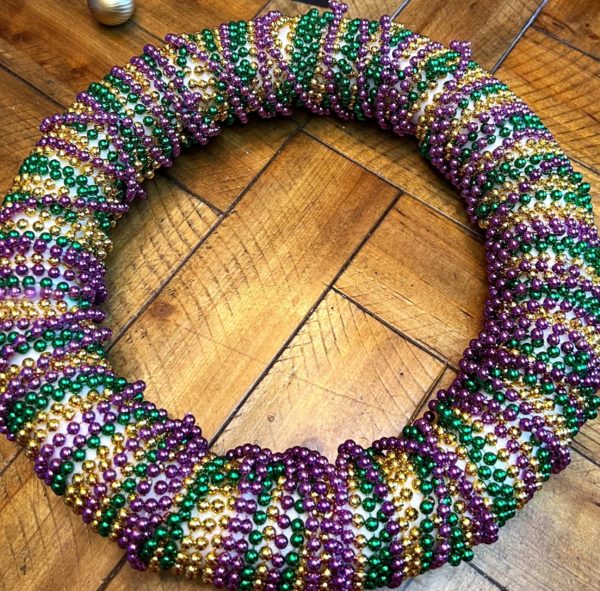
I took all the 6mm string beads in the gold, green and purple- Wrapping around the wreath one color at a time. I used the glue gun to glue each new strand and every couple inches to help keep them in place.
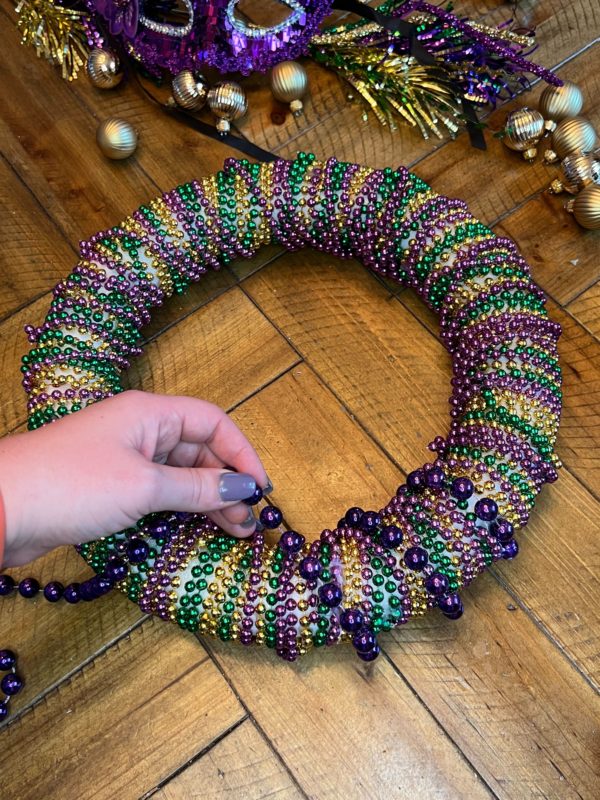
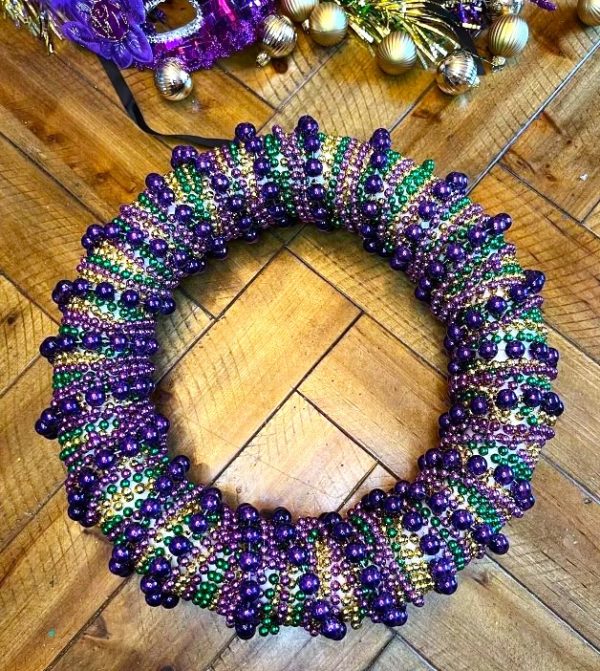
After I had all the smaller 6mm string beads wrapping the wreath, I came in with my 11mm purple string beads. This helped add more pop to the garland and texture.
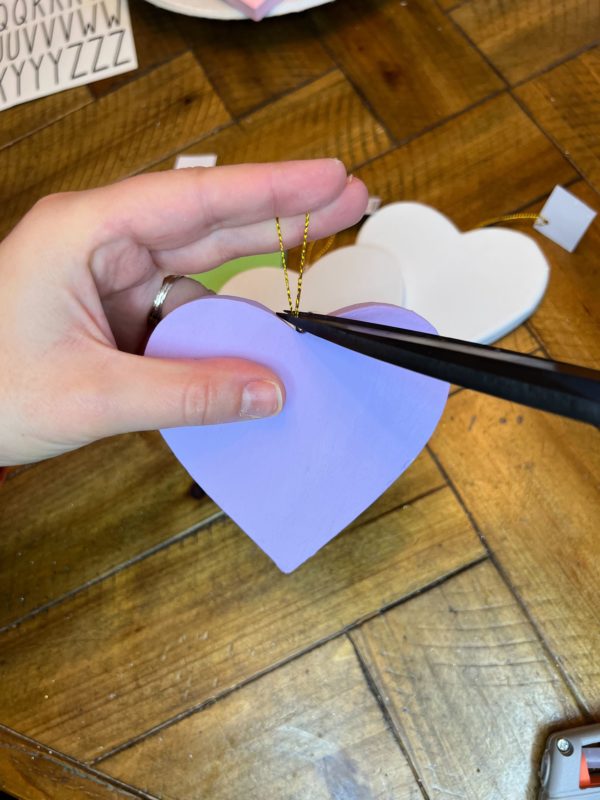
Time to add the fun parts to the mask! The mask came with ribbon to tie on the head, which i went ahead and cut those off. Find the best area on the wreath to glue on the mask. Once found, Take you hot glue gun and put the dabs of glue in the are that touch the wreath to help stay in place. Allow time to dry and come back in from the side to add more if needed for extra security.
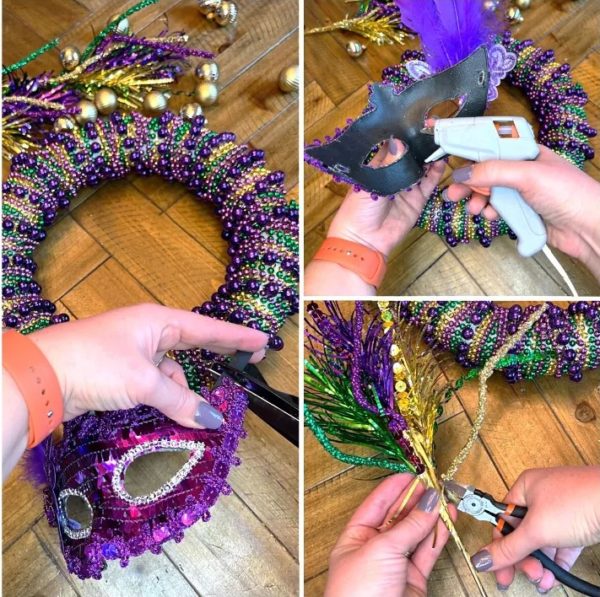
I found these fun tinsel floral sprays that i just had to add with the mask. I felt like it was really going to help finish the look. I used my wire cutters and cut all the individual picks off the stem. Came in from the back side of the mask and hot glued them into place.
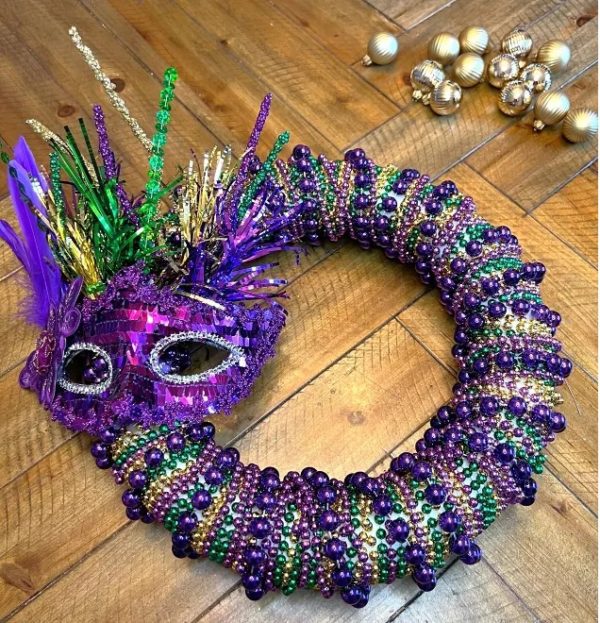
Mardi Gras is such a vibrant and festive celebration that is celebrated all over. Let’s add this beautiful, bright and festive wreath to your front door, above your mantel, or even in your office or classroom.