Skip to search Skip to navigation menu Skip to main content Selecting option will reload page

Category: General Crafts

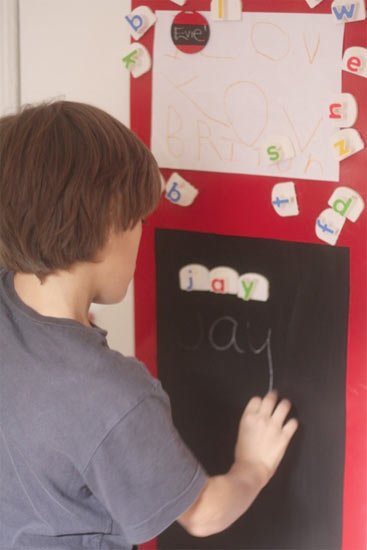
DIY Chalkboard Paint Magnet Board

DIY_Chalkboard_Paint_Magnet_Board2
Because we live in a very small space, I’m always on the lookout for double duty items, especially when it comes to my kids. Magnet boards have become more and more popular and they are great for kid’s rooms for displaying art or playing with alphabet magnets. This project turns a standard magnet board into a magnetic chalkboard, double the fun!

Things you’ll need:
Magnet board
Tile and glass medium
Chalkboard paint
Foam brush
Painter’s tape
Craft knife

Things to do:
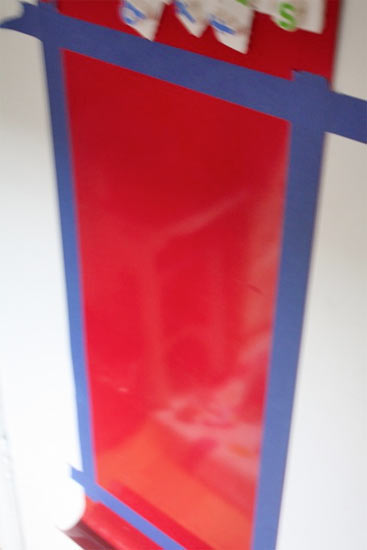
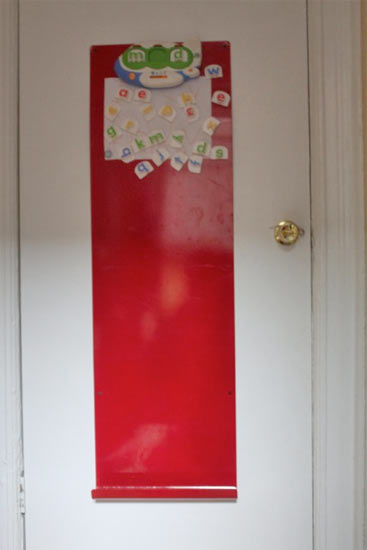
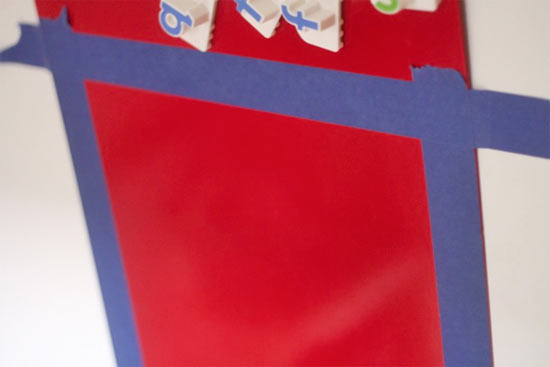
1. Tape off the section of the board that you want to turn into a chalkboard. You can paint the whole board or just a section.
DIY_Chalkboard_Paint_Magnet_Board3
DIY_Chalkboard_Paint_Magnet_Board4
2. Apply a thin coat of the tile and glass medium to the entire section and allow it to dry completely.
DIY_Chalkboard_Paint_Magnet_Board5
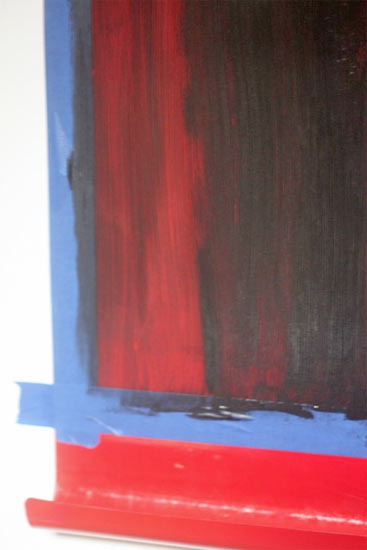
3. Paint a thin coat of chalkboard paint onto the taped off area, make sure you work in long strokes that cover the board top to bottom to minimize streak bumps.. Allow it to dry.
4. Mix a small amount of the tile and glass medium with some chalkboard paint at a ratio of about 1 to 4. Mix well and apply over the first coat of paint with the same long stroke motion. Allow this to dry completely.
DIY_Chalkboard_Paint_Magnet_Board6
5. Paint a final coat of chalkboard paint, again in long strokes, this one a little thicker than the rest. Allow the paint to dry.
DIY_Chalkboard_Paint_Magnet_Board7
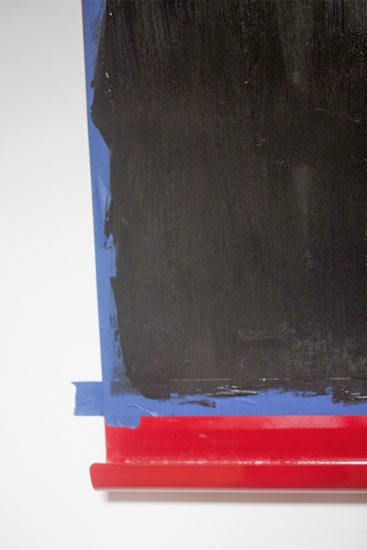
6. Run the craft knife along the edge of the tape before peeling off.
7. Allow the paint to cure for at least a week before using.
Continue Reading

Felted Ball Wreath

Felted_Ball_Wreath
This winter I’ve been doing a great deal of knitting. Lots of wool, lots of yarn, lots of projects. Which has left a lot of scrap yarn sitting at the bottom of my work basket. At the same time, my front door has been looking a little bland without my holiday wreath. So I decided to combine the two to create a simple and modern wreath using wool scraps and a simple felting technique.

Things you’ll need:
Flat wreath form
Ball of neutral colored yarn
Felted beads or balls
Hot glue gun and glue sticks

Things to do:
1. Start by creating at least 10 felted wool balls or beads of various sizes. You can find a detailed tutorial here.
2. Allow your felted beads to dry completely.
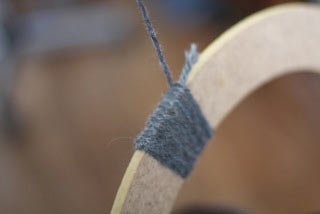
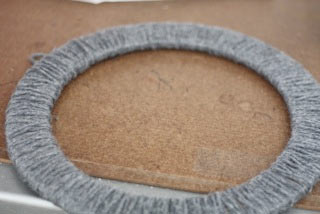
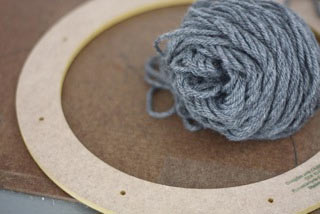
3. Tie a loop of yarn tightly around the edge of the wreath and start wrapping, keeping the yarn loops close together to block out the wreath form underneath.
Felted_Ball_Wreath2
Felted_Ball_Wreath3
Felted_Ball_Wreath4
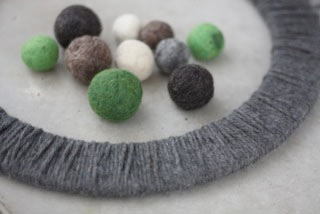
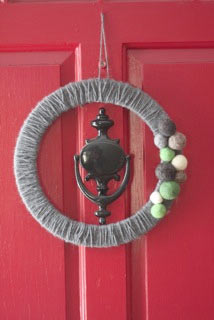
4. Once the wreath is fully covered, arrange your beads to your liking along one side. Add more or less to create the look you are looking for and glue them down and to each other with small dots of hot glue.
Felted_Ball_Wreath5
5. Tie a loop of yarn around the wreath at the length needed for your door and tuck the ends into the back of the wreath under the loops. Hang and enjoy!

Continue Reading
Change Your Country
Please select your country, this will change the site to your country's currency:

Cancel