Skip to search Skip to navigation menu Skip to main content Selecting option will reload page

Category: For the Home

DIY Nautical Ombre Clock


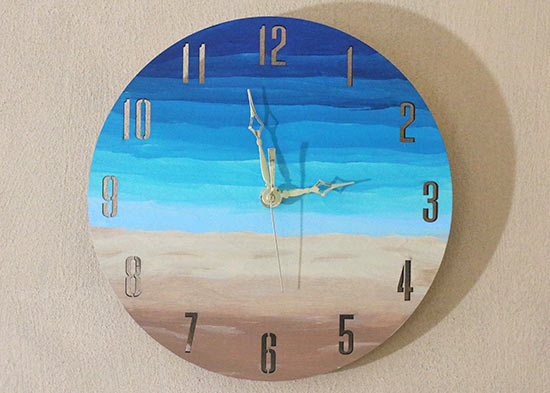
My son is starting to learn to tell time. His bedroom is a nautical theme, so I knew he just needed a nautical ombre themed clock. Here is how you may easily make your own!

Difficulty level: Beginner
Time required: 1 hour of crafting plus paint drying
Age range: 10+

Things you’ll need:
Clock Maker Medium Stem Kit
Unfinished Wood Clock Face
Coastline Apple Barrel Acrylic Paint Set
Ocean Dreams Apple Barrel Acrylic Paint Set
Krylon Clear Sealer Spray

Things to do:
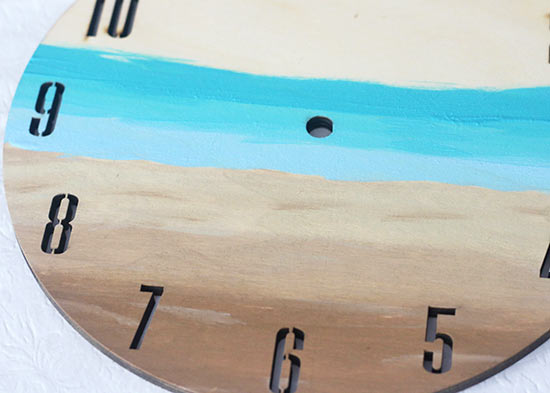
1. Choose the darker color of tan from your Coastline Apple Barrel Acrylic Paint set. Then, paint a small section at the bottom of the clock.

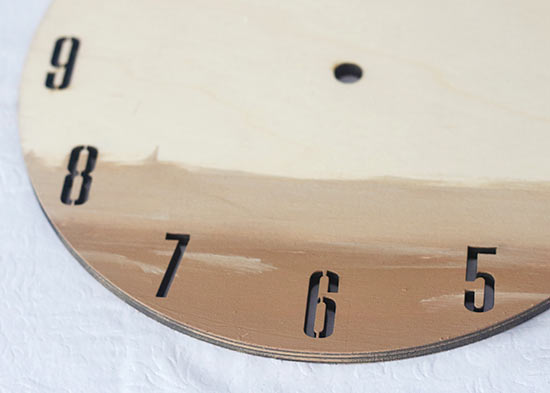
2. Choose the lighter color of tan from your Coastline Apple Barrel Acrylic Paint set. Before using this color, I like to mix a little of the darker color and the lighter color together. I then paint a small portion above the dark color. Then I paint with only the lighter color. I do not rinse my brush during this process, nor do I allow the colors to dry before starting the next color. I find this helps blends the colors.

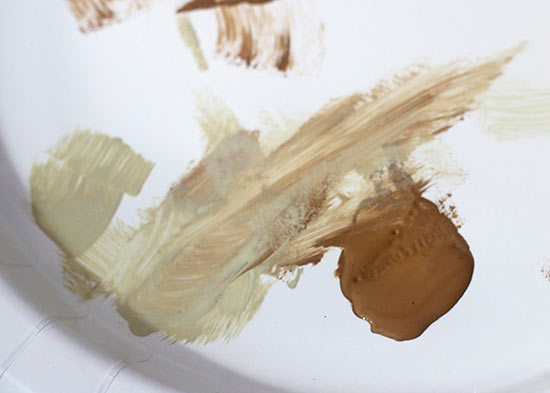
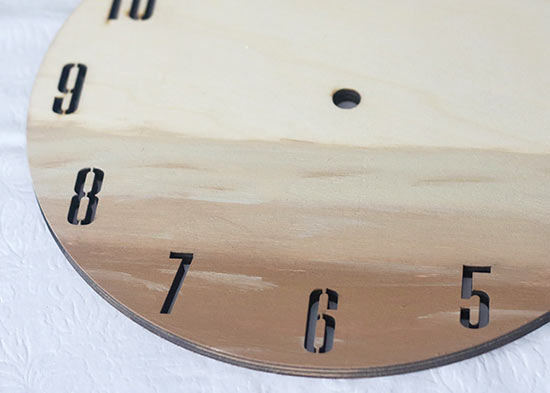
3. You may add small brush strokes of each color throughout the other colors. Then allow the tan to completely dry.

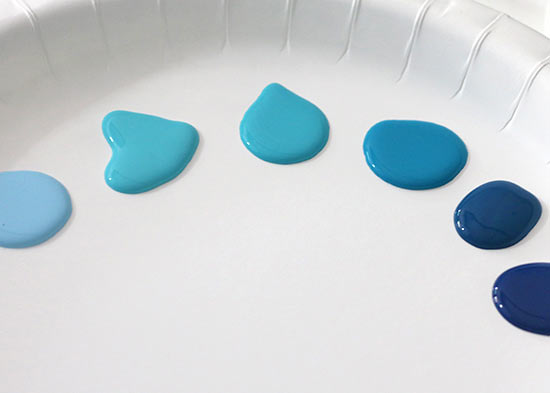
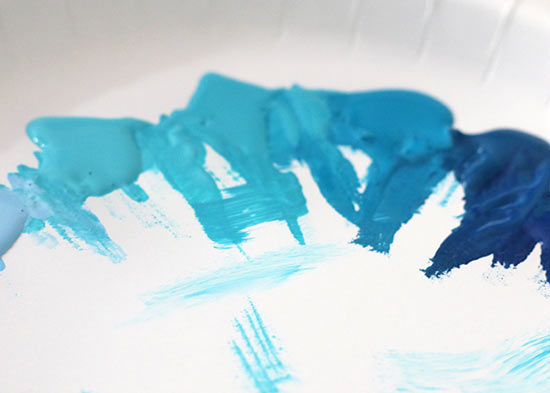
4. Choose your blue colors. I used colors from both the Coastline and Ocean Dreams Apple Barrel Acrylic Paint sets. I like to squirt some of each of color on your paint tray from lightest to darkest to ensure I like the colors flow.

5. Once the tan paint has completely dried, paint on the lightest blue color in a small section lining up with the tan.

6. Repeat the same process as the tan. Mix a little of your next color with your previous color and paint a small section with your mixed colors. Then, paint on you darker color.

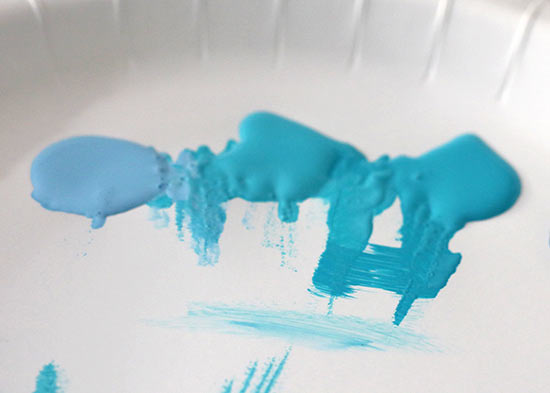
The ombre design will look as if you are using more colors than you will actually use.

7. Repeat process with all the blue colors until you have reached your darkest color.

8. Allow all the paint to dry completely.

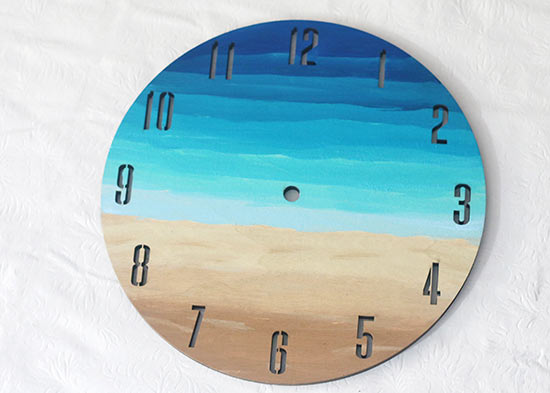
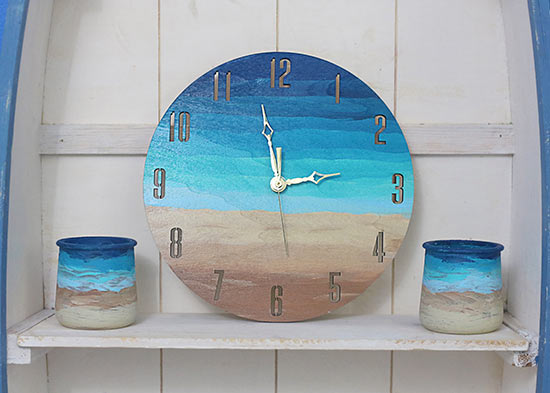
9. Install the Clock Maker Medium Stem Kit by following the simple and thorough instructions. Voila you have made a charming Nautical Ombre Clock in no time at all!

Continue Reading

DIY Modern Eucalyptus Wall Hanging


This simple decoration looks great in practically any room in the house.

Difficulty level: Beginner
Time required: 45 minutes
Age range: 12 and up, with optional supervision for hot glue gun

Things you’ll need:
Light Green Artificial Eucalyptus Spray
7/8″ dowel
Gray Braided Macrame Cord
Wire cutters
Cloth-Covered Floral Wire
Scissors
Hot glue gun and glue sticks

Things to do:
1. Cut 25 lengths of macrame cord that are 30″ long.

2. Using wire cutters, cut 3 pieces of eucalyptus, one each of the following lengths: 6″, 11″, and 12″.

3. Hold the 12″-long eucalyptus over the dowel, then wrap floral wire around both the dowel and eucalyptus to secure it. To be sure the eucalyptus stays in place, try crossing the floral wire in an X shape several times.

4. Using wire cutters, cut the floral wire and tuck it into the wraps.

5. Repeat steps 3-4 with the 11″-long eucalyptus.

6. Repeat steps 3-4 with the 6″-long eucalyptus.

7. Place a dot of hot glue on each eucalyptus branch to secure it.

8. Grab two lengths of cut cord from step 1 and fold them in half. Place the cord under the dowel, forming a loop at the top about 1/2 ” from the edge of the dowel.

9. Pull the yarn tails through the loop to form a fringe.

10. Tug the yarn tails to tighten the rope around the dowel.

11. Repeat steps 8-10 with the remaining lengths of rope. When you reach a eucalyptus branch, place the loop as close as possible to the branch, covering it if possible.

12. Continue across the dowel until the entire dowel is covered, again leaving a 1/2 ” space at the dowel’s edge. You should have one single strand of macrame cord left.

13. Optional: Braid three strands of cord together in one or two places, then knot the end. This just gives the hanging a bit of texture.

14. To create a hanger for the decoration, grab the last strand of cord you cut in Step 1. Tie one end of rope around one edge of the dowel, then knot it securely.

15. Tie the other end of the rope around the opposite edge of the dowel, then knot it securely.

16. Add a dot of hot glue to each hanger knot to secure it.

17. Flip the hanging over to the other side, then cover any visible floral wire or branches with macrame cord. Arrange the eucalyptus so that it’s visible.

Continue Reading
Change Your Country
Please select your country, this will change the site to your country's currency:

Cancel