Skip to search Skip to navigation menu Skip to main content Selecting option will reload page

Category: For the Home

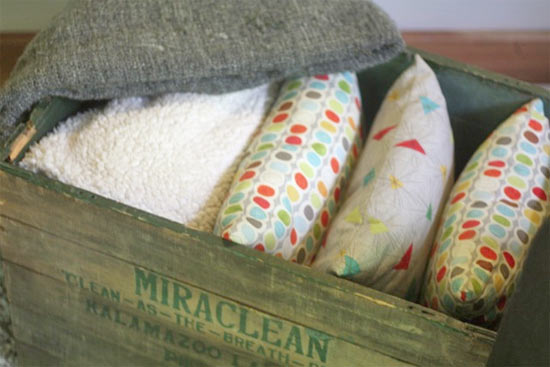
Upcycle: Vintage Crate Pillow and Blanket Storage


Because I live in a cold part of the country and because I like to be cozy and warm when I’m tucked up for the evening, I tend to keep a LOT of pillows and blankets on hand. You might say I’m something of a nester, in fact, the way I like to create a soft, warm spot for reading or knitting or just dreaming away. But I don’t want all those blankets and pillows filling up the couches and chairs all the time, so I need a place to keep them during the day where they can be pulled out at a moments notice. This vintage craft is perfect for this task. Deep enough to hold a substantial amount of extra fluff and warmth, it’s attractive and fits well with my decor while tucking away neatly when not being used.

Difficulty level: Easy
Time required: Less than five minutes

Things you need:
Vintage folding crate
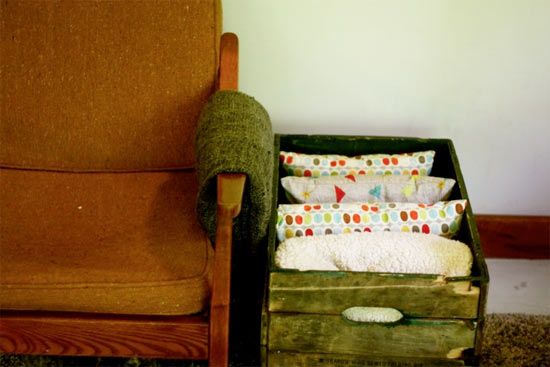

Fold your blankets so that they are just narrower than the crate is wide and tuck them into the crate, folded edge up. Fill the remaining space with extra pillows and tuck the crate somewhere visible but not in the way for the best result.
Continue Reading

Guest Blog: Not Your Everyday Magnet


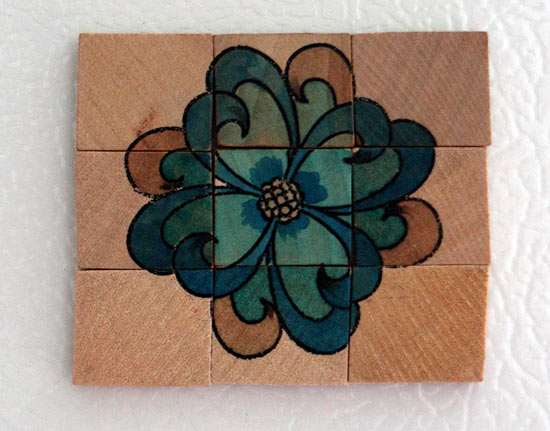
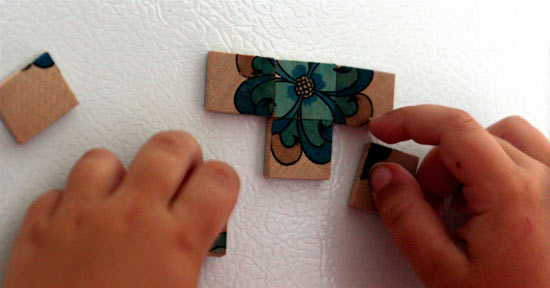
Hi! Lisa here from Lisa’s Creative Niche and I am so excited to share today’s crafty project! My kids love playing with magnets on the refrigerator, and while I love hanging up every beautiful masterpiece they create, I sometimes crave a little grown-up art to look at as I’m constantly opening and closing the fridge door. So why not make my own little masterpiece? And that’s exactly what I’m going to show you here… not to mention that it works double duty by acting like a magnet puzzle for the kids at the same time (score!).

Things you’ll need:
Unfinished Wood Tiles
Staz-On Ink
Stamp
Markers ( alcohol based work really well, but any will do )
Strip Adhesive Magnet

Things to do:
1. Line wood tiles into a square (or large enough for your stamped image to fit on ).
2. Ink up your stamp and press firmly onto the large square you’ve created with the tiles.
3. Color in image on each tile.
4. Trim magnet adhesive to fit the back of each tile and adhere. Enjoy!

Want one more idea for these tiles? Have you ever lost a Scrabble piece? Well look no more and make a replacement with either stamped letters or handwritten! Enjoy your masterpiece!

Happy Crafting!
Lisa

Continue Reading
Change Your Country
Please select your country, this will change the site to your country's currency:

Cancel