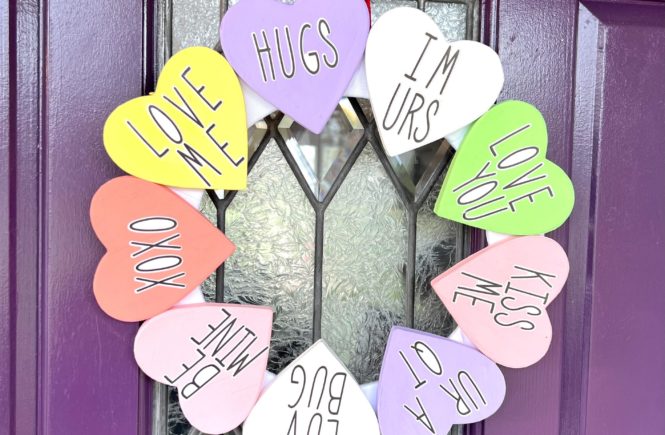
This conversation heart wreath is a fun and creative way to add a touch of Valentine’s Day spirit to your home. Brings back the nostalgic sayings and bright colors of the childhood candy that we all loved as kids and a staple of Valentine’s Day!
Difficulty level:Beginner
Time to complete:20-30 minutes
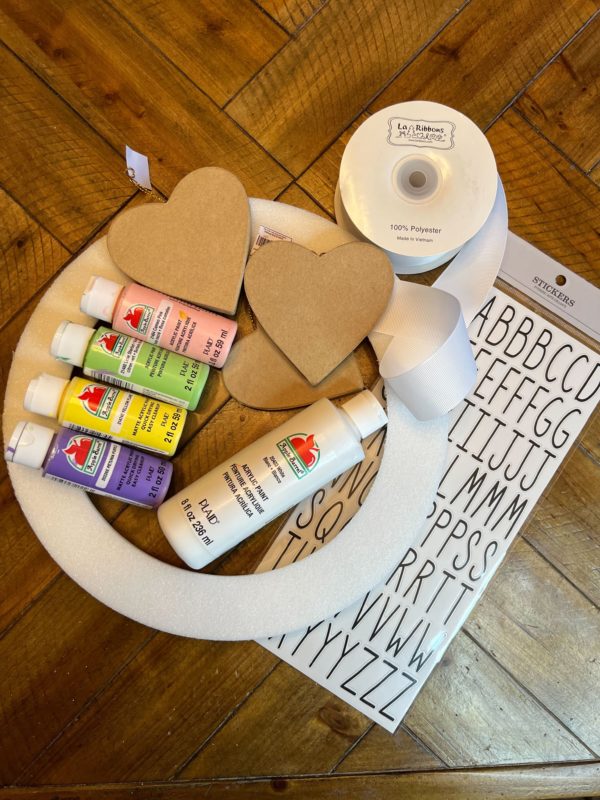
Supplies Needed:
- (9) 4″ Paper Mache Heart Ornament
- Apple Barrel Paints – Which i used petunia purple, white, yellow flame, lime green, cameo pink & tropic orange
- White Grosgrain Ribbon
- Letter Stickers
- Flat Back Extruded Styrofoam Wreath
- Red Satin Wired Ribbon
Things to do:
- Gather all your needed supplies and let’s get started! I went with the flat back styrofoam wreath to allow them more of a surface for the hearts to adhere to. The colors – I tired to find colors that would be close to the nostalgic candy, but feel free to choose any colors your wish.
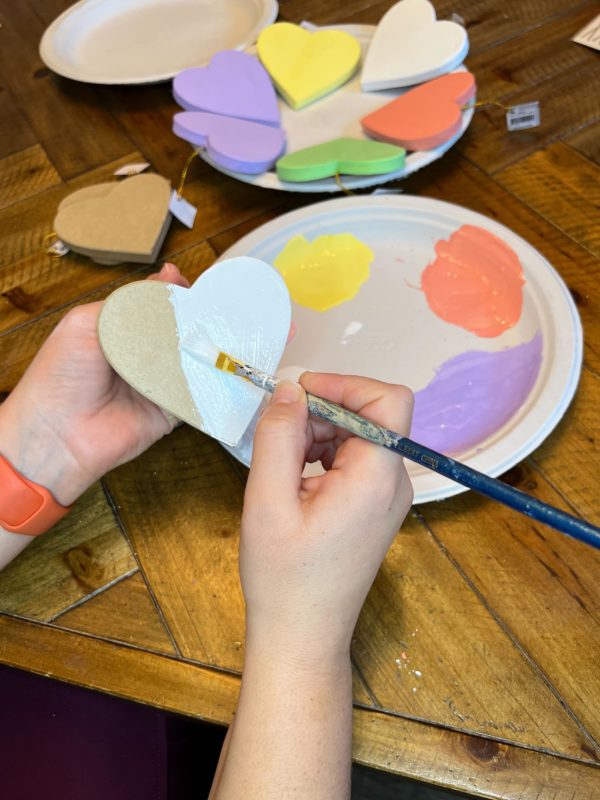
- Once the colors are picked out, start coloring away! Since i had only a couple colors, i choose to paint a few hearts in sets. I left the string on the hearts to allow me a surface to hold onto and allow me to paint the front and sides.
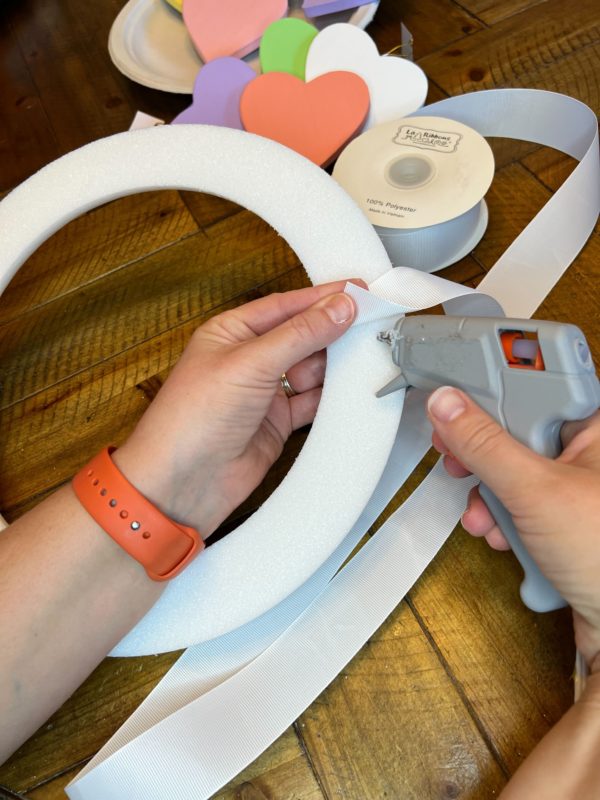
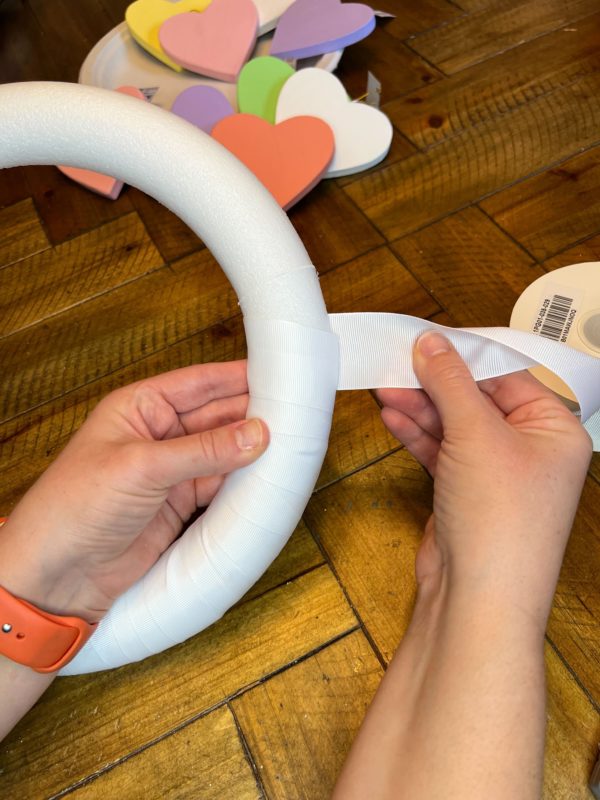
- As the hearts are drying, i started wrapped the styrofoam wreath with my white ribbon. I wanted a more neutral color to no pull to much away from the hearts themselves.
- I used hot glue gun to attached the ribbon to the wreath. Then simply wrapped and glued every few inches. This way the ribbon will not move around to much.
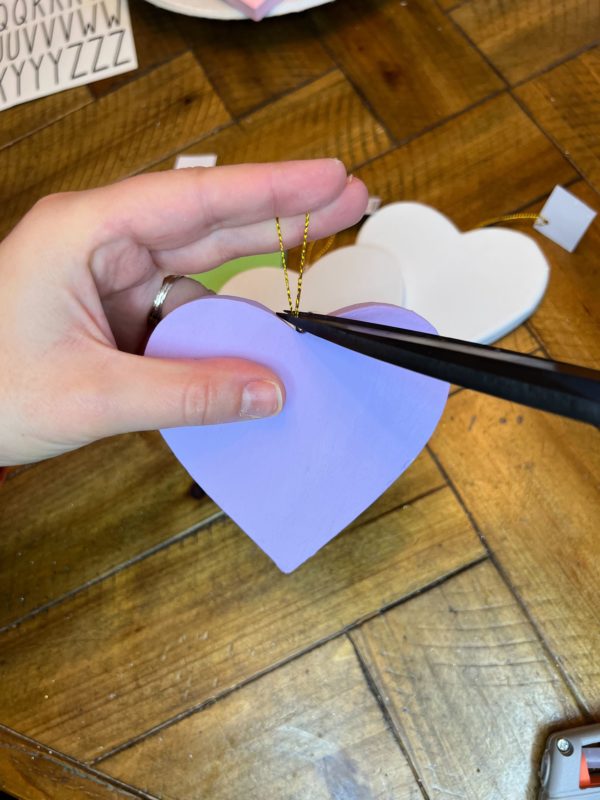
- This is where i cut the strings off the paper mache heart ornanments. Try to cut the string as close as you can to the ornament.
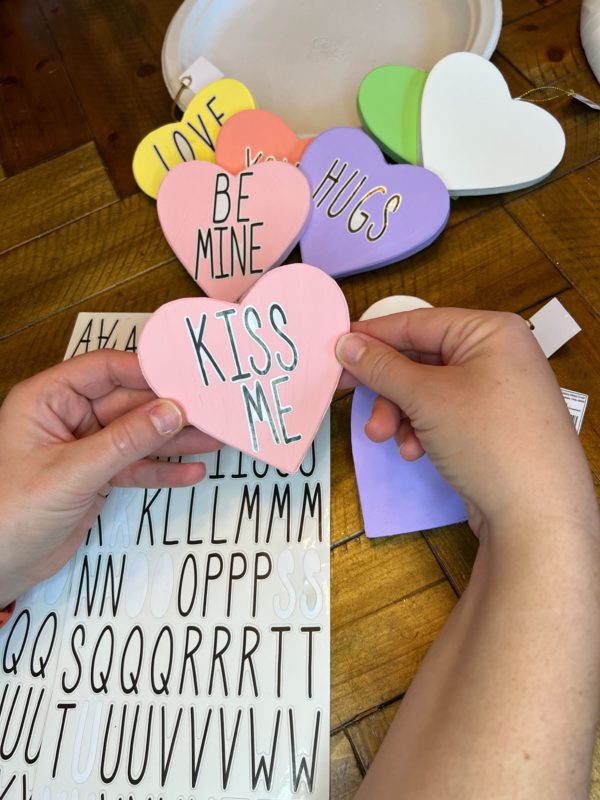
- Next, this is where the fun comes! Pick out those fun sayings from the iconic candy. When i was placing the letters on, i simply laid them on without pressing. This way i was able to try and get a leveled placement for each letter.
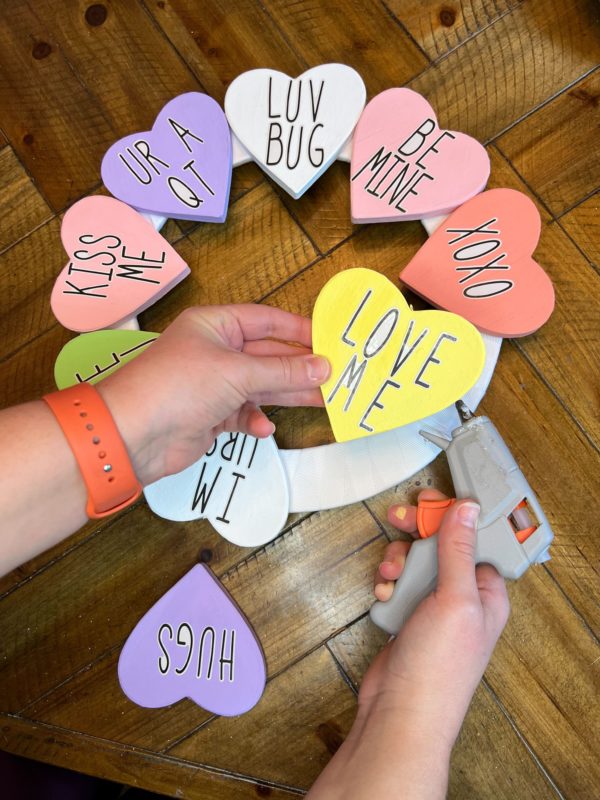
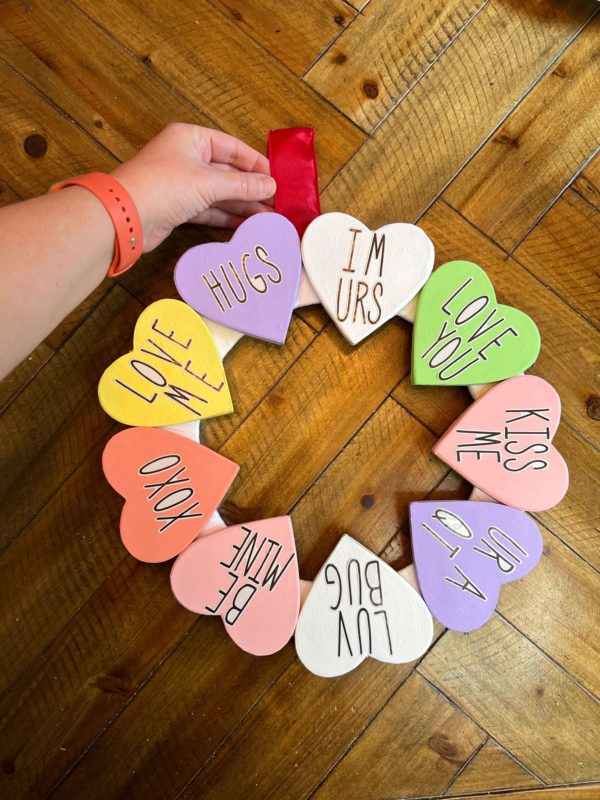
- Once the hearts are ready – Let’s get gluing! This is where the wreath comes to live.
- Before gluing the hearts, i laid them on the flat side of the stryofoam wreath. Placing them and getting the perfect placement to allow all of them to fit evenly. I left them laying on the wreath and started gluing each heart in its place.
- Allow the hot glue to dry, then you are able to complete the final step to allow you to hang the wreath. Choose any ribbon, string or jute to hot glue or tye on the back of the styrofoam wreath.
Your conversational heart wreath is now complete and ready to hang!
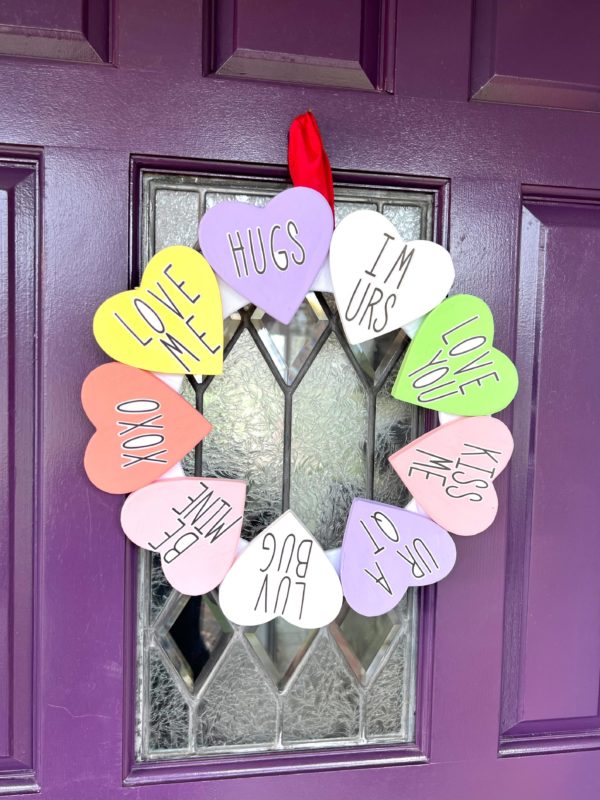
Your paper mache heart wreath is now complete and ready to hang! You can hang it on your front door, above your mantel, or even in your office or classroom. This project is a great way to spend a rainy afternoon crafting with your friends or family. You can also play with different paint colors or add embellishments such as glitter or beads to make it even more unique. This is a fun and easy way to decorate your home for Valentine’s Day and also make a great project to do with kids.