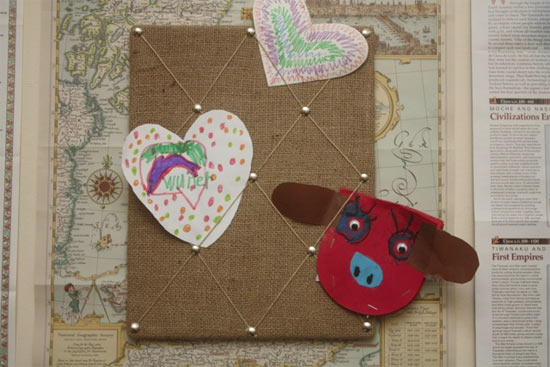
Once you’ve made our burlap-covered corkboard, take it a step further and create a memory board perfect for tucking in drawings, reminders and the little things you don’t want to loose.
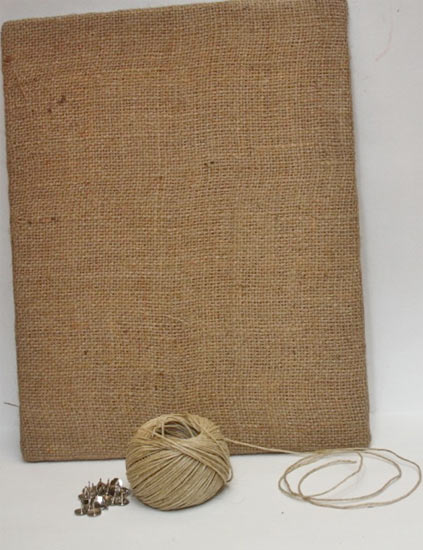
Things you’ll need:
Burlap pinboard
Hemp Twine
Pushpins
Craft Glue
Scissors
Things to do:
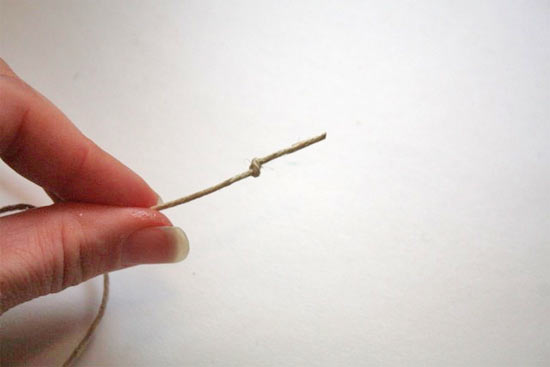
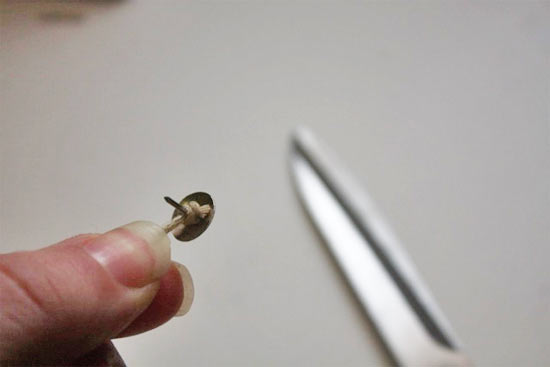
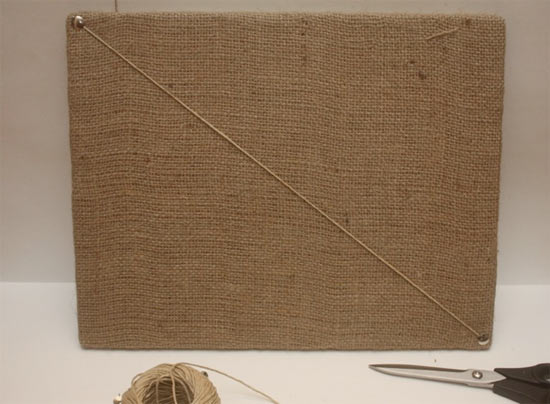
1. Tie a small, hard knot in the end of your twine and push the tip of the pin through it. This will help secure the ends of the twine. Dab a small dot of glue in one corner of the board and press the pin in place. Repeat with the next corner.
2. Pull the two pieces of twine to their diagonal corner and repeat the process, pulling the twine taut as you push the pin in place.
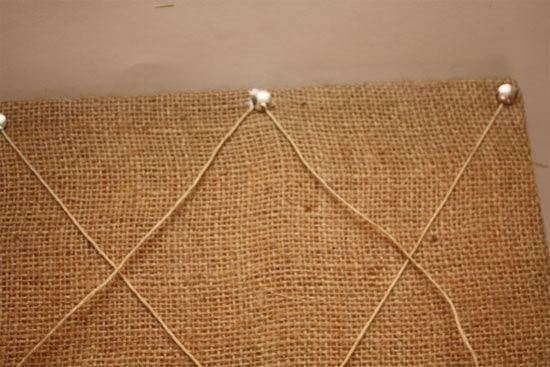
3. Cut two pieces of twine, knot the ends and push a pin through both. Center this pin between the two top pins to create the tip of the top diamond. Pull these down to the outer edge and pin in place. Repeat with the other end. You should have an argyle pattern of pins on your board.
4. Insert pins, with a dot of glue, wherever the twine crosses.
5. Press all of the pins firmly down to make sure they glue adheres to the fabric and pin and allow it to dry before hanging.