While some crafts are kid friendly, or at least, kid accessible, there are many that are too complicated or to dangerous for children to attempt, even with help. In a lot of ways, block printing is often in this category. The materials can be expensive, the carving can be dangerous in little hands and the process can seem tedious to them. Yes, they can be in charge of the actual printing, but letting them have full access would be so much better. Enter the Styrofoam tray. You know the kind, you probably tossed one out in the last week in fact. Styrofoam trays offer the perfect medium for children to make their own printing blocks for a simplified version of block printing.
Things you need:
Rubber brayer
Card stock
Block printing ink
Styrofoam tray
Ball point pen
Scrap cardboard
Thing to do:
1. Cut your tray down to manageable, flat pieces, 3 by 4 inches is a great size for most kids.
2. Have your child draw a picture onto the foam with the bell point pen. Keep in mind that very small shapes wont show up as well, so try to direct them toward taking up the whole piece of foam for their image (also don’t forget that letters will be backwards!)
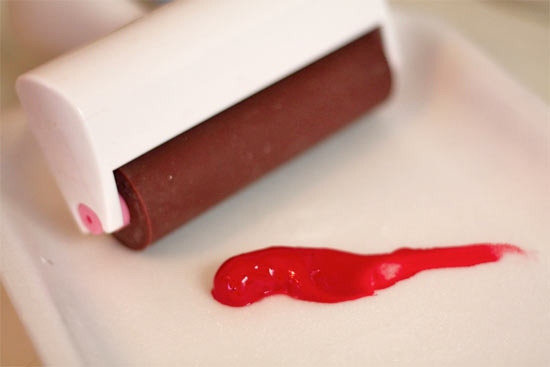
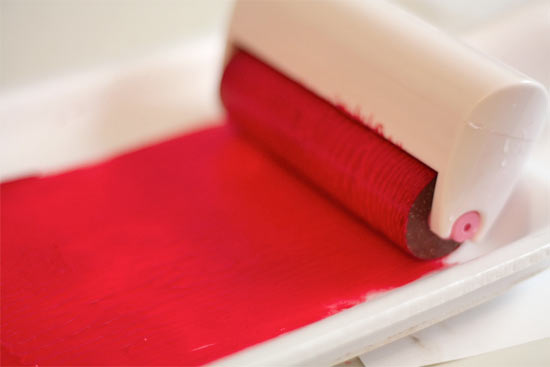
3. Squeeze a small amount of paint onto the cardboard and roll the brayer across it until a thin coat of paint covers the whole roller.

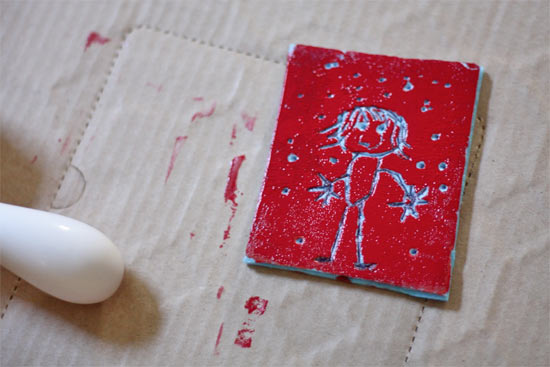
4. Help your child roll the paint lightly over their block. You don’t want to force paint into the grooves but you do want the foam well covered.

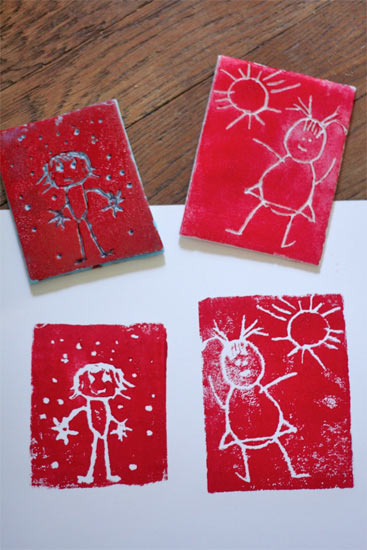
5. Lay the cardstock onto the block and lightly smooth over it with fingers. Make sure you get all of the corners before peeling the paper away and allowing your print to dry.
6. Blocks can be reused several times, just be sure to wash them off if paint gets into the groves of the drawing!

1 Comment
good craft activity kids enjoyed these kind of activity