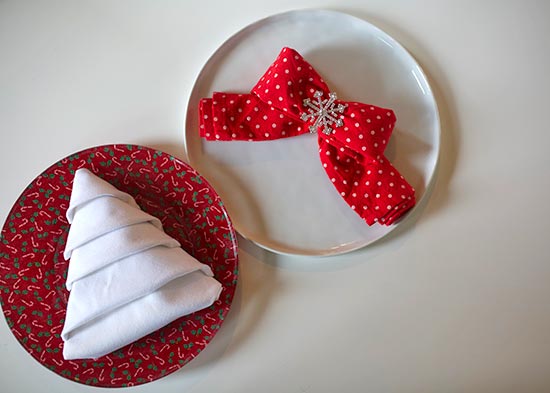
Take your holiday table to the next level with these festive napkins! Both folding patterns are quick and simple, so you’ll have your places set in no time!
Difficulty level: Beginner
Time to complete: 5 minutes
Age range: 8 and up
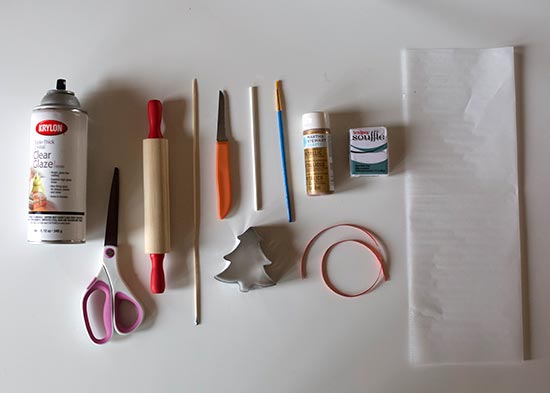
Things you’ll need:
Napkins
Napkin rings
Things to do:
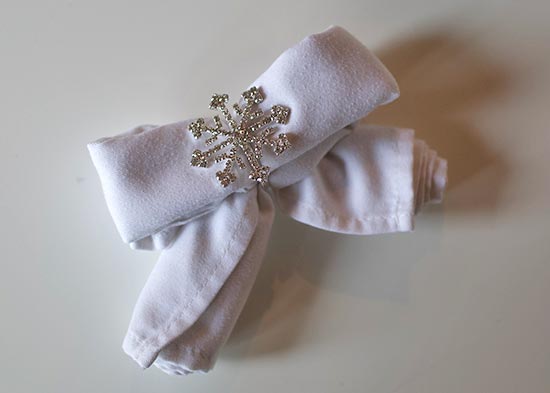
Christmas Tree:
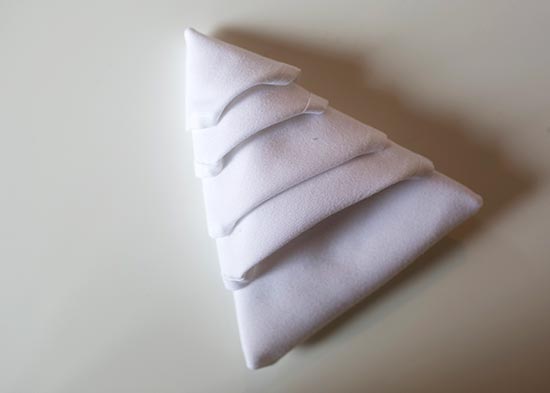
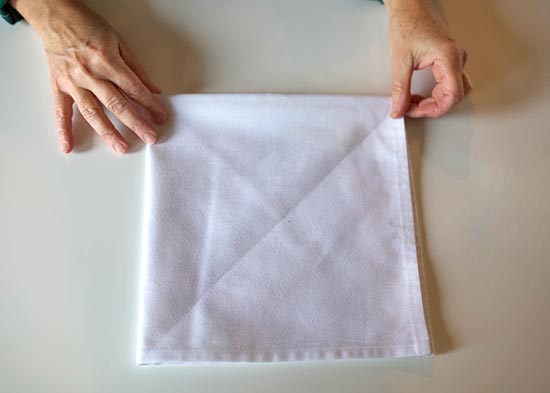
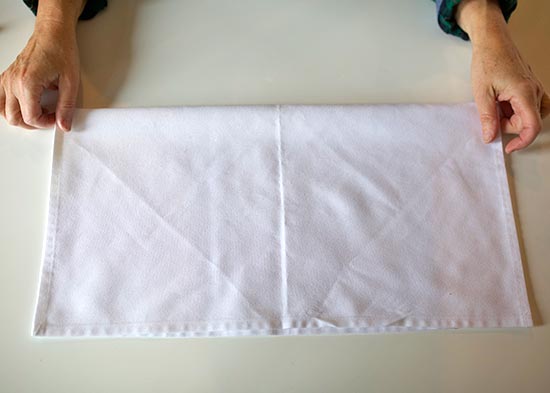
1. Fold your napkin into fourths.
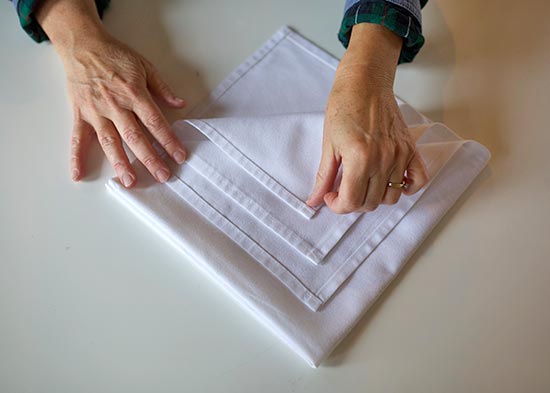
 2. Spin the square until the point with all of the napkin corners is at the top. Fold each corner down to the opposite side of the square.

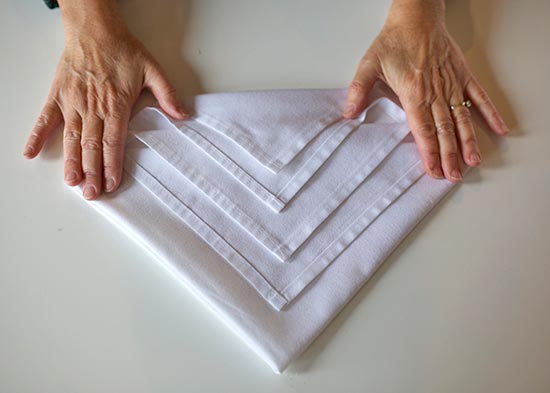 3. Fold the sides of the square in, creating a triangle shape.
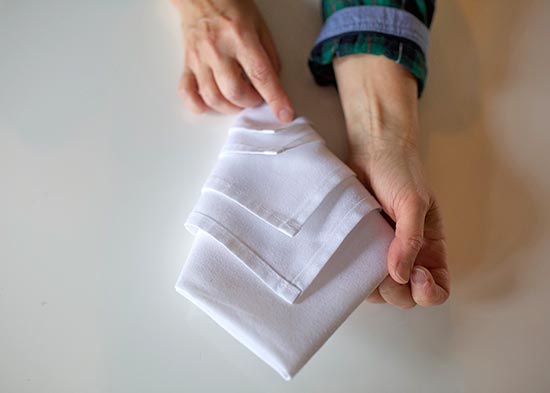
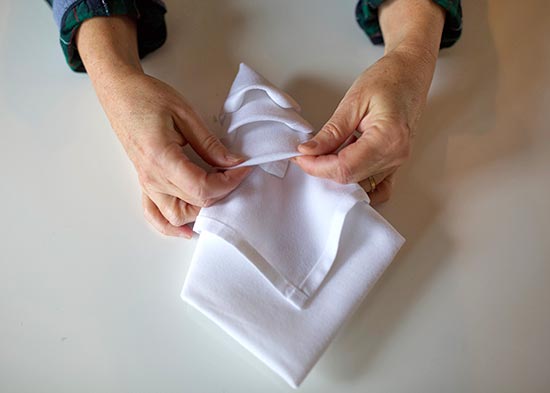
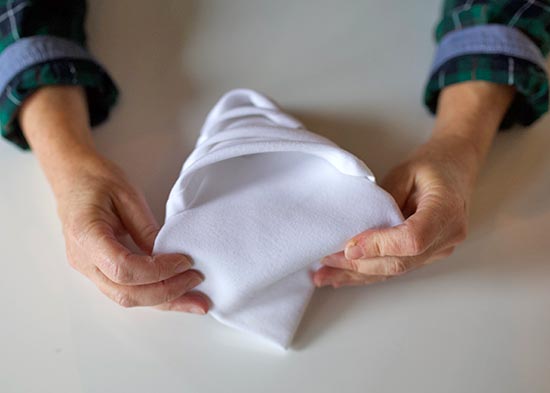
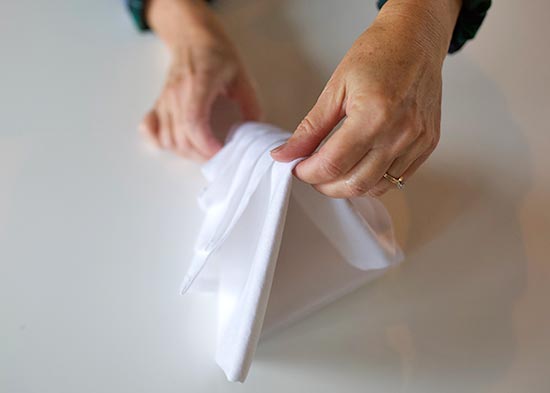 4. Tuck the ends of the napkin corners up, creating straight lines across for the branches.
Festive Bow:
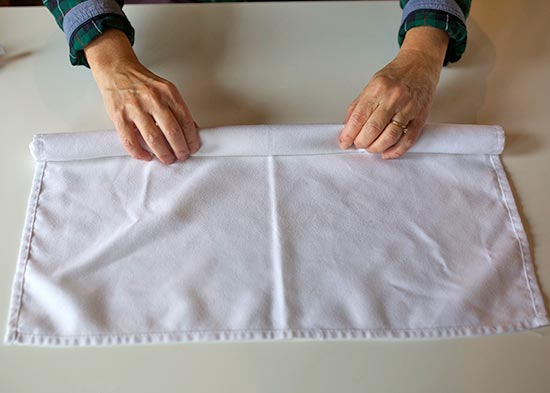
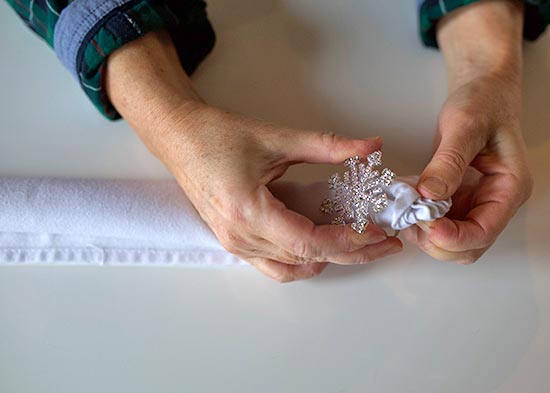
1. Roll your napkin up and slide a napkin ring on to the center.
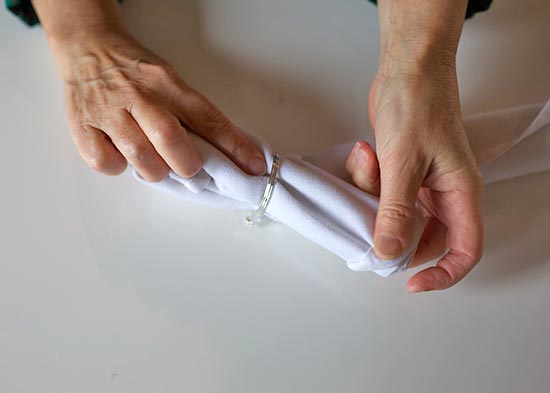
 2. Fold the end through the center napkin ring and pull it through until it creates a half-bow shape.
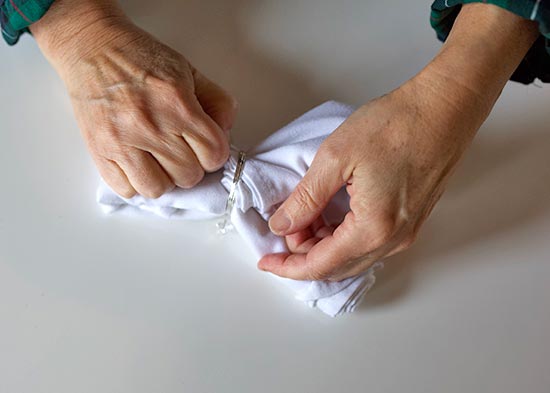
 3. Repeat step two with the other side to complete the bow.


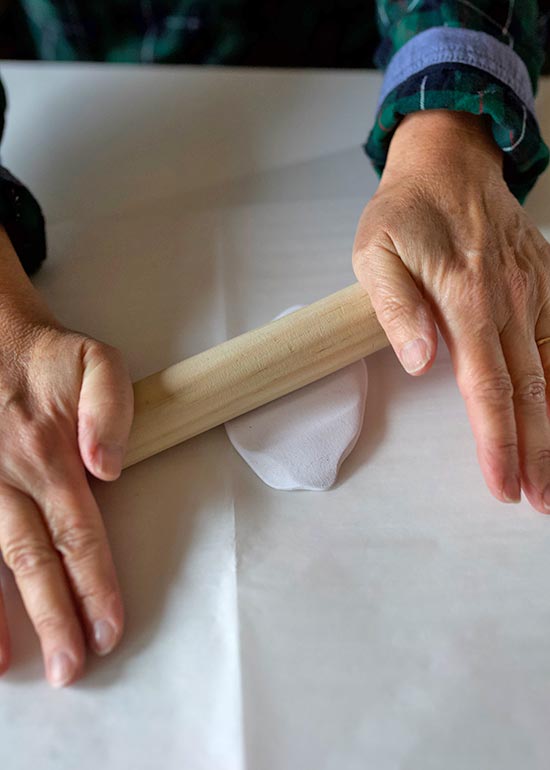 2. Use your cookie cutter to cut out your ornament shapes.
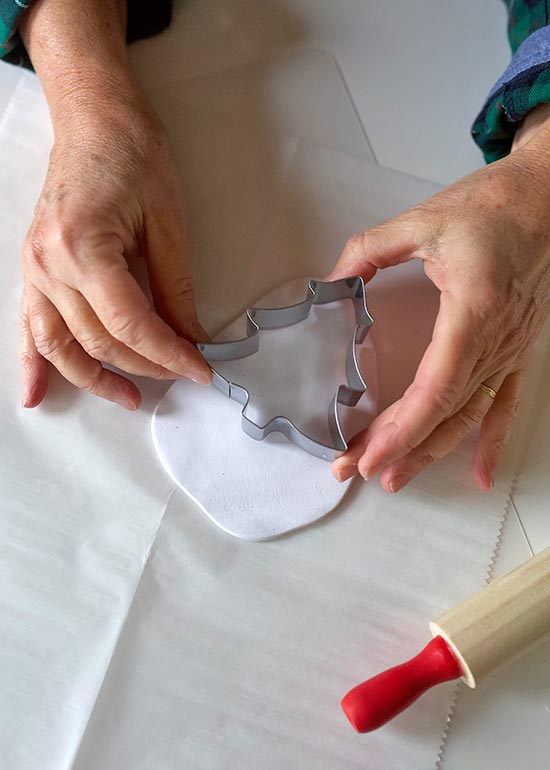 3. Use a dowel of the end of a paint brush to make indents in the tree shape. These will be your ornaments.
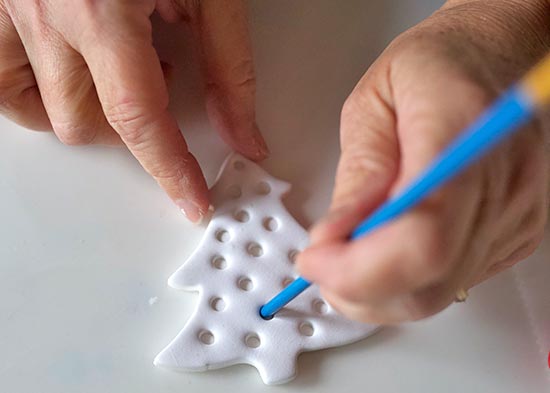 4. Push a hole through the top of the tree. This will be your ornament hanger.
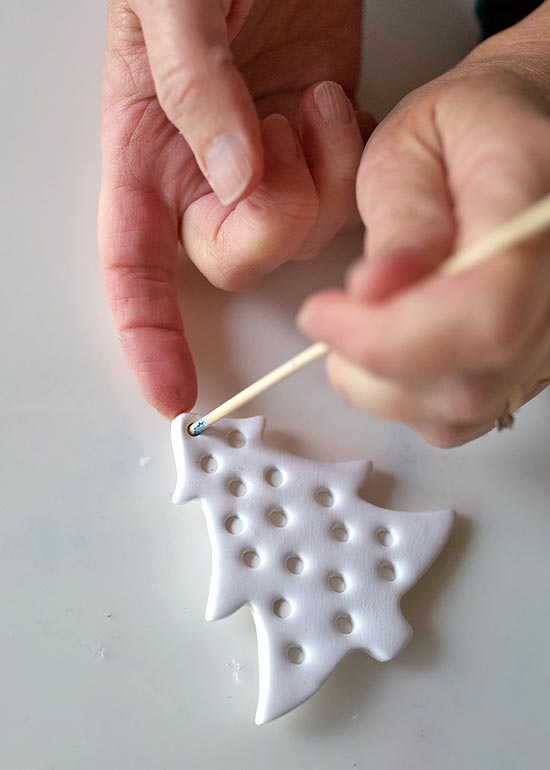 5. If there are any rough edges on your ornament, trim them off with a knife.
 8. Spray clear glaze on the ornament and let it dry.