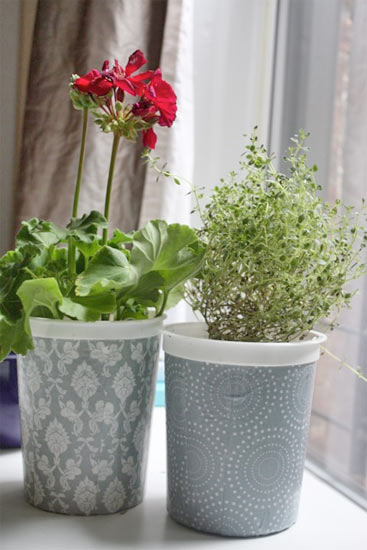
We recently moved from a house with a yard into a city apartment, and while I’m loving the city life, I do miss having may own garden. So I’ve been collecting plants of various sorts for my windowsills. The only problem is that the containers they come in aren’t the prettiest things. Instead of trying to hunt down some more attractive containers, I’ve been keeping our used yogurt pots and giving them a little makeover.
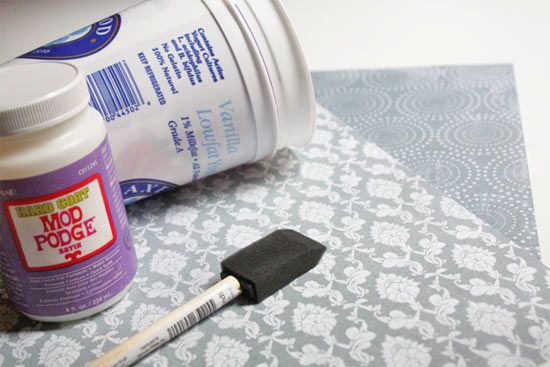
Things you’ll need:
Yogurt or other plastic containers
Hard Coat Modge Podge
Foam brush
Lightweight scrapbook paper
Scissors
Pencil
Things to do:
1. Cut your paper into a long strip, about 1/4 inch wider that the height of your container. You may need to cut two strips if your container has a wider circumference than your paper is long.
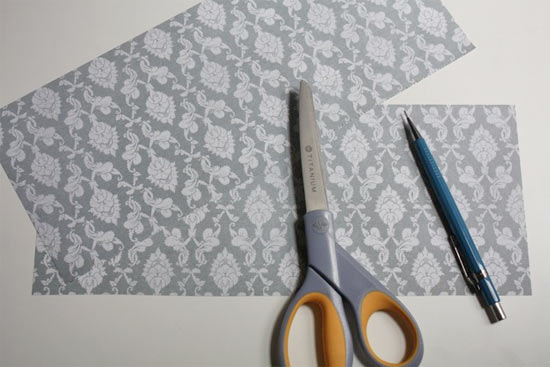
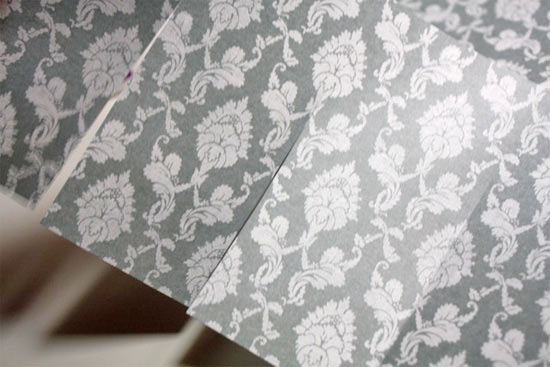
2. About every inch or so along your strips, cut the paper up almost to the top, leaving about 1/2 inch uncut.
3. Coat a section of the container with Modge Podge and smooth one end of the paper, cuts down, onto the plastic. The cuts will allow you to keep the top edge of the paper straight while keeping the paper smooth along the side of the container (the paper will overlap a bit as you go)
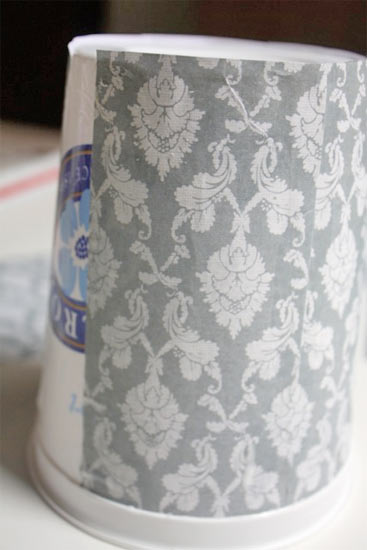
4. Continue to add Modge Podge and smooth the paper down until you have covered the while container.
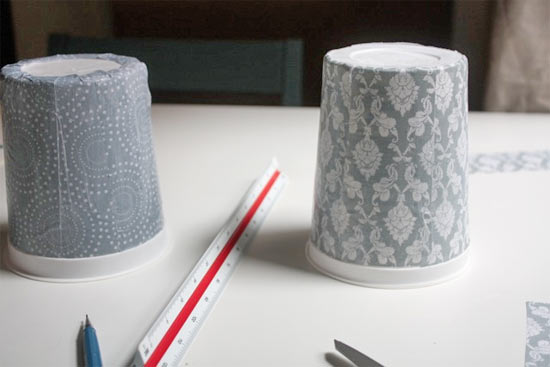
5. Smooth the ends down over the bottom of the container using more Modge Podge.
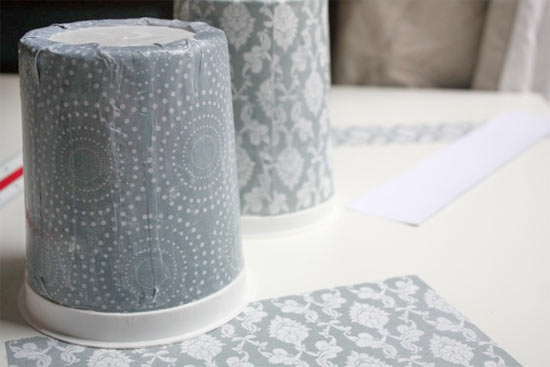
6. Allow the Modge Podge to set up for a few minutes and then coat the outside of the paper with a second coat, smoothing with your fingers if wrinkles and bubbles appear.
7. Let the Modge Podge dry completely before using.
